

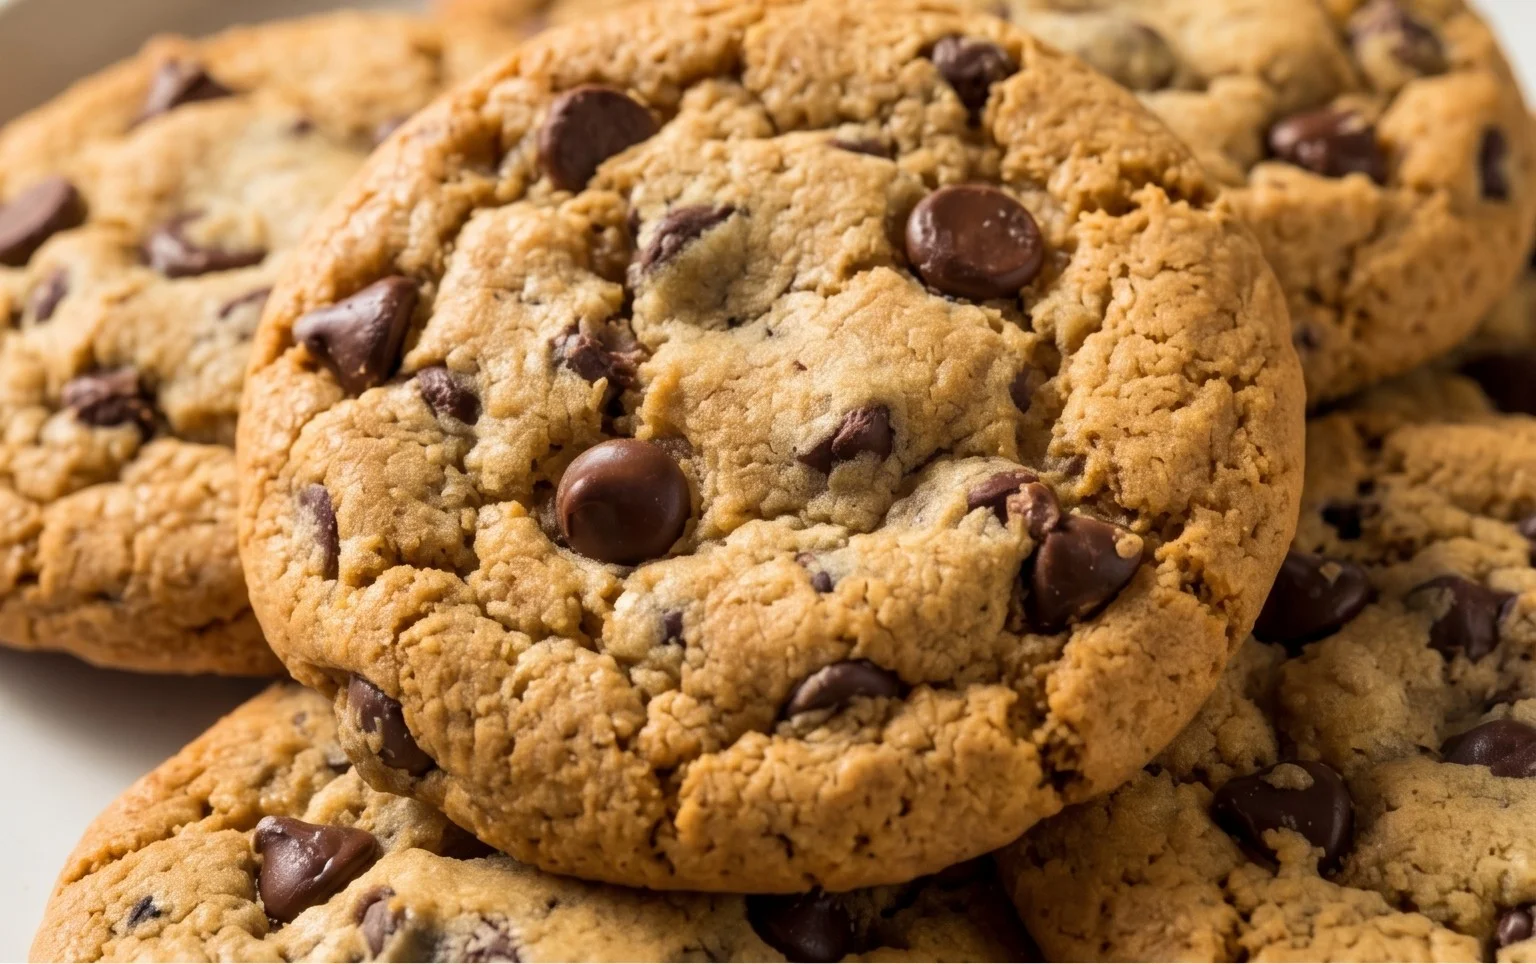
Crispy and chewy chocolate chip cookies are more than just a dessert; they’re a hug in cookie form, a nostalgic trip back to childhood, and the ultimate crowd-pleaser. Who doesn’t adore that perfect balance: the satisfying crunch of the edges giving way to a wonderfully soft, chewy center, studded with pockets of melted, glorious chocolate? I’ve spent countless hours perfecting this recipe, chasing that elusive texture and flavor that makes everyone close their eyes in bliss with each bite. What makes these crispy and chewy chocolate chip cookies truly special is the subtle dance between ingredients, a careful combination that ensures a delightful texture and a rich, deep chocolate flavor that isn’t overly sweet. Get ready to bake your new go-to treat!

Crispy and Chewy Chocolate Chip Cookies
There are few things in life as universally beloved as a perfectly baked chocolate chip cookie. I’m talking about that magical balance: a golden-brown exterior with just the right amount of crispness, yielding to a wonderfully soft, chewy center, studded with melty pockets of chocolate. For years, I’ve tinkered and tested, chasing that elusive ideal. Today, I’m thrilled to share with you my ultimate recipe for Crispy and Chewy Chocolate Chip Cookies. This isn’t just a recipe; it’s a love letter to the perfect cookie. Whether you’re a seasoned baker or just starting out, these instructions are designed to guide you to cookie perfection, every single time. Get ready to fill your kitchen with that irresistible aroma and impress everyone (including yourself!) with these divine treats.
Ingredients:
Making the Dough: The Foundation of Flavor
The journey to extraordinary cookies begin extracts with the quality of your ingredients and how you combine them. We’re aiming for a dough that’s rich, flavorful, and perfectly balanced.
1. Whisk Together the Dry Ingredients: In a medium bowl, thoroughly whisk together the 3 cups of all-purpose flour, 1 teaspoon of baking soda, and 3/4 teaspoon of kosher salt. Whisking is key here; it ensures that the leavening agent (baking soda) and salt are evenly distributed throughout the flour. This even distribution is crucial for consistent cookie rise and flavor. Set this bowl aside.
2. Cream the Butter and Sugars: In a large bowl, using an electric mixer (stand mixer with a paddle attachment or a hand mixer), cream together the 2 sticks of softened unsalted butter with 1 cup of packed light brown sugar and 1 cup of granulated sugar. Creaming means beating the butter and sugars together until the mixture is light, fluffy, and pnon-alcoholic ale in color. This process incorporates air into the dough, which contributes to the cookies’ texture and helps them spread. Make sure your butter is truly softened, not melted. If it’s too cold, it won’t cream properly; if it’s too warm, your cookies might spread too much. Beat for about 3-5 minutes on medium speed. Scrape down the sides of the bowl occasionally to ensure everything is incorporated.
3. Incorporate the Wet Ingredients: Add the 2 large eggs, one at a time, beating well after each addition until fully incorporated. Next, mix in the 2 teaspoons of pure vanilla extract. The vanilla is not just for flavor; it enhances the overall sweetness and depth of the cookie. Continue to beat until the mixture is smooth and homogenous.
4. Combine Wet and Dry: Gradually add the dry ingredients (the flour mixture) to the wet ingredients. Mix on low speed until just combined. Be careful not to overmix the dough at this stage. Overmixing can develop the gluten in the flour too much, resulting in tougher cookies. You want to see just a few streaks of flour remaining.
5. Fold in the Chocolate Chips: Now for the best part – the chocolate! Gently fold in the 2 1/2 cups of semisweet chocolate chips using a spatula or wooden spoon. Distribute them evenly throughout the dough. For an extra touch of indulgence, you can reserve a handful of chocolate chips to press onto the tops of the cookie dough balls before baking.
Shaping and Baking: The Transformation
This is where the magic truly happens. Proper shaping and baking temperature are paramount to achieving that coveted crispy edge and chewy center.
Chilling the Dough (Highly Recommended!)
While you can bake these cookies immediately, I strongly recommend chilling the dough. Cover the bowl tightly with plastic wrap and refrigerate for at least 30 minutes, or even better, for 2-3 hours, or overnight. Chilling the dough allows the gluten to relax, the fat to firm up, and the flavors to meld. This results in cookies that spread less, have a more complex flavor, and a superior chewy texture.
Baking the Cookies to Perfection
Preheat your oven to 375°F (190°C). Line baking sheets with parchment paper or silicone baking mats. This prevents sticking and helps with even browning.
Use a cookie scoop (about 1.5 to 2 tablespoons) or two spoons to portion the dough into balls. Place the dough balls about 2 inches apart on the prepared baking sheets. If you chilled the dough, they will be firm and hold their shape well. If you reserved some chocolate chips, now is the time to gently press a few onto the tops of the dough balls.
Bake for 9-12 minutes, or until the edges are golden brown and the centers still look slightly underbaked. The cookies will continue to cook on the hot baking sheet after you remove them from the oven, so pulling them out when the centers are still a little soft is key to achieving that chewy interior. For a saltier finish, sprinkle the tops of the hot cookies with the 1 teaspoon of flaked sea salt.
Allow the cookies to cool on the baking sheets for 5-10 minutes before transferring them to a wire rack to cool completely. This cooling period on the baking sheet is crucial for them to set up and develop their perfect texture. Enjoy your warm, gooey, and perfectly crispy-chewy chocolate chip cookies!
Conclusion:
There you have it – the ultimate guide to achieving those perfect crispy and chewy chocolate chip cookies! We’ve delved into the secrets behind their irresistible texture, from the precise butter temperature to the magic of chilling the dough. This recipe is a guaranteed winner because it strikes that delightful balance, offering a satisfying crunch around the edges with a delightfully soft and gooey center. They’re wonderfully versatile, making them a fantastic treat for any occasion. Enjoy them warm with a glass of cold milk, crum extractbled over ice cream for a decadent dessert, or simply as a sweet pick-me-up with your afternoon coffee. Don’t be afraid to experiment with variations either! Add chopped nuts for an extra crunch, a sprinkle of sea salt on top for a sophisticated sweet-and-salty contrast, or even a touch of espresso powder for a richer flavor profile. I truly encourage you to give this recipe a try; you’ll be amazed at how easy it is to create bakery-quality cookies in your own kitchen. Get ready to impress yourself and everyone lucky enough to share these amazing treats!
Frequently Asked Questions:
Why are my cookies not spreading enough?
Insufficient spreading can often be due to a few factors. Ensure your butter is softened, not melted, and that you’re not overmixing the dough after adding the flour. Also, very cold dough will spread less. If you’ve chilled it for a long time, letting it sit at room temperature for about 10-15 minutes before baking can help.
Can I make these cookies ahead of time?
Absolutely! The dough can be refrigerated for up to 3 days, and it actually benefits from the chilling, as the flavors meld beautifully and the texture improves. You can also freeze the dough balls for up to 3 months. Simply bake them from frozen, adding a few extra minutes to the baking time.
What if I don’t have brown sugar?
While brown sugar is crucial for that chewy texture and caramel notes, you can substitute it with a mix of granulated sugar and a tablespoon or two of molasses for every cup of brown sugar you would have used. The texture might be slightly different, but it will still be delicious!
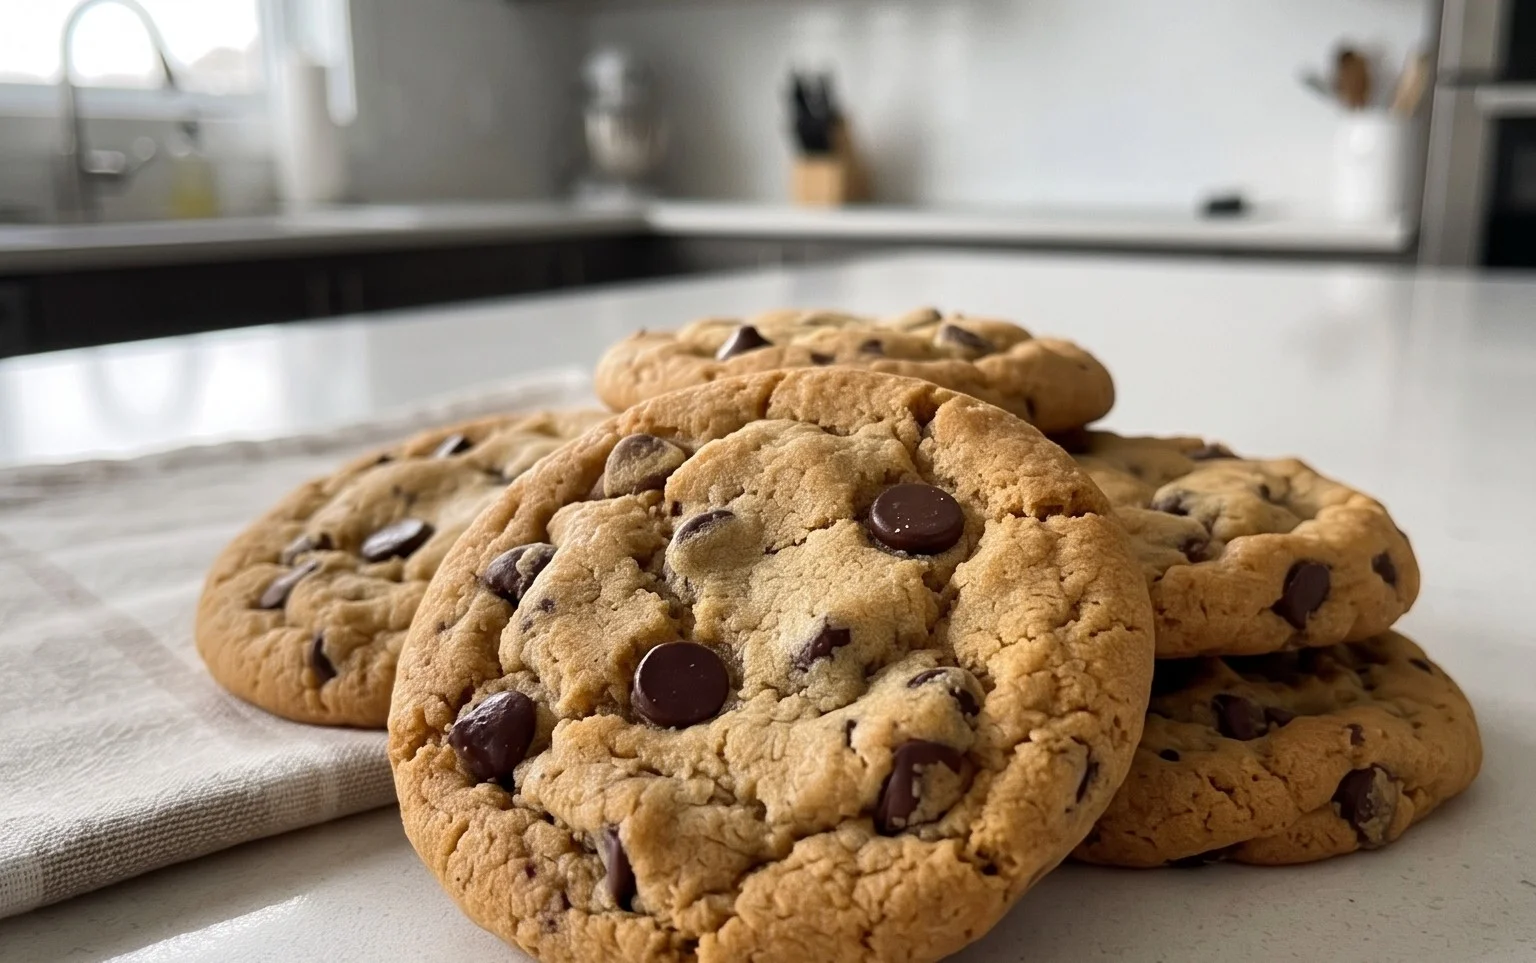
Crispy and Chewy Chocolate Chip Cookies
The perfect chocolate chip cookie recipe for that irresistible crispy edge and chewy center.
Ingredients
-
3 cups All-Purpose Flour
-
1 teaspoon Baking Soda
-
3/4 teaspoon Kosher Salt
-
2 sticks Unsalted Butter, softened
-
1 cup Light Brown Sugar, packed
-
1 cup Granulated Sugar
-
2 large Eggs
-
2 teaspoons Pure Vanilla Extract
-
2 1/2 cups Semisweet Chocolate Chips
-
1 teaspoon Flaked Sea Salt
Instructions
-
Step 1
Whisk together flour, baking soda, and kosher salt in a medium bowl. Set aside. -
Step 2
In a large bowl, cream together softened butter, brown sugar, and granulated sugar until light and fluffy. -
Step 3
Beat in eggs one at a time, then stir in vanilla extract. -
Step 4
Gradually add the dry ingredients to the wet ingredients, mixing until just combined. Do not overmix. -
Step 5
Stir in the semisweet chocolate chips. -
Step 6
Drop rounded tablespoons of dough onto parchment-lined baking sheets, spacing them about 2 inches apart. -
Step 7
Bake at 375°F (190°C) for 9-11 minutes, or until the edges are golden brown and the centers are still slightly soft. -
Step 8
Sprinkle with flaked sea salt (if using) immediately after removing from the oven. Let cool on the baking sheet for a few minutes before transferring to a wire rack to cool completely.
Important Information
Nutrition Facts (Per Serving)
It is important to consider this information as approximate and not to use it as definitive health advice.
Allergy Information
Please check ingredients for potential allergens and consult a health professional if in doubt.
Leave a Comment