

Frozen Greek Yogurt Peanut Butter Bites with Chocolate Chips: A Delightful Treat You Can Make at Home! If you’re searching for that perfect balance of sweet, creamy, and utterly satisfying, look no further. These frozen delights have become a go-to for so many, and it’s easy to see why. They’re a fantastic alternative to traditional sugary desserts, offering a more wholesome indulgence that you can feel good about. What truly sets these bites apart is their incredible simplicity coupled with an explosion of flavor. Imagin extracte the tangy richness of Greek yogurt meeting the nutty goodness of peanut butter, all studded with delightful bursts of melted chocolate. It’s a flavor combination that’s universally loved, and when frozen, it transforms into a chewy, refreshing, and undeniably moreish treat. Making them at home means you control the ingredients, ensuring a truly delightful experience every single time you crave something sweet and wonderfully cool.

Ingredients:
- 1 cup plain Greek yogurt
- 1/2 cup creamy peanut butter
- 1/4 cup honey
- 1 teaspoon vanilla extract
- 1/2 cup mini chocolate chips
- 1/4 teaspoon sea salt
Preparing Your Delicious Frozen Bites
This recipe for Frozen Greek Yogurt Peanut Butter Bites with Chocolate Chips is incredibly straightforward, making it a perfect activity for a lazy afternoon or a fun weekend project with the family. The beauty of these bites lies in their simplicity and the minimal ingredients required, all of which are likely already in your pantry. We’re aiming for a creamy, slightly sweet, and satisfyingly peanut buttery frozen treat that’s healthier than many store-bought alternatives. Let’s gather everything we need and get started.
Step 1: Combining the Base Ingredients
Begin extract by gathering a medium-sized mixing bowl. This is where the magic starts to happen. Carefully measure out your 1 cup of plain Greek yogurt. For the best texture, I recommend using full-fat or 2% plain Greek yogurt, as it provides a richer mouthfeel and creamier consistency when frozen. Add this to your mixing bowl. Next, measure out your 1/2 cup of creamy peanut butter. Ensure it’s creamy and not chunky, as this will help everything blend smoothly. Add the peanut butter to the bowl with the Greek yogurt.
Step 2: Sweetening and Enhancing the Flavor Profile
Now it’s time to introduce sweetness and depth of flavor. Measure out your 1/4 cup of honey. The honey will not only add a lovely sweetness but will also help prevent the mixture from freezing completely solid, maintaining a slightly softer, more enjoyable texture. Pour the honey into the bowl with the yogurt and peanut butter. Following this, add 1 teaspoon of vanilla extract. Vanilla extract is a flavor enhancer that rounds out the nutty notes of the peanut butter and complementsgin extracte tanginess of the Greek yogurt beautifully. This combination of honey and vanilla creates a harmonious sweet and aromatic base for our bites.
Step 3: Achieving a Smooth and Homogenous Mixture
This is a crucial step for ensuring every bite is as delicious as the last. Using a whisk or a stgin extracty spatula, begin to thoroughly mix the Greek yogurt, creamy peanut butter, honey, and vanilla extract together. You want to combine these ingredients until they are completely smooth and there are no streaks of yogurt or peanut butter visible. This might take a minute or two of consistent stirring. Scrape down the sides and bottom of the bowl periodically to ensure all ingredients are incorporated. A well-mixed base is key to preventing pockets of unsweetened yogurt or clumps of peanut butter in your finished treats. Don’t rush this part; a smooth, creamy mixture will translate into a superior frozen bite.
Step 4: Incorporating the Textural Elements
Once your base mixture is perfectly smooth and well-combined, it’s time to add the delightful textural contrast. Measure out your 1/2 cup of mini chocolate chips. These little bursts of chocolate will add a wonderful flavor dimension and a pleasing chegrape juicess to the frozen bites. Gently fold the mini chocolate chips into the yogurt and peanut butter mixture. Be careful not to overmix at this stage; you simply want to distribute them evenly throughout the batter. In addition to the chocolate chips, we’re going to add a touch of complexity with 1/4 teaspoon of sea salt. Don’t be shy about the salt! Sea salt, especially, provides a fantastic counterpoint to the sweetness of the honey and chocolate, enhancing all the other flavors and preventing the treat from tasting overly sweet. Carefully sprinkle the sea salt over the mixture and gently fold it in along with the chocolate chips. Again, aim for even distribution.
Step 5: Shaping and Freezing Your Bites
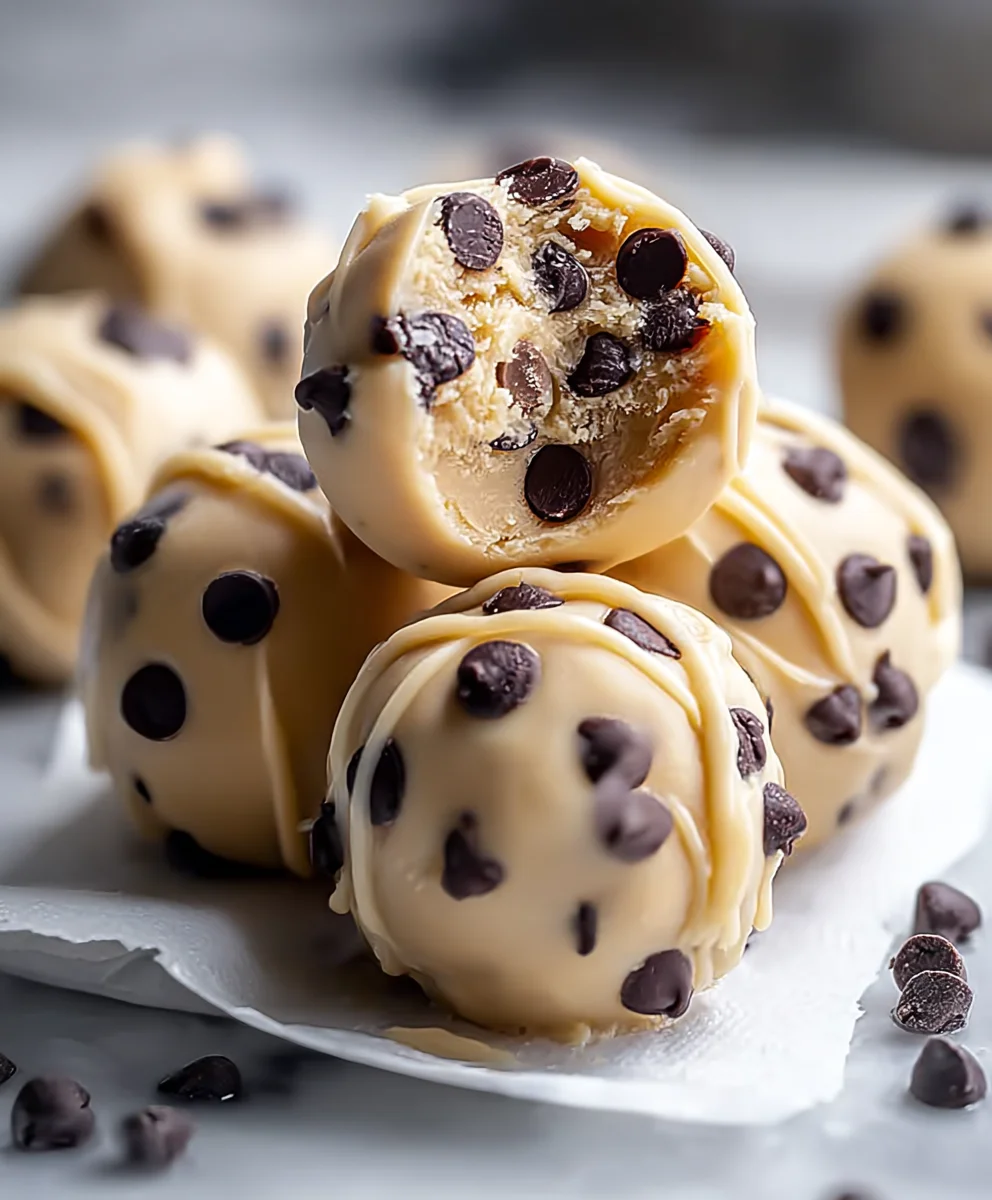
The final step is to get these delicious little morsels into the freezer! Line a baking sheet or a shallow freezer-safe container with parchment paper or wax paper. This step is essential for preventing the bites from sticking to the pan once frozen, making them easy to remove. Now, using a small spoon or a mini ice cream scoop, carefully drop rounded spoonfuls of the mixture onto the prepared baking sheet. Aim for bite-sized portions, about 1 to 1.5 inches in diameter. As you drop them, try to keep them somewhat separated so they don’t all freeze into one large mass. Once all the mixture has been portioned out, place the baking sheet into your freezer. Allow the bites to freeze completely, which typically takes at least 2 to 3 hours. For best results, I like to leave them in overnight. Once fully frozen, you can transfer them to an airtight container or a freezer bag for longer storage. Enjoy them straight from the freezer for a refreshing and satisfying treat!
Conclusion:
And there you have it – your very own batch of Frozen Greek Yogurt Peanut Butter Bites with Chocolate Chips: A Delightful Treat You Can Make at Home! These bites are not only incredibly easy to whip up, but they also deliver a satisfyingly cool and creamy texture with the perfect balance of salty peanut butter, rich chocolate chips, and tangy Greek yogurt. They’re a fantastic healthier alternative to traditional ice cream or cookies, making them a guilt-free indulgence for any time of day.
I love serving these Frozen Greek Yogurt Peanut Butter Bites with Chocolate Chips as a refreshing post-dinner dessert, a quick energy boost during a busy afternoon, or even as a fun, healthy breakfast treat! They pair wonderfully with a tall glass of milk or a steaming mug of herbal tea. Feel free to get creative with variations; you could swap the chocolate chips for chopped nuts, dried fruit, or even a sprinkle of cinnamon. The possibilities are truly endless! I encourage you to give this recipe a try and discover just how delicious and simple homemade frozen treats can be. Happy making!
Frequently Asked Questions:
Q: Can I use a different type of yogurt instead of Greek yogurt?
While Greek yogurt provides the best creamy texture and protein boost, you can experiment with other thick yogurts like Icelandic or Skyr. However, thinner yogurts might result in a icier texture.
Q: How long do the Frozen Greek Yogurt Peanut Butter Bites with Chocolate Chips last in the freezer?
Stored properly in an airtight container, these bites should remain delicious for up to 2-3 weeks. However, their delightful taste might mean they don’t last that long!
Q: Can I make these bites vegan?
Yes, you can easily make these vegan by using a dairy-free Greek-style yogurt alternative and vegan chocolate chips. Ensure your peanut butter is also vegan-friendly.
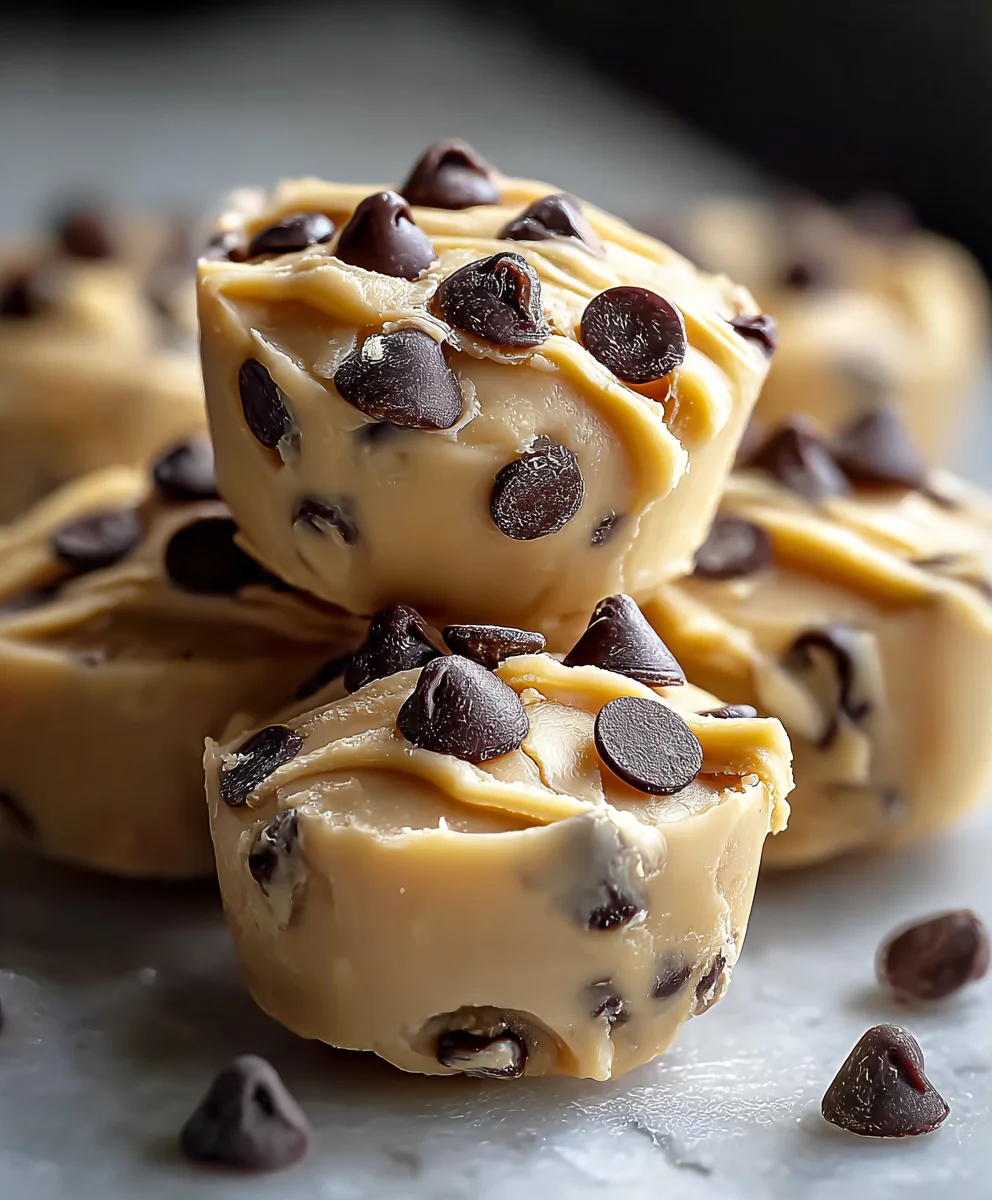
Frozen Greek Yogurt Peanut Butter Bites
Delicious and easy frozen bites made with Greek yogurt, peanut butter, honey, and chocolate chips. A healthier treat perfect for any time.
Ingredients
-
1 cup plain Greek yogurt
-
1/2 cup creamy peanut butter
-
1/4 cup honey
-
1 teaspoon vanilla extract
-
1/2 cup mini chocolate chips
-
1/4 teaspoon sea salt
Instructions
-
Step 1
Combine 1 cup plain Greek yogurt, 1/2 cup creamy peanut butter, 1/4 cup honey, and 1 teaspoon vanilla extract in a medium mixing bowl. -
Step 2
Whisk or use a spatula to thoroughly mix the ingredients until smooth and homogenous. Ensure no streaks of yogurt or peanut butter remain. -
Step 3
Gently fold in 1/2 cup mini chocolate chips and 1/4 teaspoon sea salt until evenly distributed. -
Step 4
Line a baking sheet or shallow freezer-safe container with parchment or wax paper. -
Step 5
Drop rounded spoonfuls (about 1-1.5 inches in diameter) of the mixture onto the prepared baking sheet, keeping them separated. -
Step 6
Freeze for at least 2-3 hours, or until completely frozen. Transfer to an airtight container for storage.
Important Information
Nutrition Facts (Per Serving)
It is important to consider this information as approximate and not to use it as definitive health advice.
Allergy Information
Please check ingredients for potential allergens and consult a health professional if in doubt.
Leave a Comment