

Strawberry Cheesecake Cookie Cups are a delightful fusion of two beloved desserts, and I’m thrilled to share this irresistible recipe with you. Imagin extracte the perfect bite: a crisp, buttery cookie base giving way to a creamy, tangy cheesecake filling, all crowned with bursts of fresh, sweet strawberry goodness. It’s no wonder why these Strawberry Cheesecake Cookie Cups have become such a sensation. They manage to capture the comforting nostalgia of a classic cookie while elevating it with the sophisticated creaminess of cheesecake. What truly makes them special is the delightful textural contrast and the vibrant, fresh flavor that makes each bite an explosion of pure joy. They’re perfect for parties, a sweet afternoon treat, or whenever you’re craving something truly extraordinary. Get ready to fall in love with these little bites of heaven!

Ingredients:
- 1 1/4 cups all-purpose flour
- 1/2 cup unsweetened cocoa powder
- 1 teaspoon baking soda
- 2 teaspoons cornstarch
- 1/2 teaspoon salt
- 3/4 cup unsalted butter, softened to room temperature
- 1 cup granulated sugar
- 1 large egg
- 1 teaspoon vanilla extract
- 12 ounces cream cheese, softened to room temperature
- 2 1/4 cups powdered sugar
- 5 tablespoons strawberry puree
- Fresh strawberries, for garnish
Making the Cookie Cups
Preparing the Dough
We’ll start by creating our rich chocolate cookie base. In a medium bowl, whisk together the all-purpose flour, unsweetened cocoa powder, baking soda, cornstarch, and salt. The cornstarch is a secret weapon here, it helps to create a wonderfully tender and slightly chewy cookie cup that has a great structure. Whisk these dry ingredients thoroughly to ensure everything is evenly distributed. This step is crucial for consistent results, so don’t skip it! Set this bowl of dry ingredients aside for now.
In a large mixing bowl, or the bowl of your stand mixer fitted with the paddle attachment, cream together the softened unsalted butter and granulated sugar. Beat them on medium speed until the mixture is light and fluffy, typically about 3-4 minutes. This creaming process incorporates air into the butter and sugar, which will contribute to the texture of our cookies. Scrape down the sides of the bowl as needed to ensure all the butter and sugar are incorporated. Next, add the large egg and the vanilla extract. Beat again until just combined, making sure not to overmix at this stage. The mixture might look a little separated at this point, and that’s perfectly fine.
Now, gradually add the dry ingredients to the wet ingredients. Mix on low speed until just combined. Be careful not to overmix the dough once the flour is added, as this can lead to tough cookies. You’re looking for a dough that just comes together. It will be quite stiff. Once the dough is formed, cover the bowl with plastic wrap and chill it in the refrigerator for at least 30 minutes. This chilling period is important because it firms up the butter, making the dough easier to handle and preventing the cookie cups from spreading too much during baking.
Baking the Chocolate Cups
Preheat your oven to 350°F (175°C). Lightly grease a 12-cup muffin tin or line it with paper liners. For this recipe, a standard muffin tin works best as we want to create little cups. If you don’t have a muffin tin, you can use silicone muffin molds. Take the chilled dough and roll it into 1-inch balls. You can use a cookie scoop for uniform size. Place each ball into a cup of the prepared muffin tin. You don’t need to press them down too much at this stage.
Bake for 10-12 minutes, or until the edges are set and slightly firm, but the centers still look a little soft. They will continue to cook slightly as they cool. The key here is not to overbake them, as we want them to remain tender. Once baked, let the cookie cups cool in the muffin tin for about 5 minutes before carefully transferring them to a wire rack to cool completely. This allows them to set up properly. While the cookies are cooling, we can get started on our delicious cream cheese filling.
Crafting the Cream Cheese Filling
Assembling the Strawberry Cheesecake Delight
In a medium bowl, beat the softened cream cheese with an electric mixer until it’s smooth and creamy, with no lumps. This is crucial for a silky smooth filling. Then, gradually add the powdered sugar, about a cup at a time, beating until well combined and the mixture is smooth and fluffy. Scrape down the sides of the bowl as needed. This will create a lovely, thick, and sweet cream cheese base.
Now, it’s time to add that beautiful strawberry flavor. Gently fold in the strawberry puree until it’s just incorporated. You don’t want to overmix this, as we want to maintain the airiness of the cream cheese mixture. Aim for a beautiful pink swirl or color throughout the filling. The consistency should be thick enough to hold its shape but still spreadable.
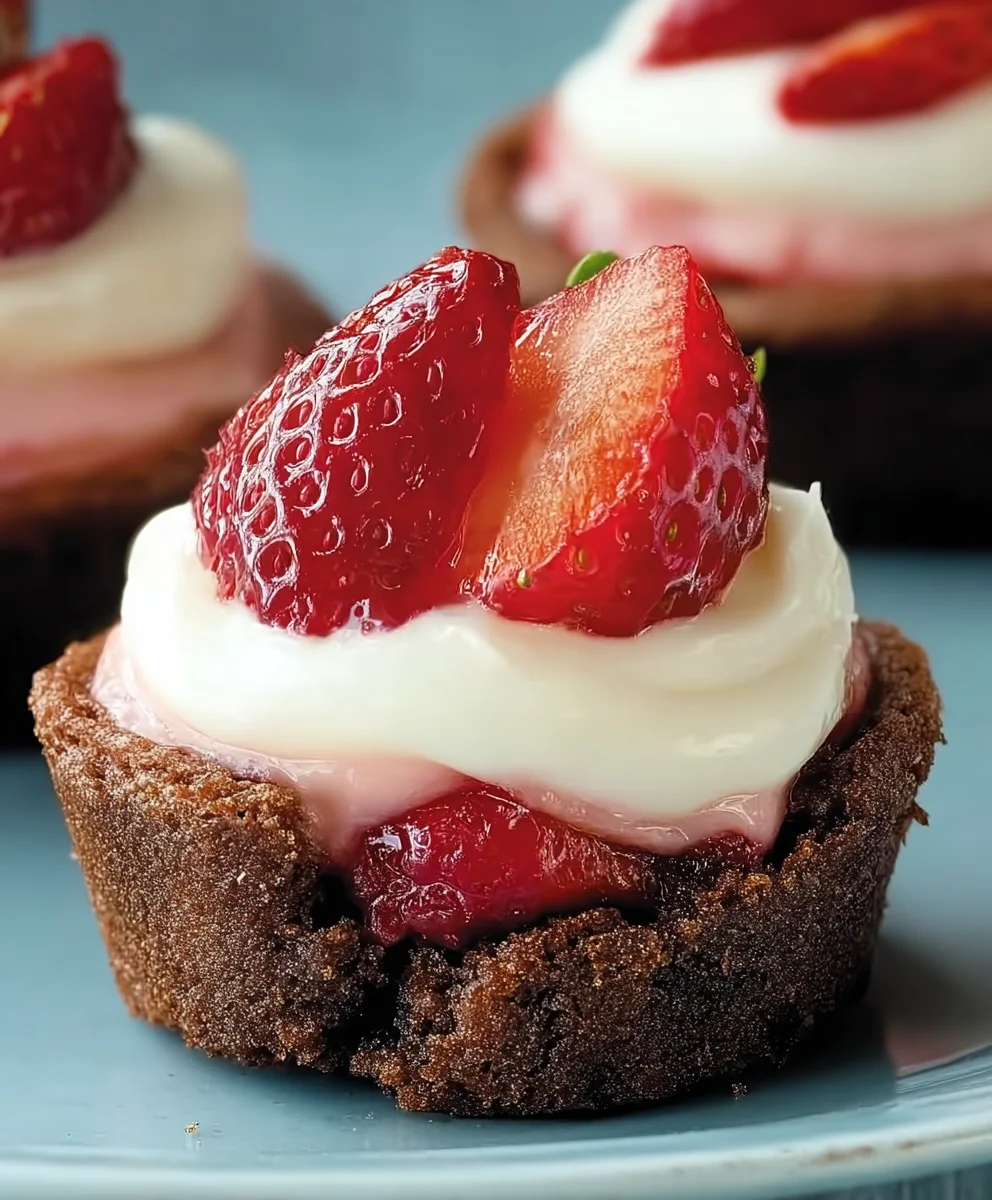
Once the chocolate cookie cups have cooled completely, it’s time to fill them. Spoon or pipe the strawberry cream cheese filling into each cooled cookie cup. You can use a piping bag fitted with a large round tip for a professional look, or simply use a spoon. Fill them generously, but be mindful not to overfill, so the filling doesn’t spill over.
The Finishing Touches and Presentation
Finally, it’s time for the crowning glory! Garnish each Strawberry Cheesecake Cookie Cup with a fresh strawberry. You can use a whole strawberry, a sliced strawberry, or even a strawberry fan. The fresh fruit adds a burst of vibrant color and a complementary fresh flavor to the rich chocolate and creamy filling. For an extra touch, you could even sprinkle a little extra powdered sugar over the top or drizzle with a little more strawberry puree. Chill the assembled cookie cups in the refrigerator for at least 30 minutes before serving. This allows the filling to set up further and the flavors to meld together beautifully. These are best enjoyed chilled, offering a delightful contrast between the slightly crisp chocolate cookie and the cool, tangy, and sweet strawberry cream cheese filling.
Conclusion:
We’ve reached the delicious conclusion of our journey into crafting the perfect Strawberry Cheesecake Cookie Cups! I hope you’ve enjoyed this recipe as much as I have. These delightful treats are a wonderful fusion of creamy cheesecake and sweet strawberry, all encased in a buttery, crum extractbly cookie shell. They are relatively straightforward to make and deliver an impressive taste experience, making them ideal for any occasion, from casual get-togethers to more formal dessert spreads. The delightful balance of flavors and textures is truly something special.
When it comes to serving, these Strawberry Cheesecake Cookie Cups are fantastic on their own, allowing the pure flavor to shine. However, they also pair beautifully with a dollop of fresh whipped cream, a sprig of mint for a touch of elegance, or even a drizzle of chocolate sauce for an extra layer of indulgence. For variations, consider adding a hint of lemon zest to the cookie dough for a brighter citrus note, or swapping the fresh strawberries for a swirl of strawberry jam before baking for a more concentrated fruit flavor. Don’t be afraid to experiment and make these Strawberry Cheesecake Cookie Cups your own! I encourage you to give this recipe a try; I’m confident you’ll fall in love with every bite.
Frequently Asked Questions:
Can I make the cookie dough ahead of time?
Absolutely! You can prepare the cookie dough for your Strawberry Cheesecake Cookie Cups up to 2 days in advance. Simply wrap it tightly in plastic wrap and store it in the refrigerator. When you’re ready to bake, let the dough sit at room temperature for about 15-20 minutes to soften slightly, making it easier to press into the muffin tin.
How should I store leftover Strawberry Cheesecake Cookie Cups?
To keep your Strawberry Cheesecake Cookie Cups fresh, store them in an airtight container in the refrigerator. They are best enjoyed within 3-4 days. The cheesecake filling can become a little softer at room temperature, so refrigeration is recommended, especially in warmer climates.
Can I use frozen strawberries instead of fresh?
While fresh strawberries offer the best texture and flavor for the topping of these Strawberry Cheesecake Cookie Cups, you can use frozen strawberries if needed. Ensure you thaw them completely and drain off any excess liquid to prevent the cookie cups from becoming soggy. You might need to adjust the baking time slightly if using frozen strawberries.
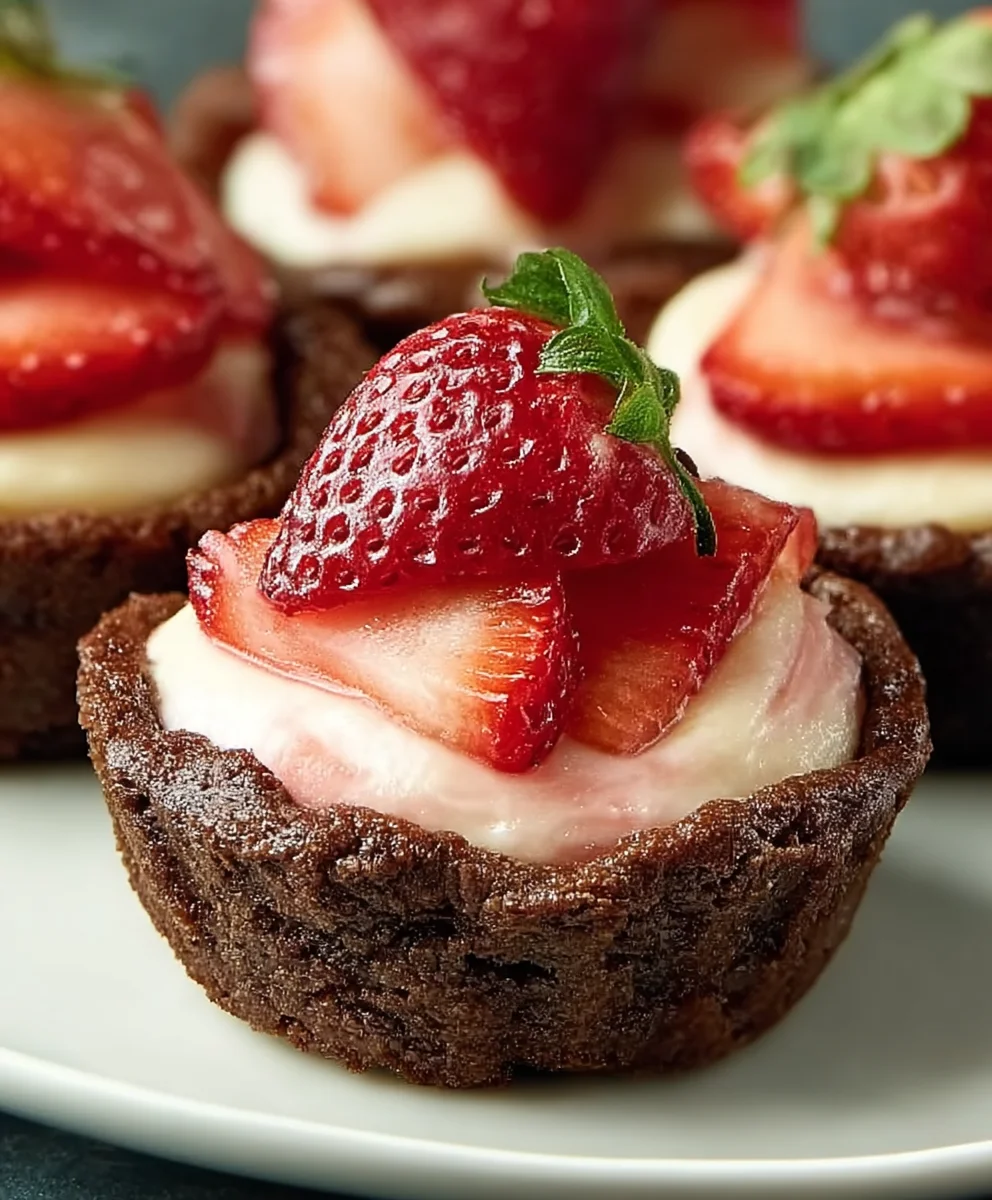
Strawberry Cheesecake Cookie Cups – Easy Dessert Delight
Delightful chocolate cookie cups filled with creamy strawberry cheesecake, topped with fresh strawberries.
Ingredients
-
1 1/4 cups all-purpose flour
-
1/2 cup unsweetened cocoa powder
-
1 teaspoon baking soda
-
2 teaspoons cornstarch
-
1/2 teaspoon salt
-
3/4 cup unsalted butter, softened
-
1 cup granulated sugar
-
1 large egg
-
1 teaspoon vanilla extract
-
12 ounces cream cheese, softened
-
2 1/4 cups powdered sugar
-
5 tablespoons strawberry puree
-
Fresh strawberries, for garnish
Instructions
-
Step 1
In a medium bowl, whisk together flour, cocoa powder, baking soda, cornstarch, and salt. In a separate large bowl, cream together softened butter and granulated sugar until light and fluffy. Beat in egg and vanilla extract until just combined. -
Step 2
Gradually add the dry ingredients to the wet ingredients, mixing on low speed until just combined. Cover the dough and chill in the refrigerator for at least 30 minutes. -
Step 3
Preheat oven to 350°F (175°C). Lightly grease a 12-cup muffin tin. Roll the chilled dough into 1-inch balls and place each ball into a muffin cup. -
Step 4
Bake for 10-12 minutes, until edges are set. Let cool in the muffin tin for 5 minutes, then transfer to a wire rack to cool completely. -
Step 5
In a medium bowl, beat softened cream cheese until smooth. Gradually add powdered sugar, beating until well combined and fluffy. Gently fold in strawberry puree until just incorporated. -
Step 6
Spoon or pipe the strawberry cream cheese filling into each cooled cookie cup. Garnish with fresh strawberries. Chill for at least 30 minutes before serving.
Important Information
Nutrition Facts (Per Serving)
It is important to consider this information as approximate and not to use it as definitive health advice.
Allergy Information
Please check ingredients for potential allergens and consult a health professional if in doubt.

Leave a Comment