

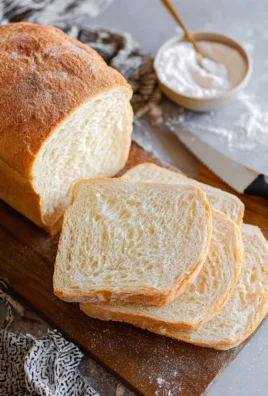
Buttermilk Bread Recipe: There’s something inherently comforting and wonderfully nostalgic about a perfectly baked loaf of buttermilk bread. It’s a staple in kitchens for a reason, a testament to simple ingredients yielding extraordinary results. If you’ve ever craved that soft, pillowy crum extractb with a subtle tang and a beautifully golden crust, you’ve come to the right place. People adore this classic for its incredible versatility; it’s the ideal companion for slathering with butter and jam at breakfast, the sturdy base for your favorite sandwiches at lunch, and the warm hug that accompanies a hearty dinner. What truly makes this Buttermilk Bread Recipe stand out is the magical reaction of the buttermilk, which tenderizes the gluten, resulting in an unbelievably light and moist texture that’s simply unmatched. Get ready to fill your home with the irresistible aroma of freshly baked goodness!

Ingredients:
- 1 packet active dry yeast
- 1 pinch ground gin extractger
- 1 teaspoon granulated sugar
- 1/4 cup warm water (105F – 110F)
- 2 cups cultured buttermilk (warm, 105F – 110F)
- 1/3 cup honey
- 1 teaspoon kosher salt (if using table salt, reduce to 3/4 teaspoon)
- 3/4 teaspoon baking soda
- 6 cups bread flour (all-purpose flour can be substituted)
- 1/4 cup unsalted butter, melted and cooled to warm to the touch
Getting Started: Activating the Yeast
The first step to a fantastic Buttermilk Bread Recipe is waking up your yeast. In a small bowl, combine the warm water, granulated sugar, and the packet of active dry yeast. Give it a gentle stir to make sure the sugar is dissolved. Then, let this mixture sit undisturbed for about 5 to 10 minutes. You’re looking for a foamy, bubbly surface – this indicates that your yeast is alive and ready to work its magic. If you don’t see any foam, your yeast might be past its prime, or the water wasn’t the right temperature, and you’ll need to start with fresh yeast.
Mixing the Wet Ingredients and Incorporating Flavor
Once your yeast is active and frothy, it’s time to bring together the liquid components of our Buttermilk Bread Recipe. In a large mixing bowl, or the bowl of your stand mixer fitted with a dough hook, pour in the warm cultured buttermilk. Add the foamy yeast mixture to the buttermilk. Next, stir in the honey, melted and cooled butter, and the kosher salt. The honey will not only sweeten the bread but also contribute to a beautiful golden crust and a tender crum extractb. Ensure the butter is warm to the touch, not hot, as excessive heat can kill the yeast. Whisk these ingredients together until they are well combined. The baking soda is also added at this stage; it works with the acidity of the buttermilk to create an incredibly soft and airy loaf. Finally, the pinch ofgin extractound ginger adds a subtle warmth and complexity to the overall flavor profile, making this Buttermilk Bread Recipe truly stand out.
Developing the Dough
Now comes thgin extractun part: bringing everything together into a cohesive dough for your Buttermilk Bread Recipe. Gradually add the bread flour, about one cup at a time, mixing after each addition. If you’re using a stand mixer, start on low speed untilgin extracte ingredients just begin to come together, then increase the speed to medium-low. Continue adding flour until the dough starts to pull away from the sides of the bowl. If you’re mixing by hand, you’ll do the same, but it will require more effort. Once the dough starts to form a shaggy mass, turn it out onto a lightly floured surface.
Kneading the Dough to Perfection
Kneading is crucial for developing the gluten structure that gives bread its chewy texture and allows it to rise. For this Buttermilk Bread Recipe, we’ll knead the dough for about 8 to 10 minutes. If using a stand mixer, continue kneading on medium-low speed until the dough is smooth, elastic, and springs back when gently pressed with a finger. It should be slightly tacky but not stick excessively to your hands or the bowl. If it feels too sticky, add flour a tablespoon at a time. If it feels too dry, add a teaspoon of buttermilk or water. When kneading by hand, fold the dough over on itself, push down and away with the heels of your hands, rotate, and repeat. The dough will become progressively smoother and more pliable with each minute of kneading. Don’t rush this step; proper kneading is key to a wonderful loaf.
First Rise: Allowing the Dough to Double
Once your dough has been perfectly kneaded, it’s time to let it rest and rise. Lightly grease a large clean bowl with a little oil or butter. Place the dough in the greased bowl, turning it to coat all sides. Cover the bowl tightly with plastic wrap or a damp kitchen towel. Find a warm, draft-free spot for the dough to rise. This is typically around 75F to 80F. A slightly warm oven (turned off, of course) or a sunny windowsill works well. Let the dough rise for approximately 1 to 1.5 hours, or until it has doubled in size. The exact time will depend on the temperature of your room. You’ll know it’s ready when it looks puffy and an indentation made with ygin extract finger remains without springing back immediately.
Shaping and Second Rise: Preparing for the Oven
After the first rise, gently punch down the dough to release the accumulated gases. Turn the dough out onto a lightly floured surface and shape it into your desired loaf form. You can create a traditional loaf by forming it into a rectangle and then rolling it up tightly, pinching the seam closed. Place the shaped loaf into a greased loaf pan (9×5 inch is standard). Alternatively, you can form it into a round boule or a rustic free-form loaf on a baking sheet lined with parchment paper. Cover the shaped loaf loosely with plastic wrap or a clean kitchen towel and let it rise for a second time. This second rise is shorter, usually about 30 to 45 minutes, and the dough should increase in volume by about 50-75%. Again, a warm spot is best. While the dough is on its second rise, preheat your oven to 375F (190C).
Baking the Buttermilk Bread
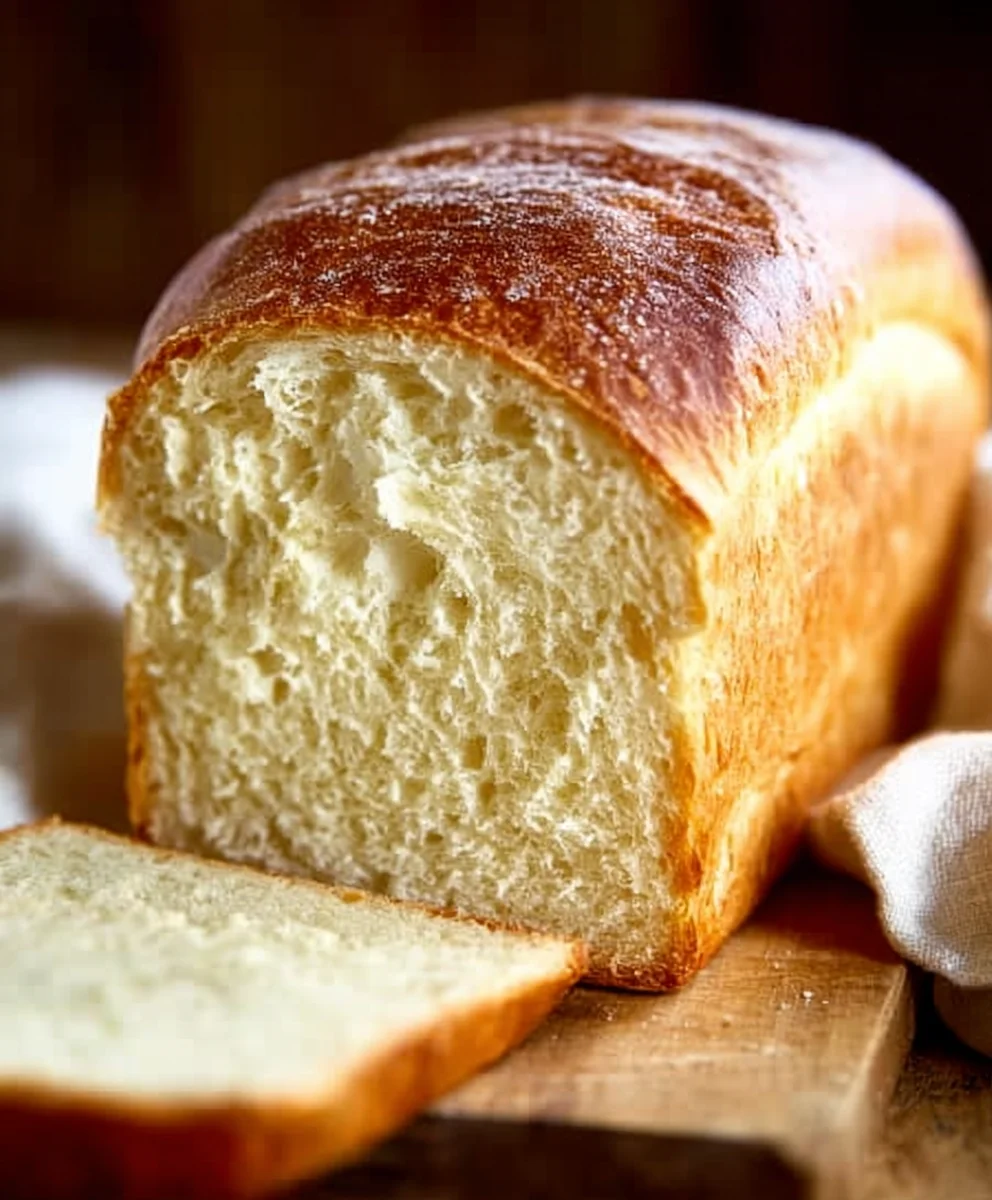
When your Buttermilk Bread Recipe dough has completed its second rise and the oven is preheated, it’s time to bake. Carefully place the loaf pan or baking sheet into the preheated oven. Bake for approximately 30 to 40 minutes. The bread is done when the crust is a deep golden brown and the internal temperature reaches 190F to 200F (88C to 93C) when measured with an instant-read thermometer. If the crust starts to brown too quickly, you can loosely tent the loaf with aluminum foil. Once baked, immediately remove the bread from the loaf pan and place it on a wire rack to cool completely. This prevents the bottom crust from becoming soggy. Allow the bread to cool for at least an hour before slicing; this is a tough but necessary step for the best texture.
Conclusion:
There you have it – the perfect guide to baking a truly delicious Buttermilk Bread Recipe! We’ve walked through each step to ensure you achieve that wonderfully soft, slightly tangy crum extractb and golden-brown crust that makes homemade bread so satisfying. This Buttermilk Bread Recipe is wonderfully versatile and a fantastic foundation for countless culinary creations. Don’t be afraid to experiment and make it your own!
For serving suggestions, this bread is absolutely divine toasted with a generous smear of butter, or as a base for avocado toast. It also makes an excellent accompaniment to soups and stews, or as the star of your next sandwich. Feeling adventurous? Try adding herbs like rosemary or chives to the dough, or a handful of grated cheese for a savory twist. The possibilities are truly endless, and the joy of pulling a warm, fragrant loaf of your own Buttermilk Bread Recipe from the oven is unparalleled. Happy baking!
Frequently Asked Questions:
Can I substitute something for buttermilk in this Buttermilk Bread Recipe?
While buttermilk is key to the unique texture and flavor of this Buttermilk Bread Recipe, you can create a substitute. For every cup of buttermilk called for, mix 1 tablespoon of lemon juice or white vinegar with 1 cup of milk, and let it sit for 5-10 minutes until it thickens. This will give you a similar acidity and texture, though the flavor might be slightly different.
How do I store my Buttermilk Bread Recipe loaf?
Once completely cooled, store your Buttermilk Bread Recipe loaf in an airtight container or bread bag at room temperature for up to 3-4 days. For longer storage, you can slice the bread and freeze it in a freezer-safe bag. Simply thaw at room temperature or toast slices directly from frozen.
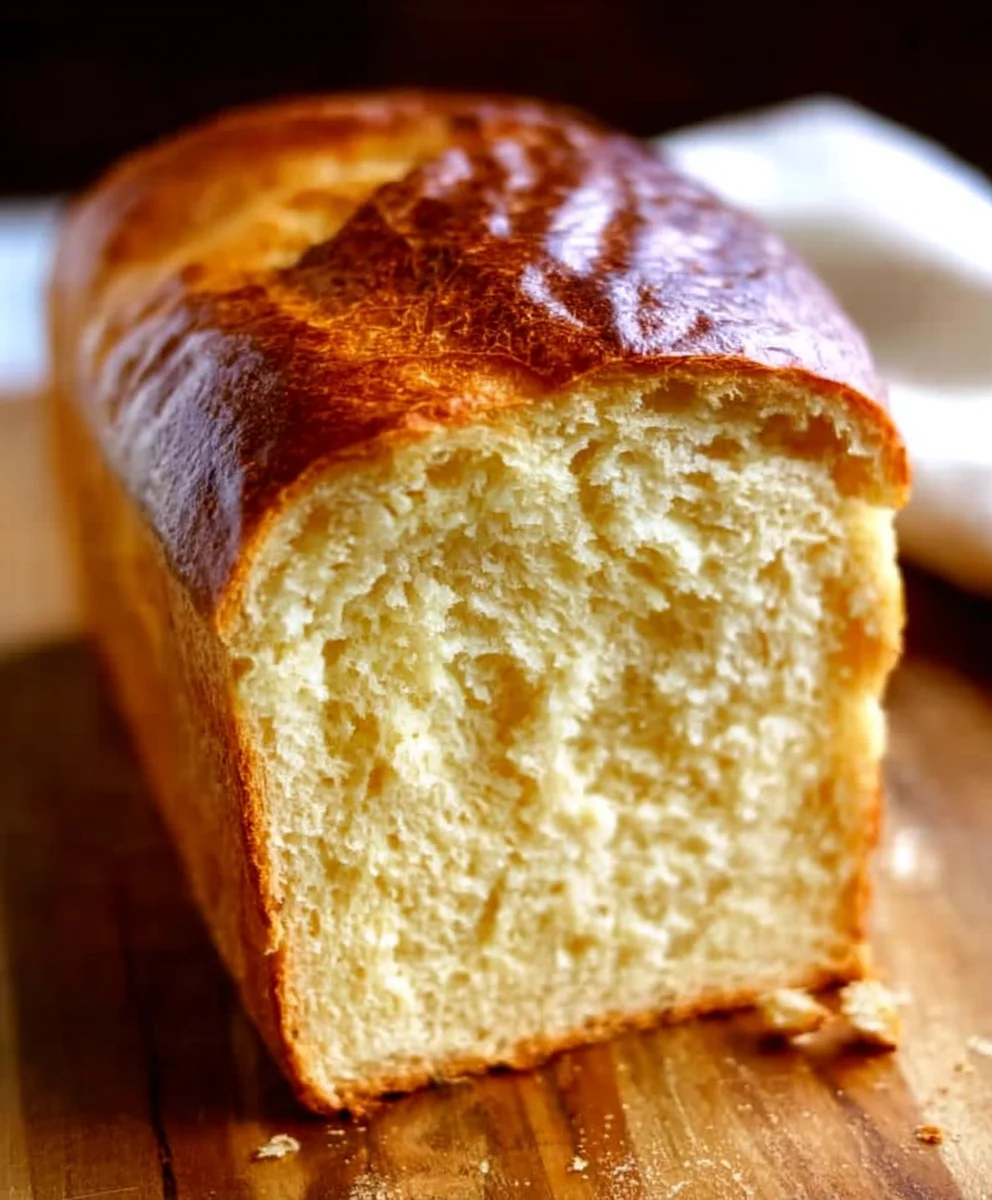
Easy Buttermilk Bread Recipe-Fluffy & Delicious
A simple and delicious recipe for fluffy buttermilk bread, perfect for any occasion.
Ingredients
-
1 packet active dry yeast
-
1 pinch ground ginger
-
1 teaspoon granulated sugar
-
1/4 cup warm water (105F – 110F)
-
2 cups cultured buttermilk (warm, 105F – 110F)
-
1/3 cup honey
-
1 teaspoon kosher salt
-
3/4 teaspoon baking soda
-
6 cups bread flour
-
1/4 cup unsalted butter, melted and cooled to warm
Instructions
-
Step 1
Activate the yeast: In a small bowl, combine warm water, granulated sugar, and active dry yeast. Let sit for 5-10 minutes until foamy. -
Step 2
Mix wet ingredients: In a large bowl, combine warm buttermilk, foamy yeast mixture, honey, melted butter, kosher salt, baking soda, and ground ginger. Whisk until well combined. -
Step 3
Develop the dough: Gradually add bread flour, about one cup at a time, mixing until the dough starts to pull away from the sides of the bowl. Turn out onto a lightly floured surface. -
Step 4
Knead the dough: Knead for 8-10 minutes until smooth, elastic, and slightly tacky. -
Step 5
First rise: Place dough in a greased bowl, cover, and let rise in a warm place for 1-1.5 hours, or until doubled in size. -
Step 6
Shape and second rise: Punch down dough, shape into a loaf, and place in a greased loaf pan. Cover and let rise for 30-45 minutes. Preheat oven to 375F (190C) during this time. -
Step 7
Bake: Bake for 30-40 minutes until golden brown and internal temperature reaches 190F-200F. Cool completely on a wire rack before slicing.
Important Information
Nutrition Facts (Per Serving)
It is important to consider this information as approximate and not to use it as definitive health advice.
Allergy Information
Please check ingredients for potential allergens and consult a health professional if in doubt.
Leave a Comment