

Homemade yeast rolls from scratch are the ultimate comfort food, a fluffy, golden-brown testament to the magic that happens when simple ingredients transform into something truly spectacular. There’s an undeniable aroma that fills your kitchen as these beauties bake, a warm embrace that signals good times and cherished moments. People adore these rolls for their tender crum extractb, their slightly sweet, buttery flavor, and the satisfying chew that makes them perfect for soaking up gravies or simply enjoying on their own. What makes them truly special, beyond the incredible taste and texture, is the sense of accomplishment that comes with creating them from scratch. It’s a culinary craft that connects us to tradition and yields a reward that store-bought versions simply cannot replicate. Get ready to impress yourself and everyone lucky enough to share your table with these delightful homemade yeast rolls from scratch.

Ingredients:
- 2 cups milk (480 ml)
- 2 tablespoons instant dry yeast
- ¼ cup granulated sugar (50 g)
- ⅓ cup unsalted butter, softened, plus 1 extra tablespoon for brushing (80 g)
- 2 large eggs, at room temperature
- 6¼ cups all-purpose flour (750 g)
- 2 teaspoons fine sea salt
Preparing the Dough
Activating the Yeast and Building the Base
To begin extract our journey to perfect homemade yeast rolls from scratch, we first need to awaken the yeast. In a large mixing bowl, or the bowl of your stand mixer fitted with the dough hook, gently warm the milk. You want it to be lukewarm, around 105-110°F (40-43°C). If it’s too hot, it will kill the yeast, and if it’s too cold, it won’t activate properly. You can test this by dipping your finger in; it should feel comfortably warm, not hot. Add the 2 tablespoons of instant dry yeast and the ¼ cup of granulated sugar to the warm milk. Give it a gentle stir to combine. Let this mixture sit undisturbed for about 5 to 10 minutes. You should see it become foamy and bubbly on the surface. This tells you the yeast is alive and ready to work its magic. If you don’t see any foam, your yeast might be old or the milk was too hot, and you’ll need to start again with fresh yeast.
Next, we’ll incorporate the richness and binding agents. To the activated yeast mixture, add the ⅓ cup of softened unsalted butter and the 2 large eggs. Ensure your eggs are at room temperature, as this helps them emulsify better with the other ingredients, creating a smoother, more cohesive dough. Beat these ingredients together lightly with a whisk or a fork until just combined.
Incorporating the Dry Ingredients and Developing Gluten
Now it’s time to introduce the flour and salt. In a separate medium bowl, whisk together 6 cups of the all-purpose flour and the 2 teaspoons of fine sea salt. Adding the salt with the flour instead of directly to the yeast mixture prevents it from inhibiting the yeast’s activity. Gradually add the dry ingredients to the wet ingredients in your stand mixer bowl. Start by adding about half of the flour mixture. Mix on low speed until it’s mostly incorporated. Then, gradually add the remaining flour, a cup at a time, until the dough starts to pull away from the sides of the bowl. You might not need all 6¼ cups of flour, or you might need a tablespoon or two more. The exact amount of flour needed can vary depending on humidity and the type of flour.
Once all the flour is added, increase the mixer speed to medium-low and knead the dough for about 8 to 10 minutes. If you’re kneading by hand, turn the dough out onto a lightly floured surface and knead for 10-12 minutes. The dough should become smooth, elastic, and slightly tacky, but it shouldn’t stick excessively to your hands or the bowl. To test for proper gluten development, you can perform the “windowpane test”: pinch off a small piece of dough and gently stretch it. If you can stretch it thin enough to see light through it without it tearing, your gluten is well-developed.
First Rise and Shaping the Rolls
The Initial Fermentation
Lightly grease a clean large bowl with a little oil or cooking spray. Place the kneaded dough into the bowl, turning it to coat all sides with the grease. This helps prevent a dry crust from forming as the dough rises. Cover the bowl tightly with plastic wrap or a clean kitchen towel. Find a warm, draft-free spot in your kitchen for the dough to rise. An oven that has been briefly warmed and then turned off is ideal. Let the dough rise for 1 to 1.5 hours, or until it has doubled in size. The dough will become puffy and airy. This first rise is crucial for developing flavor and texture.
Shaping for Perfect Rolls
Once the dough has doubled, gently punch it down to release the air. Turn the dough out onto a lightly floured surface. For uniform rolls, it’s helpful to weigh the dough and divide it into equal portions. For medium-sized rolls, aim for about 2 to 2.5 ounces (55-70 g) per roll. You can also just eyeball it if precision isn’t your top priority. Roll each portion into a smooth ball. To achieve that classic rounded shape, cup your hand around the dough ball and rotate it on the counter, tucking the edges underneath. Place the shaped dough balls into a greased baking pan (a 9×13 inch pan usually fits about 12-15 rolls). Make sure to leave a little space between each roll, as they will expand and touch as they bake.
Second Rise and Baking
The Final Proof
After shaping, cover the pan loosely with plastic wrap or a kitchen towel. Allow the rolls to rise again in a warm place for another 30 to 45 minutes, or until they are visibly puffy and have almost doubled in size. They should look soft and inviting. This second rise, also known as proofing, is essential for light and airy rolls. Don’t rush this step, as it significantly impacts the final texture. While the rolls are proofing, preheat your oven to 375°F (190°C). This ensures the oven is at the correct temperature when your rolls are ready to bake, promoting even cooking and a beautiful golden-brown crust.
Baking to Golden Perfection
Once the rolls have completed their second rise and the oven is preheated, it’s time to bake. Carefully place the pan of rolls into the preheated oven. Bake for 18 to 25 minutes, or until the rolls are golden brown on top and sound hollow when tapped on the bottom. The baking time will vary slightly depending on your oven. Keep an eye on them towards the end of the baking period to prevent burning.
The Finishing Touch
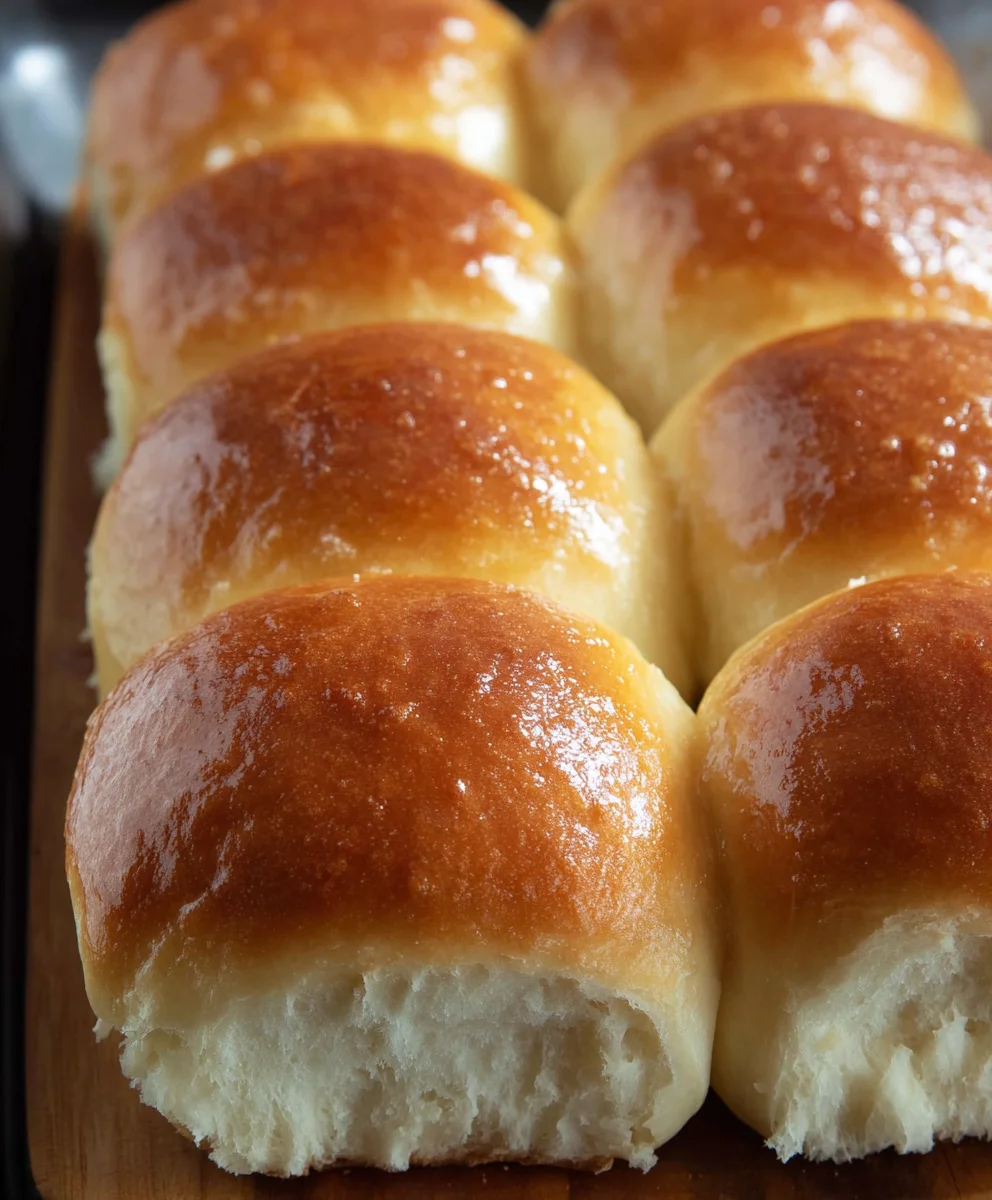
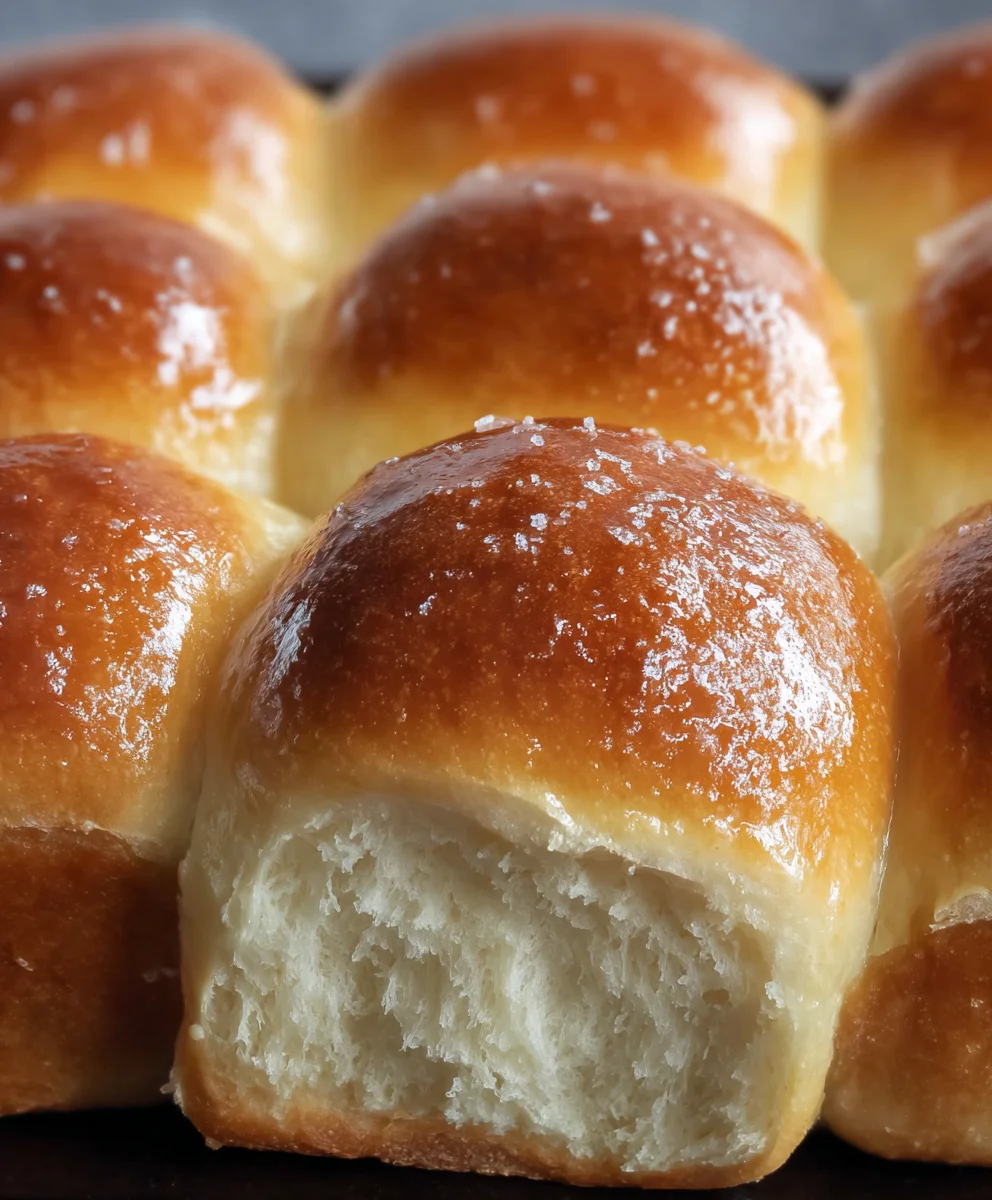
As soon as the rolls come out of the oven, while they are still hot, brush the tops with the reserved 1 tablespoon of melted unsalted butter. This not only adds a wonderful sheen and helps soften the crust but also infuses them with an irresistible buttery flavor. The heat from the rolls will melt the butter and allow it to be absorbed beautifully. Let the rolls cool in the pan for a few minutes before transferring them to a wire rack to cool completely, or serve them warm for the ultimate homemade yeast roll experience. These rolls are best enjoyed fresh, but they can be stored in an airtight container at room temperature for a day or two, or frozen for longer storage.
Conclusion:
You’ve now got all the tools and knowledge to create incredibly delicious Homemade Yeast Rolls from Scratch! This recipe truly transforms simple ingredients into fluffy, golden perfection that will impress everyone at your table. The aroma that fills your kitchen as these bake is simply non-intoxicating, a testament to the magic of homemade baking. Don’t be intimidated by yeast; it’s a friendly ingredient that, with a little warmth and patience, delivers unparalleled texture and flavor. We hope you enjoy the satisfaction of pulling these warm, pillowy rolls straight from your oven.
These Homemade Yeast Rolls from Scratch are incredibly versatile. Serve them alongside your favorite hearty stews, rich pasta dishes, or as a delightful accompaniment to a holiday feast. They’re also fantastic simply slathered with butter and jam for breakfast or a quick snack. For a savory twist, try adding a sprinkle of garlic powder and dried herbs to the dough before baking. You can also experiment with different types of flour, like adding a small percentage of whole wheat flour for a nuttier flavor and denser texture.
We wholeheartedly encourage you to give this recipe a try. The journey from mixing the ingredients to enjoying the final product is a rewarding one. Embrace the process, savor the smells, and delight in the taste of truly homemade goodness. Happy baking!
Frequently Asked Questions:
Q: My dough didn’t rise. What went wrong?
Several factors could contribute to a dough that doesn’t rise. Ensure your yeast was active by proofing it in warm (not hot) liquid with a pinch of sugar before adding it to the flour. Too hot of liquid will kill the yeast, and too cold won’t activate it. Also, make sure your environment is warm enough for the dough to rise. A slightly cool kitchen can hinder the process. Cover the bowl tightly and place it in a warm spot, like a slightly warmed oven (turned off!) or near a sunny window.
Q: Can I make these ahead of time?
Yes! You can prepare the dough and let it complete its first rise, then punch it down, shape it, and place the rolls in their baking pan. Cover the pan tightly with plastic wrap and refrigerate overnight. In the morning, take them out and let them come to room temperature and rise again (this may take longer than usual, about 1-2 hours) before baking as directed. This makes serving them fresh for breakfast or brunch much easier!
Easy Homemade Yeast Rolls From Scratch- Soft & Delicious
Learn how to make incredibly soft and delicious homemade yeast rolls from scratch. These rolls are perfect for any meal and are surprisingly easy to prepare.
Ingredients
-
2 cups milk (480 ml)
-
2 tablespoons instant dry yeast
-
¼ cup granulated sugar (50 g)
-
⅓ cup unsalted butter, softened, plus 1 extra tablespoon for brushing (80 g)
-
2 large eggs, at room temperature
-
6¼ cups all-purpose flour (750 g)
-
2 teaspoons fine sea salt
Instructions
-
Step 1
In a large bowl, warm milk to 105-110°F (40-43°C). Add yeast and sugar, stir, and let sit for 5-10 minutes until foamy. -
Step 2
Add softened butter and room temperature eggs to the yeast mixture. Beat lightly until just combined. -
Step 3
In a separate bowl, whisk together flour and salt. Gradually add dry ingredients to the wet ingredients, mixing until a dough forms. Knead for 8-10 minutes until smooth and elastic. -
Step 4
Place dough in a greased bowl, cover, and let rise in a warm place for 1 to 1.5 hours, or until doubled in size. -
Step 5
Punch down dough, divide into equal portions, and shape into smooth balls. Place in a greased baking pan, leaving space between them. -
Step 6
Cover shaped rolls loosely and let rise again for 30-45 minutes until puffy. Preheat oven to 375°F (190°C). -
Step 7
Bake for 18-25 minutes, or until golden brown and hollow-sounding. Brush tops with melted butter immediately after baking.
Important Information
Nutrition Facts (Per Serving)
It is important to consider this information as approximate and not to use it as definitive health advice.
Allergy Information
Please check ingredients for potential allergens and consult a health professional if in doubt.
Leave a Comment