

One-Hour French Bread has long been a dream for home bakers, a beacon of freshly baked goodness that seems just out of reach on a busy weeknight. But what if I told you that the aroma of warm, crusty, homemade French bread could fill your kitchen in less time than it takes to order takeout? It’s true! This incredible recipe demystifies the process, proving that you don’t need hours of proofing or complicated techniques to achieve bakery-quality results. People absolutely adore this One-Hour French Bread because it delivers that satisfying crackle of the crust and the soft, airy interior that’s perfect for dipping in soup, slathering with butter, or building the ultimate sandwich. What makes this recipe truly special is its ingenious approach to yeast activation and proofing, allowing you to go from pantry staples to a golden-brown masterpiece in a surprisingly short amount of time. Get ready to impress yourself and your loved ones with this surprisingly speedy delight!

Ingredients:
- 4 to 4 1/2 cups bread flour, plus more for dusting
- 1 teaspoon sea salt
- 1 1/2 tablespoons active dry yeast
- 2 cups warm water (aim for around 105-115°F or 40-46°C – it should feel pleasantly warm on your wrist, not hot)
Baking Your One-Hour French Bread
Activating the Yeast
In a large mixing bowl, combine the warm water and the active dry yeast. Give it a gentle stir to ensure the yeast is dispersed. If you’re using active dry yeast, it needs a little warm environment to wake up and start its magic. You’ll want to let this mixture sit for about 5 to 10 minutes. During this time, you should see the yeast start to get foamy and bubbly on the surface. This is a great visual cue that your yeast is alive and ready to go. If you don’t see any foam after 10 minutes, it might mean your yeast is no longer active or the water was too hot or too cold. In that case, it’s best to start again with fresh yeast and water at the correct temperature to ensure successful bread making.
Mixing the Dough
Once your yeast mixture is nicely foamy, add the sea salt to the bowl. Then, begin extract adding the bread flour. Start by adding about 4 cups of the flour. You can do this gradually, a cup at a time, while mixing with a sturdy spoon or a dough whisk. Once the dough starts to come together and becomes too stiff to mix with a spoon, it’s time to switch to your hands or a stand mixer with a dough hook attachment. Continue adding flour, a little at a time, until the dough pulls away from the sides of the bowl and forms a relatively smooth, slightly sticky ball. The exact amount of flour needed can vary depending on humidity and the type of flour you’re using, so don’t be afraid to adjust it slightly. The goal is a dough that is pliable but not overly sticky.
Kneading the Dough
Turn the dough out onto a lightly floured surface. Now comes the kneading! This is a crucial step for developing the gluten in the flour, which gives the bread its structure and chewy texture. If you’re kneading by hand, push the dough away from you with the heel of your hand, then fold it over itself, give it a quarter turn, and repeat. Continue this process for about 8 to 10 minutes. The dough should become smooth, elastic, and less sticky. It should spring back slowly when you gently poke it with your finger. If you’re using a stand mixer, knead with the dough hook on medium-low speed for about 6 to 8 minutes, until the dough is smooth and elastic. You’ll know it’s ready when it cleans the sides of the bowl and feels supple.
First Rise (Bulk Fermentation)
Lightly grease a clean large bowl with a little bit of oil or cooking spray. Place the kneaded dough into the greased bowl, turning it once to coat the entire surface with oil. This helps prevent the dough from drying out. Cover the bowl tightly with plastic wrap or a clean kitchen towel. Now, find a warm, draft-free spot for your dough to rise. A slightly warm oven (turned off!) or near a sunny window can work well. Because we’re aiming for a “one-hour” bread, we’re going to accelerate this rise. Let the dough rise for about 30 to 45 minutes, or until it has visibly increased in size by at least half, ideally doubling in volume. The speed of the rise can be influenced by the ambient temperature of your kitchen.
Shaping the Loaves
Once your dough has had its first rise, gently punch it down to release the air. Turn the dough out onto your lightly floured work surface again. At this point, you can divide the dough to make one large loaf or two smaller ones, depending on your preference. For a classic French bread shape, gently shape the dough into an oblong or baguette shape. To do this, you can flatten the dough slightly, then fold the top third down to the center and press to seal. Then fold the bottom third up to the center and press to seal again. Finally, fold the dough in half lengthwise and pinch the seam firmly to seal. You want to create a taut surface. If you are making a more rustic loaf, you can simply shape it into a round or oval.
Second Rise and Baking
Place your shaped loaves onto a baking sheet that has been lined with parchment paper or lightly dusted with cornmeal. If you are making a longer baguette, ensure it has enough space to spread without touching other loaves or the edges of the pan. Lightly cover the loaves with a clean kitchen towel and let them rest for another 15 to 20 minutes while your oven preheats. Preheat your oven to 425°F (220°C). Just before baking, you can score the top of your loaves with a very sharp knife or a lame. This allows the bread to expand properly in the oven and creates beautiful rustic lines. Carefully transfer the baking sheet to the preheated oven and bake for 20 to 25 minutes, or until the crust is a deep golden brown and the loaves sound hollow when tapped on the bottom. For an extra crispy crust, you can place a pan of hot water on the bottom rack of your oven while it preheats, creating steam. This helps achieve that characteristic French bread crackle. Let the baked loaves cool on a wire rack for at least 15 minutes before slicing and enjoying.
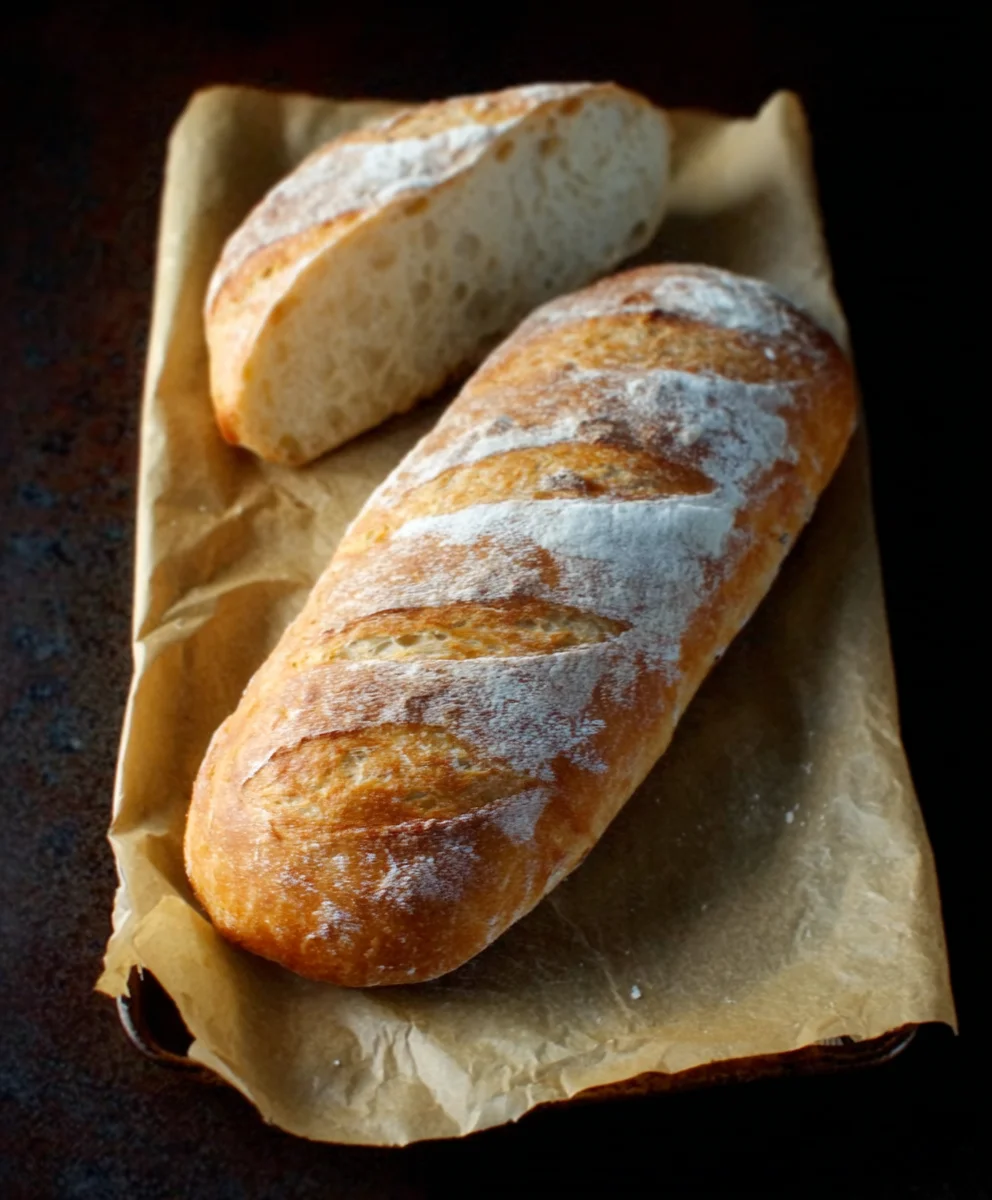
Conclusion:
And there you have it – a beautiful loaf of One-Hour French Bread, fresh from your oven in less time than you might think! This recipe is all about bringin extractg that delightful, crusty French bread experience into your home with remarkable speed and simplicity. We’ve navigated the dough, proofed it to perfection, and baked it to that signature golden-brown hue. The aroma alone is worth the effort, and the taste is even better.
For serving, this One-Hour French Bread is incredibly versatile. It’s simply divine when served warm with a generous smear of butter. It makes an exceptional accompaniment to soups and stews, provides the perfect base for bruschetta or garlic bread, and is fantastic for building hearty sandwiches. Don’t be afraid to experiment with its uses!
If you’re feeling adventurous, consider variations. Add a sprinkle of herbs like rosemary or thyme to the dough for an aromatic twist. A touch of garlic powder can elevate it for a savory bread option. For a slightly sweeter note, a pinch of sugar can be added, though it deviates slightly from traditional French bread. The beauty of this recipe lies in its adaptability.
We truly hope you enjoy making and devouring your One-Hour French Bread. It’s a rewarding bake that proves deliciousness doesn’t always require hours of waiting. Get baking and savor every crusty bite!
FAQs about One-Hour French Bread
Q: My bread didn’t rise as much as I expected. What could have gone wrong?
A: Several factors can influence rise. Ensure your yeast was fresh and activated properly in warm, not hot, water (around 105-115°F or 40-46°C). Over-kneading or under-kneading can also affect it. Make sure you followed the kneading time precisely. Finally, ambient temperature plays a role; a warmer kitchen generally aids rising.
Q: Can I make this dough ahead of time?
A: While this recipe is designed for speed, you can refrigerate the dough after the initial proofing for up to 24 hours. Allow it to come to room temperature for about 30-60 minutes before shaping and baking. This might slightly extend the overall time, but it’s a great option for meal planning.
Q: How do I get a really crispy crust?
A: A crispy crust is achieved through steam. Before baking, place a small oven-safe pan filled with hot water on the bottom rack of your oven. Once you put the bread in, close the oven door quickly to trap the steam. Alternatively, spritzing the oven walls with water a few times during the first 10-15 minutes of baking can also help.
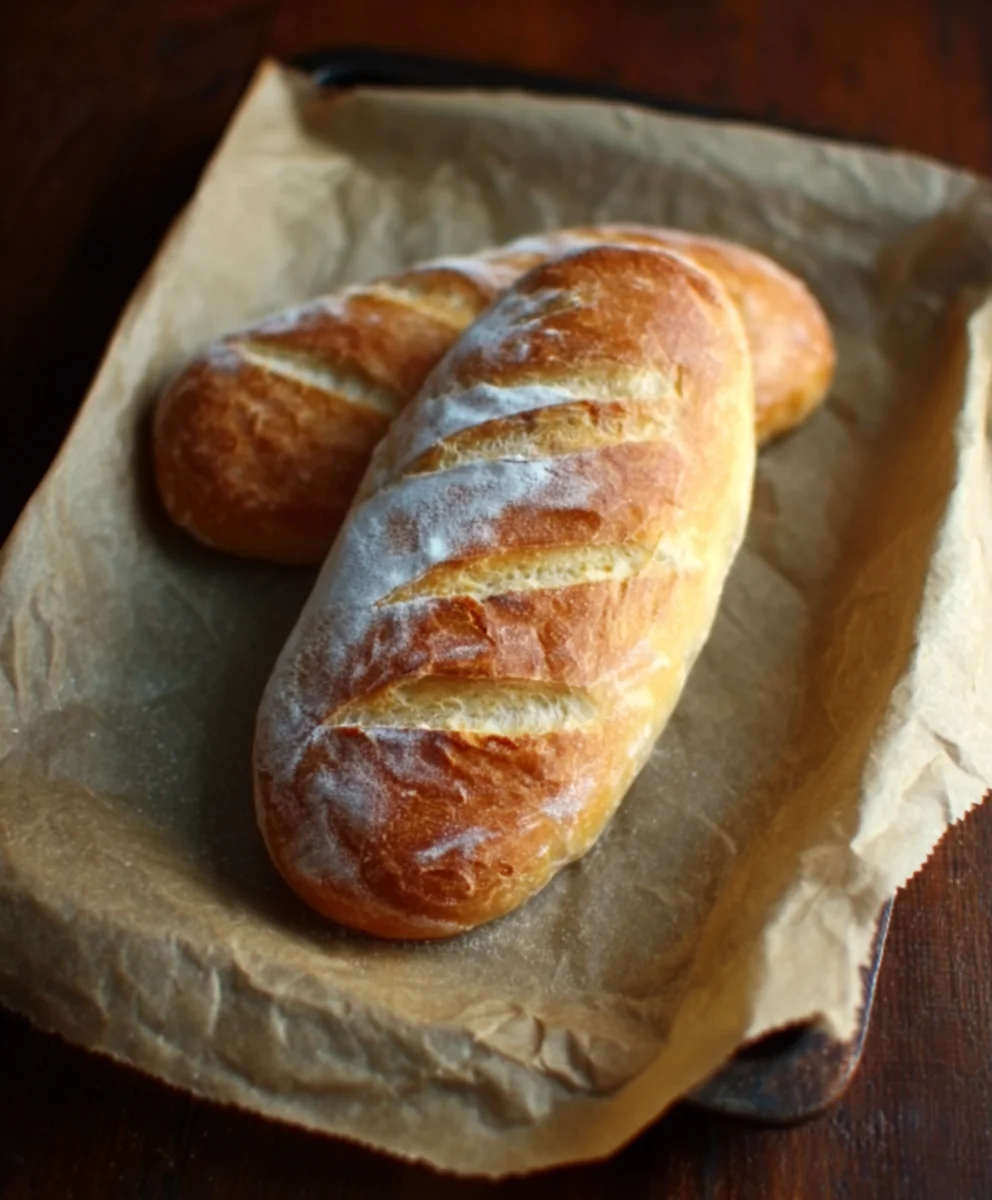
Easy One-Hour French Bread Recipe-Quick Homemade Loaf
A quick and easy recipe for homemade French bread that can be made in about an hour, resulting in a delicious crusty loaf.
Ingredients
-
4 to 4 1/2 cups bread flour, plus more for dusting
-
1 teaspoon sea salt
-
1 1/2 tablespoons active dry yeast
-
2 cups warm water (aim for around 105-115°F or 40-46°C – it should feel pleasantly warm on your wrist, not hot)
-
1 tablespoon olive oil (for greasing bowl)
Instructions
-
Step 1
Activate the yeast by combining warm water and active dry yeast in a large bowl. Let sit for 5-10 minutes until foamy. -
Step 2
Add sea salt to the foamy yeast mixture. Gradually add 4 cups of bread flour, mixing until a dough forms. Add more flour as needed until the dough is smooth and slightly sticky. -
Step 3
Knead the dough on a lightly floured surface for 8-10 minutes (or 6-8 minutes in a stand mixer) until smooth and elastic. -
Step 4
Place the dough in a lightly oiled bowl, cover, and let rise in a warm, draft-free spot for 30-45 minutes, or until doubled in size. -
Step 5
Gently punch down the dough. Shape into one large or two smaller oblong loaves. Place on a parchment-lined baking sheet. -
Step 6
Cover the shaped loaves and let rest for 15-20 minutes while the oven preheats to 425°F (220°C). Score the tops of the loaves. -
Step 7
Bake for 20-25 minutes, or until the crust is deep golden brown and the loaves sound hollow when tapped. Cool on a wire rack for at least 15 minutes before slicing.
Important Information
Nutrition Facts (Per Serving)
It is important to consider this information as approximate and not to use it as definitive health advice.
Allergy Information
Please check ingredients for potential allergens and consult a health professional if in doubt.



Leave a Comment