

The Best White Bread from Scratch is an culinary endeavor that promises not just a loaf of bread, but a comforting aroma that fills your home and a taste of pure, unadulterated deliciousness. There’s a reason why so many bakers find immense satisfaction in crafting their own bread; it’s a connection to a time-honored tradition, a way to nourish loved ones with something made with care and intention. What makes this particular white bread so special? It’s the perfect balance of a wonderfully soft interior with a slightly chewy crust, a testament to a well-developed dough and precise baking. Forget those bland, mass-produced loaves; this recipe delivers a golden-hued masterpiece that’s pillowy, airy, and utterly irresistible. Imagin extracte slathering a warm slice with butter, the sweetness of the bread enhanced by the creamy richness. This is the kind of bread that defines comfort food and elevates any meal.

Ingredients:
- 2 cups warm water
- 1/4 cup granulated sugar
- 5 cups all-purpose flour
- 2 teaspoons active dry yeast
- 2 teaspoons salt
- 3 tablespoons softened unsalted butter
Preparing the Dough
Activating the Yeast
The foundation of a great loaf of bread starts with properly activating your yeast. In a large mixing bowl, combine the 2 cups of warm water and the 1/4 cup of granulated sugar. The water should feel warm to the touch, around 105-115°F (40-46°C). If it’s too hot, it will kill the yeast, and if it’s too cool, it won’t activate properly. Stir in the 2 teaspoons of active dry yeast. Give it a gentle stir to ensure all the yeast is submerged. Now, let this mixture sit undisturbed for about 5 to 10 minutes. You’ll know your yeast is alive and ready when it becomes frothy and foamy on the surface, resembling a bubbly cap. This visual cue is crucial; if you don’t see this activity, your yeast might be old or the water temperature was off, and you should start this step again with fresh yeast.
Mixing the Dry Ingredients
While your yeast is blooming, let’s get the dry ingredients ready. In a separate, larger mixing bowl, combine the 5 cups of all-purpose flour and the 2 teaspoons of salt. Whisk these together thoroughly. The salt is not just for flavor; it also plays a role in controlling the yeast’s activity and strengthening the gluten structure of the dough, which contributes to the bread’s texture. Having both the wet and dry ingredients prepped and ready makes the process of combining them much smoother.
Combining Wet and Dry Ingredients
Once you see that beautiful foam on your yeast mixture, it’s time to bring everything together. Pour the activated yeast mixture into the bowl with the flour and salt. Add the 3 tablespoons of softened unsalted butter to the bowl as well. The butter adds richness, tenderness, and helps to create a soft crum extractb in your final loaf. Begin extract mixing with a sturdy spoon or a dough whisk until a shaggy dough starts to form. It might seem a little wet and sticky at this stage, and that’s perfectly normal. This initial mixing is just to get all the ingredients acquainted before we move to kneading.
Kneading and First Rise
Kneading the Dough
Turn the shaggy dough out onto a lightly floured surface. Now comes the most satisfying part: kneading! Kneading develops the gluten in the flour, which gives bread its structure and chew. Push the dough away from you with the heel of your hand, then fold it back over itself. Rotate the dough a quarter turn and repeat. Continue this process for about 8 to 10 minutes. You’re looking for the dough to become smooth, elastic, and less sticky. It should spring back slowly when you gently poke it with your finger. If the dough is too sticky, add a tablespoon of flour at a time, but be careful not to add too much, as this can result in a dry loaf. You want a supple dough that’s a joy to work with.
First Rise
Once your dough is perfectly kneaded, it’s time for its first, crucial rise. Lightly grease a clean large bowl with a little oil or cooking spray. Place the kneaded dough into the greased bowl and turn it to coat all sides with the oil. This prevents a dry crust from forming on top. Cover the bowl tightly with plastic wrap or a clean, damp kitchen towel. Place the bowl in a warm, draft-free spot in your kitchen. This could be on top of your refrigerator, in a slightly warm oven (turned off, of course!), or simply on your counter if your kitchen is naturally warm. Let the dough rise for about 1 to 1.5 hours, or until it has doubled in size. You’ll see it puff up impressively.
Shaping and Baking
Punching Down and Shaping
After the first rise, gently punch down the dough to release the trapped air. This process, often called “degassing,” redistributes the air bubbles and helps create a finer, morrum extractven crumb. Turn the dough out onto a lightly floured surface again. Shape the dough into your desired loaf form. For a classic sandwich loaf, you can shape it into a rectangle and then roll it up tightly, pinching the seam to seal it. Alternatively, you can shape it into a rustic round boule. Place the shaped dough into a greased loaf pan or onto a parchment-lined baking sheet.
Second Rise (Proofing)
Cover the shaped dough loosely with plastic wrap or a clean kitchen towel. Allow it to rise again in a warm place for another 30 to 45 minutes, or until it has nearly doubled in size and looks visibly puffy. This second rise, often called proofing, is essential for achieving a light and airy texture. It’s important not to over-proof, as this can lead to a collapsed loaf during baking. You can gently touch the dough; if it springs back slowly and leaves a slight indentation, it’s ready to bake.
Baking the Bread
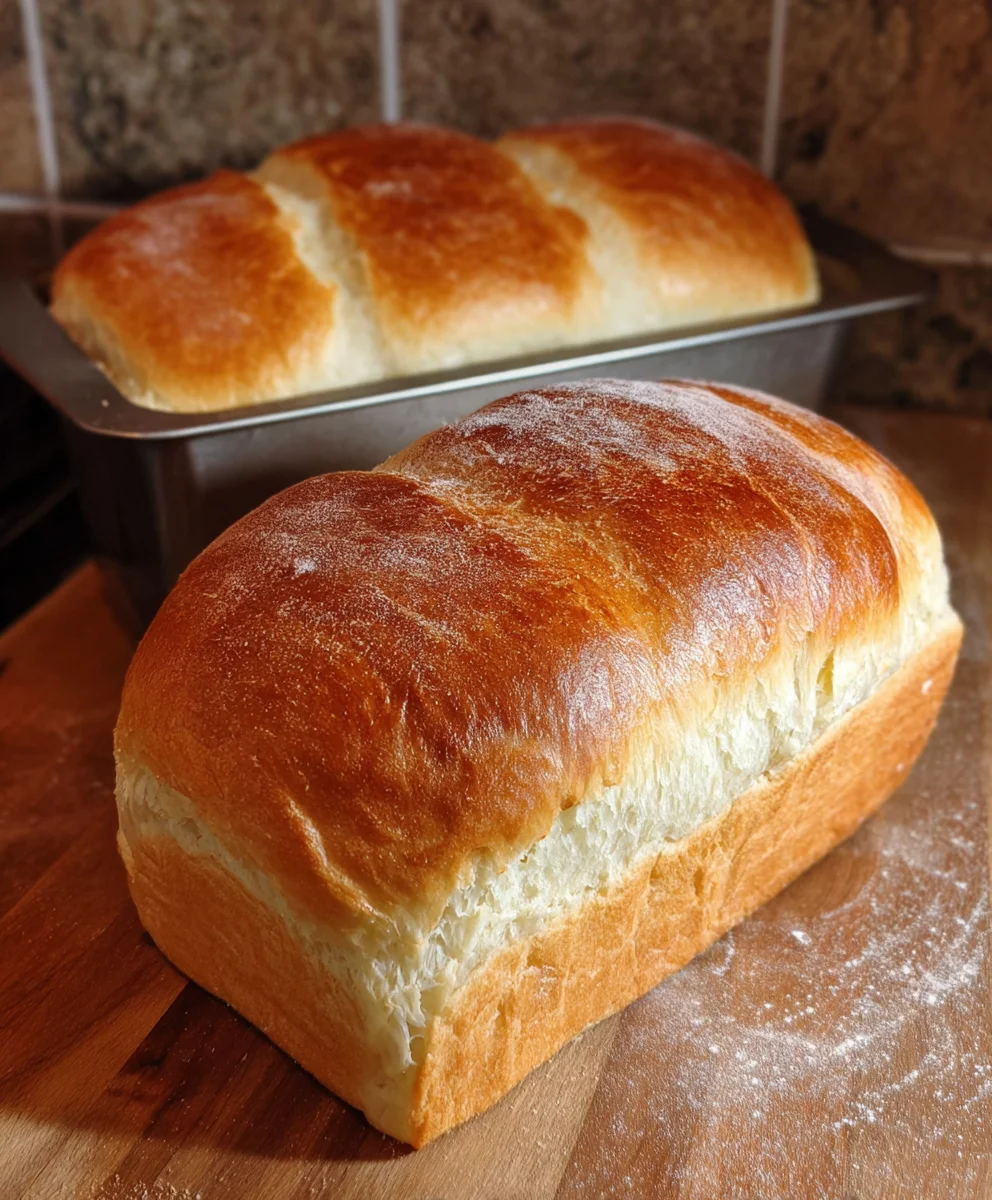
Preheat your oven to 375°F (190°C). If you like a golden-brown crust, you can brush the top of the loaf with a little milk or an egg wash before baking. Carefully place the loaf pan or baking sheet into the preheated oven. Bake for 30 to 35 minutes. You’ll know the bread is done when it’s beautifully golden brown on top and sounds hollow when you tap the bottom. The internal temperature should reach around 200-210°F (93-99°C) when checked with an instant-read thermometer.
Cooling
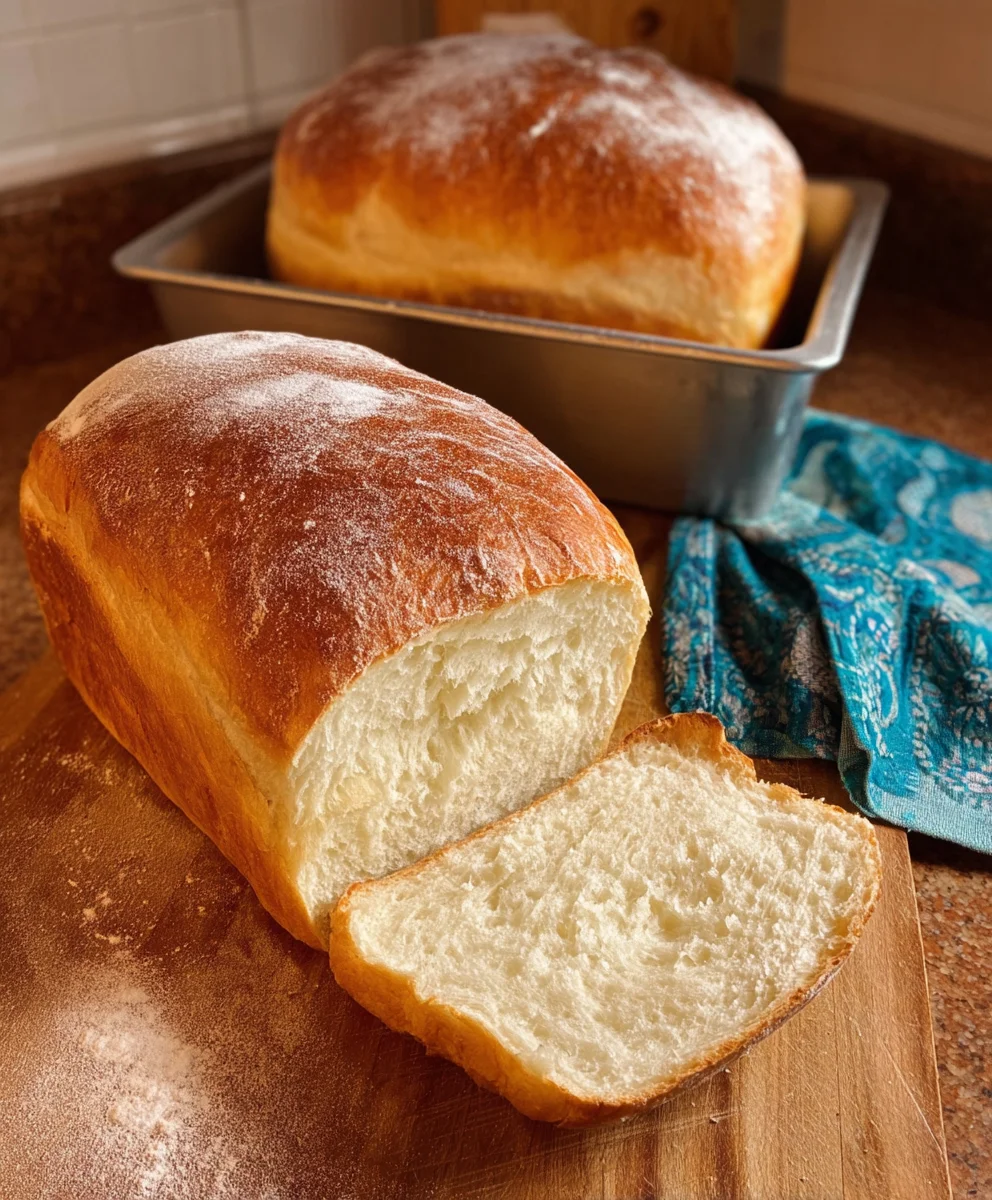
Once baked to perfection, immediately remove the bread from the loaf pan and place it on a wire cooling rack. This is a critical step to prevent the bottom crust from becoming soggy. Allow the bread to cool completely before slicing, which usually takes at least 1 to 2 hours. Slicing hot bread can make it gummy and difficult to cut cleanly. The aroma filling your kitchen as it cools is one of the best parts of baking from scratch! Enjoy the fruits of your labor with this wonderfully simple yet delicious white bread.
Conclusion:
There you have it – your guide to crafting The Best White Bread from Scratch! We’ve journeyed through the simple yet rewarding process of creating a soft, fluffy, and delightfully flavorful white bread that will far surpass anything you can buy at the store. Imagin extracte the aroma filling your kitchen as it bakes, and the pure satisfaction of slicing into your own homemade loaf. This recipe is a fantastic starting point for any aspiring baker, and its versatility is truly its superpower.
This wonderful bread is perfect served warm with a generous smear of butter, alongside a hearty soup, or as the foundation for your favorite sandwich. Don’t be afraid to experiment! Try adding a touch of honey for a sweeter note, or sprinkle in some herbs like rosemary or thyme for an aromatic twist. The possibilities are endless, and the joy of baking is meant to be shared. So, gather your ingredients, preheat your oven, and get ready to impress yourself and your loved ones with The Best White Bread from Scratch. Happy baking!
Frequently Asked Questions:
Can I use all-purpose flour instead of bread flour for The Best White Bread from Scratch?
While bread flour is recommended for its higher protein content, which contributes to a better gluten structure and a chewier texture, you can use all-purpose flour in a pinch. However, your bread might be slightly less chewy and a little denser. You may need to adjust the liquid slightly as different flours absorb moisture differently.
How long does The Best White Bread from Scratch stay fresh?
Stored properly in an airtight container or bread bag at room temperature, The Best White Bread from Scratch will stay fresh for about 3-4 days. For longer storage, you can slice the cooled loaf and freeze it in a freezer-safe bag for up to 3 months.
Best White Bread from Scratch-Easy Homemade Recipe
A simple and straightforward recipe for creating delicious homemade white bread from scratch, perfect for sandwiches and toast. This recipe guides you through activating the yeast, mixing, kneading, rising, shaping, and baking to achieve a soft, airy loaf.
Ingredients
-
2 cups warm water (105-115°F)
-
1/4 cup granulated sugar
-
5 cups all-purpose flour
-
2 teaspoons active dry yeast
-
2 teaspoons salt
-
3 tablespoons softened unsalted butter
Instructions
-
Step 1
Activate Yeast: In a large bowl, combine warm water and sugar. Stir in active dry yeast and let sit for 5-10 minutes until frothy. -
Step 2
Mix Dry Ingredients: In a separate bowl, whisk together flour and salt. -
Step 3
Combine Wet and Dry: Pour the activated yeast mixture into the flour mixture. Add softened butter. Mix with a spoon until a shaggy dough forms. -
Step 4
Knead Dough: Turn the dough onto a lightly floured surface and knead for 8-10 minutes until smooth and elastic. Place in a lightly greased bowl, cover, and let rise in a warm place for 1-1.5 hours, or until doubled in size. -
Step 5
Shape and Second Rise: Punch down the dough, shape into a loaf, and place in a greased loaf pan or on a baking sheet. Cover and let rise for another 30-45 minutes. -
Step 6
Bake: Preheat oven to 375°F (190°C). Bake for 30-35 minutes until golden brown and hollow-sounding when tapped. Internal temperature should be 200-210°F. -
Step 7
Cool: Remove from pan immediately and cool completely on a wire rack before slicing.
Important Information
Nutrition Facts (Per Serving)
It is important to consider this information as approximate and not to use it as definitive health advice.
Allergy Information
Please check ingredients for potential allergens and consult a health professional if in doubt.

Leave a Comment