

The Best Bread Machine Bread Recipe is an absolute game-changer for any home baker, whether you’re a seasoned pro or just starting out. There’s something incredibly satisfying about the aroma of freshly baked bread filling your kitchen, and this recipe ensures that heavenly scent is always on the menu. People adore this recipe because it takes all the guesswork out of bread making, delivering a consistently delicious, perfectly textured loaf every single time. What truly makes this particular bread machine bread recipe special is its simplicity and the incredible results it yields. It’s a no-fuss approach that guarantees a soft, fluffy interior with a delightfully golden crust, making it perfect for toast, sandwiches, or just enjoying warm with a smear of butter. Get ready to discover your new favorite way to bake bread!

Ingredients:
- 1 ¾ cups warm water (415g)
- 2 tablespoons vegetable oil or other neutral oil (25g)
- 1 ½ teaspoons granulated sugar (7g)
- 1 teaspoon salt (8g)
- 4 cups all-purpose bread flour (570g)
- 2 teaspoons active dry yeast or bread machine yeast (8g)
Preparing Your Bread Machine for The Best Bread Machine Bread Recipe
The beauty of using a bread machine is its simplicity, but a little attention to detail at the begin extractning will ensure a perfect loaf every time. Before you start adding any ingredients, take a moment to ensure your bread machine’s kneading paddle is properly seated in the bottom of the baking pan. Sometimes, after cleaning, it can become dislodged, and if it’s not in place, your bread won’t mix properly, leading to an uneven texture or a sunken center. Also, give the inside of the baking pan a quick wipe with a damp cloth to remove any lingering crum extractbs or residue from previous bakes. This ensures a clean slate for your delicious bread.
Adding the Liquids and Dry Ingredients
The order in which you add ingredients to your bread machine is crucial for optimal yeast activation and gluten development. Most bread machines have a specific recommended order, and it’s usually liquid first, followed by dry ingredients. This prevents the yeast from coming into direct contact with the salt too early, which can inhibit its activity.
First, pour the 1 ¾ cups of warm water into the baking pan. You want the water to be warm to the touch, but not hot. Aim for a temperature between 105°F and 115°F (40°C to 46°C). Too hot and you’ll kill the yeast; too cold and it won’t activate properly. You can test this by dipping your finger in – it should feel comfortably warm. Next, drizzle in the 2 tablespoons of oil. This helps to tenderize the crurum extractand crumb of your bread, contributing to a softer texture.
Now, add the dry ingredients. Sprinkle the 1 ½ teaspoons of granulated sugar over the liquids. The sugar acts as food for the yeast, giving it a boost to start its work. Following that, add the 1 teaspoon of salt. Salt not only adds flavor but also controls the yeast’s fermentation rate, preventing it from rising too quickly. Finally, add the 4 cups of bread flour. Gently spoon or pour the flour into the pan, ensuring it covers the liquid ingredients. Try to create a small mound of flour, making sure no liquid is peeking through the flour layer. This “flour dam” helps to keep the yeast and liquids separate until the magin extractne begins to mix.
Activating the Yeast and Starting the Baking Cycle
This is where thegin extractgic really begins. With all the ingredients in the pan, it’s time to add the yeast. Make a small indentation in the center of the flour mound, ensuring you don’t reach the liquid underneath. Carefully spoon the 2 teaspoons of bread machine yeast into this indentation. It’s essential that the yeast doesn’t come into contact with the salt or sugar until the machine starts mixing.
Once the yeast is in place, close the lid of your bread machine securely. Now, select the appropriate cycle for your machine. For this recipe, you’ll want to choose a “Basic,” “White,” or “Standard” cycle. These cycles typically include a resting period, kneading, rising, and baking phases, all controlled automatically. If your machine has a crust color setting, I recommend starting with a medium crust setting; you can always adjust it for future loaves based on your preference. Double-check that the machine is plugged in and the start button is pressed. You shgin extractd hear the machine begin to whir and the paddle start to turn, signifying the start of the mixing process.
The Kneading and Rising Process
During the first phase of the cycle, you’ll notice your bread machine vigorously mixing and kneading the ingredients. This is the most critical stage for developing gluten, which gives bread its structure and chewy texture. The machine will go through several kneading sessions, interspersed with rest periods. You might want to peek through the viewing window (if your machine has one) to observe the dough. Initially, it will look shaggy and wet, but as the gluten develops, it will become smooth, elastic, and pull away cleanly from the sides of the pan. If the dough seems too wet and sticky, and is sticking to the sides even after a few minutes of kneading, you might need to add a tablespoon of bread flour. Conversely, if it lookrum extractery dry and crumbly, add a teaspoon of warm water. Only make these adjustments during the first kneading cycle.
After the kneading is complete, the dough will enter its rising phase. The machine will maintain a warm environment inside the baking cbeef hamber, allowing the yeast to ferment and produce carbon dioxide gas. This gas gets trapped within the gluten network, causing the dough to expand and double in size. You’ll see the dough rise significantly within the pan, filling it up. Resist the urge to open the lid during this time, as letting out the warm air can negatively impact the rise.
The Baking and Cooling Phase
Once the rising is complete, the bread machine will automatically transition to the baking cycle. The temperature inside the machine will increase, and the dough will continue to rgin extract slightly before the crust begins to form and brown. The smell of freshly baked bread filling your kitchen is one of the most rewarding aspects of this process. The baking time will vary depending on your machine and the selected cycle, but it typically lasts for around 40-60 minutes.
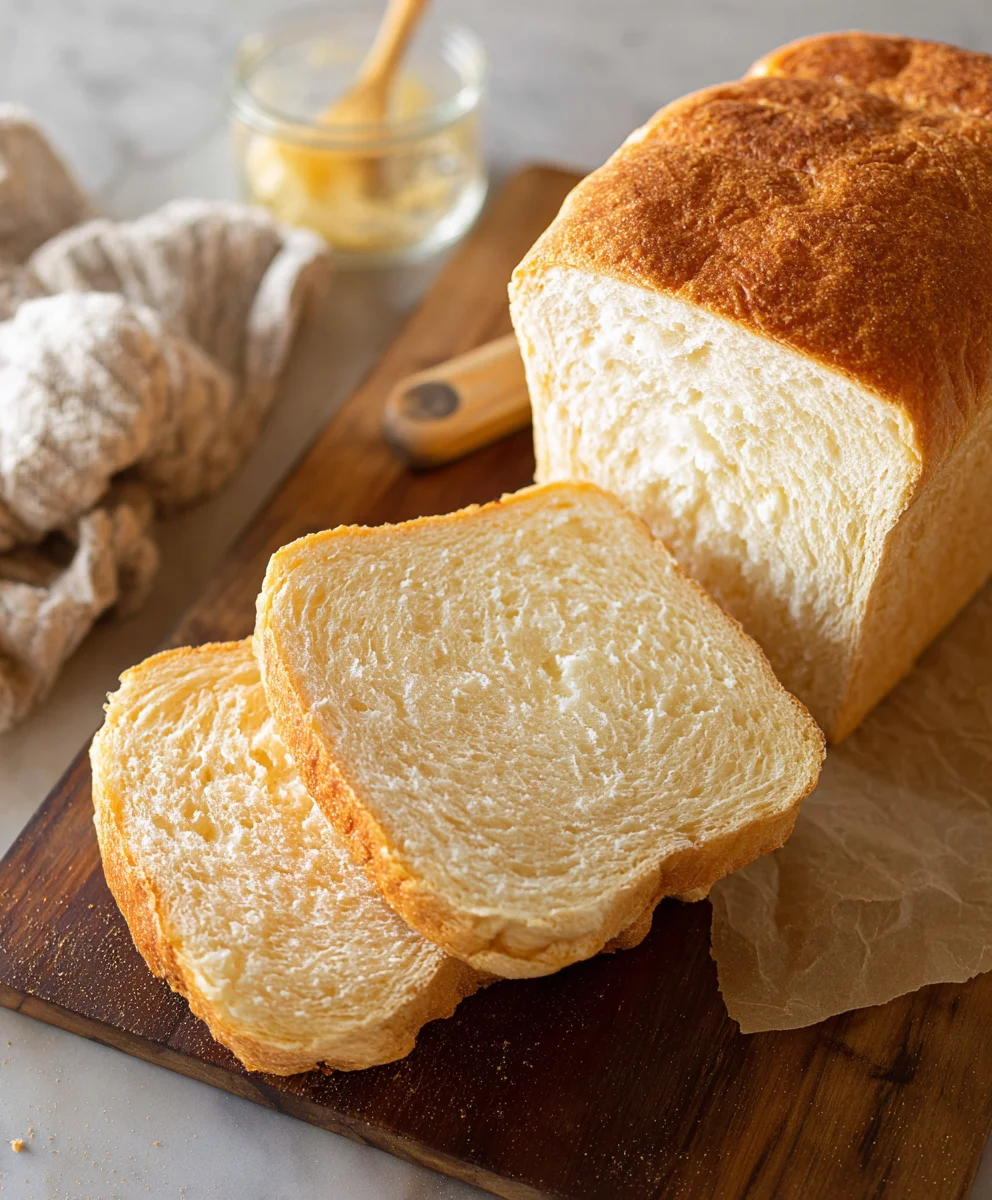
When the baking cycle is finished, the machine will beep to signal that your bread is ready. Carefully open the lid (be mindful of the steam, which will be very hot) and remove the baking pan. You might need to use oven mitts. To remove the bread from the pan, turn the pan upside down over a wire cooling rack. The bread should slide out easily. If it seems a bit stuck, gently shake the pan. If the kneading paddle remains lodged in the bread, carefully use a silicone spatula or a wooden spoon to coax it out once the bread has cooled slightly. Let the bread cool completely on the wire rack for at least 1-2 hours before slicing. This cooling period is essential for the internal structure of the bread to set, ensuring a perfect slice without a gummy texture. Slicing too early can cause the bread to collapse.
Conclusion:
There you have it – a foolproof guide to making The Best Bread Machine Bread Recipe! We’ve walked through each step, from selecting the right ingredients to troubleshooting common issues, ensuring you achieve that perfect, golden loaf every time. This recipe is wonderfully versatile, making it a staple for any home baker. Don’t be afraid to experiment and make it your own. The aroma that fills your home as this bread bakes is truly unparalleled, and the taste is even better. Enjoying a slice of homemade bread, warm from the oven, is one of life’s simple pleasures.
For serving suggestions, this bread is divine on its own, perhaps with a smear of good quality butter. It also makes an exceptional base for sandwiches, toast, or even French toast. Feel free to get creative with variations! You can add herbs, seeds, or even a touch of sweetness like honey or a sprinkle of sugar for a slightly different flavor profile. Remember, the goal is to have fun and enjoy the process. Happy baking!
Frequently Asked Questions:
Q: My bread machine bread recipe came out dense. What did I do wrong?
A: A dense loaf can often be due to a few factors. Ensure your yeast was fresh and activated properly. Measuring your flour accurately is also crucial; using too much can lead to a dense texture. Using the “basic” or “white bread” setting on your machine is generally best for this recipe. Overworking the dough (though less of a concern in a machine) or using too many heavy additions can also contribute to density.
Q: Can I use whole wheat flour in The Best Bread Machine Bread Recipe?
A: Yes, you can! If you want to incorporate whole wheat, start by replacing about a third of the all-purpose flour with whole wheat flour. For higher ratios of whole wheat, you might need to adjust the liquid slightly, as whole wheat absorbs more moisture. You may also want to add a tablespoon of vital wheat gluten to help with the structure and rise.
Q: How should I store my homemade bread machine bread?
A: Once completely cooled, store your bread at room temperature in a bread box or a loosely tied plastic bag for 2-3 days. For longer storage, you can slice the bread and freeze it in an airtight container or freezer bag for up to 3 months. Thaw at room temperature or gently toast from frozen.
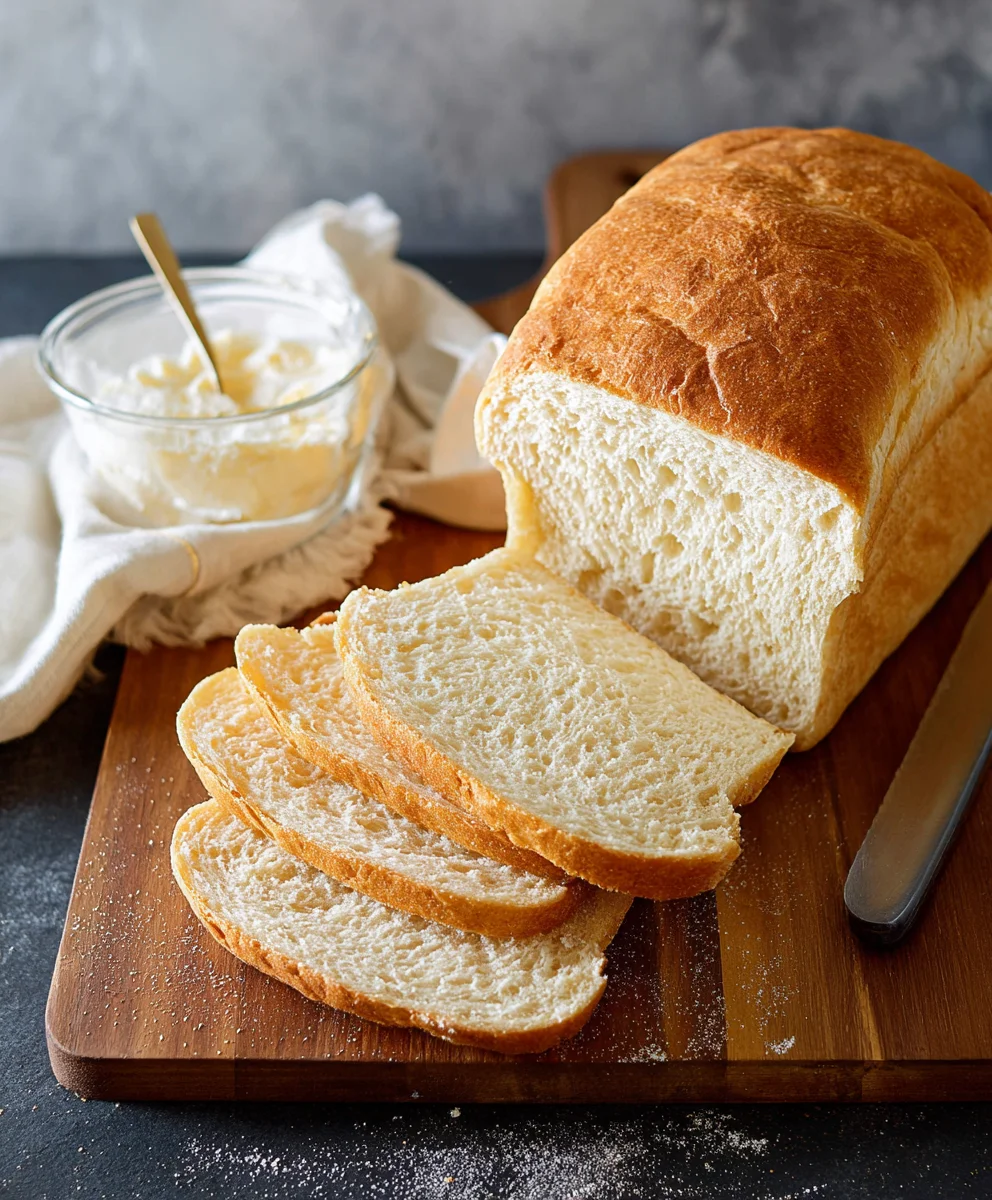
Best Bread Machine Bread Recipe – Simple & Delicious
A straightforward and delicious recipe for homemade bread using a bread machine. Perfect for beginners!
Ingredients
-
1 ¾ cups warm water (415g)
-
2 tablespoons vegetable oil (25g)
-
1 ½ teaspoons granulated sugar (7g)
-
1 teaspoon salt (8g)
-
4 cups all-purpose bread flour (570g)
-
2 teaspoons active dry yeast (8g)
Instructions
-
Step 1
Ensure the kneading paddle is properly seated in the baking pan and wipe the inside of the pan with a damp cloth. -
Step 2
Add ingredients to the bread machine in the following order: warm water (105-115°F), oil, sugar, salt, and finally bread flour, creating a flour dam over the liquids. -
Step 3
Make an indentation in the center of the flour mound (without touching the liquid) and add the yeast. -
Step 4
Close the lid, select the ‘Basic’, ‘White’, or ‘Standard’ cycle, and press start. Adjust crust color to medium if available. -
Step 5
Observe the dough during kneading and rising. Adjust with a tablespoon of bread flour if too wet, or a teaspoon of warm water if too dry, only during the first kneading cycle. -
Step 6
Once the baking cycle is complete, carefully remove the pan from the machine and turn it upside down over a wire rack to release the bread. Remove the kneading paddle if necessary. -
Step 7
Allow the bread to cool completely on the wire rack for at least 1-2 hours before slicing to ensure the internal structure sets.
Important Information
Nutrition Facts (Per Serving)
It is important to consider this information as approximate and not to use it as definitive health advice.
Allergy Information
Please check ingredients for potential allergens and consult a health professional if in doubt.
Leave a Comment