

Homemade Bread Recipe for Begin extractners is more than just a recipe; it’s an invitation to experience the pure satisfaction of transforming simple ingredients into a warm, crusty loaf. There’s an almost magical quality to watching dough rise, smelling that unmistakable aroma fill your kitchen, and finally, tearing into a slice of bread you made with your own two hands. People absolutely adore this Homemade Bread Recipgin extractor Beginners because it demystifies the baking process, proving that you don’t need years of experience to achieve incredible results. What truly makes this particular Homemade Bregin extractRecipe for Beginners special is its foolproof nature. We’ve stripped away all the complexity, focusing on clear, easy-to-follow steps that guarantee a tender crum extractb and a perfectly golden-brown crust, every single time. Get ready to ditch the store-bought and embrace the delicious simplicity of homemade goodness.

Ingredients:
- 1 packet (2 ¼ teaspoons) active dry yeast
- 1 ½ cups warm water (105-115°F)
- 1 teaspoon granulated sugar
- 3 ½ to 4 cups all-purpose flour, plus more for dusting
- 1 teaspoon salt
- 2 tablespoons olive oil, plus more for greasing
Mixing the Dough
Let’s get started on our delicious homemade bread! The first crucial step is to activate our yeast. In a large mixing bowl, combine the warm water and the granulated sugar. Give it a gentle stir to dissolve the sugar. This might seem like a small step, but the sugar acts as food for the yeast, helping it bloom and become active. Once the sugar is dissolved, sprinkle the active dry yeast over the surface of the water. Don’t stir it in just yet. Let it sit for about 5-10 minutes. You’ll know the yeast is active when the mixture becomes foamy and bubbly, resembling a frothy layer on top. This is a good sign that your yeast is alive and ready to work its magic!
While our yeast is getting happy, let’s prepare the dry ingredients. In a separate medium-sized bowl, whisk together 3 ½ cups of the all-purpose flour and the salt. Make sure the salt is evenly distributed throughout the flour; it not only adds flavor but also helps to control the yeast’s activity. Once your yeast mixture is nice and foamy, add the olive oil to it. The olive oil will contribute to the bread’s softness and crust development. Now, pour the activated yeast mixture into the bowl with the flour and salt. Begin extract to mix everything together. You can use a wooden spoon or a sturdy spatula at this stage. Mix until the ingredients just start to come together into a shaggy dough. It will look a bit messy and wet, and that’s perfectly okay!
Kneading the Dough
Now comes the satisfying part: kneading! Turn the shaggy dough out onto a lightly floured surface. This is where you might need to add a little more flour. Start by gently folding the dough over on itself and pressing down with the heels of your hands. Rotate the dough slightly and repeat the folding and pressing motion. The goal is to develop the gluten in the flour, which gives bread its structure and chewy texture. Initially, the dough will be sticky. Resist the urge to add too much extra flour at once, as this can make your bread dry and dense. Instead, use your bench scraper to help lift any sticky bits from the surface and add just a tablespoon of flour at a time if the dough is unmanageable. Continue kneading for about 8-10 minutes. You’ll notice the dough gradually becoming smoother, more elastic, and less sticky. It should spring back slowly when you gently poke it with your finger. This developed elasticity is key to a beautiful rise and a good crum extractb.
First Rise (Proofing)
Once your dough has reached that wonderfully smooth and elastic texture, it’s time for its first rise, also known as proofing. Lightly grease a clean large bowl with a little extra olive oil. Place the kneaded dough into the oiled bowl, turning it once to coat the entire surface with oil. This prevents a dry skin from forming on the dough as it rises. Cover the bowl tightly with plastic wrap or a clean kitchen towel. Find a warm, draft-free spot for the dough to rise. Your oven, with the light on but the oven itself off, is often a great place for this. Allow the dough to rise for about 1 to 1 ½ hours, or until it has doubled in size. Patience here is a virtue! The warmth and humidity help the yeast to work efficiently, creating those lovely air pockets that will make your bread light and airy.
Shaping and Second Rise
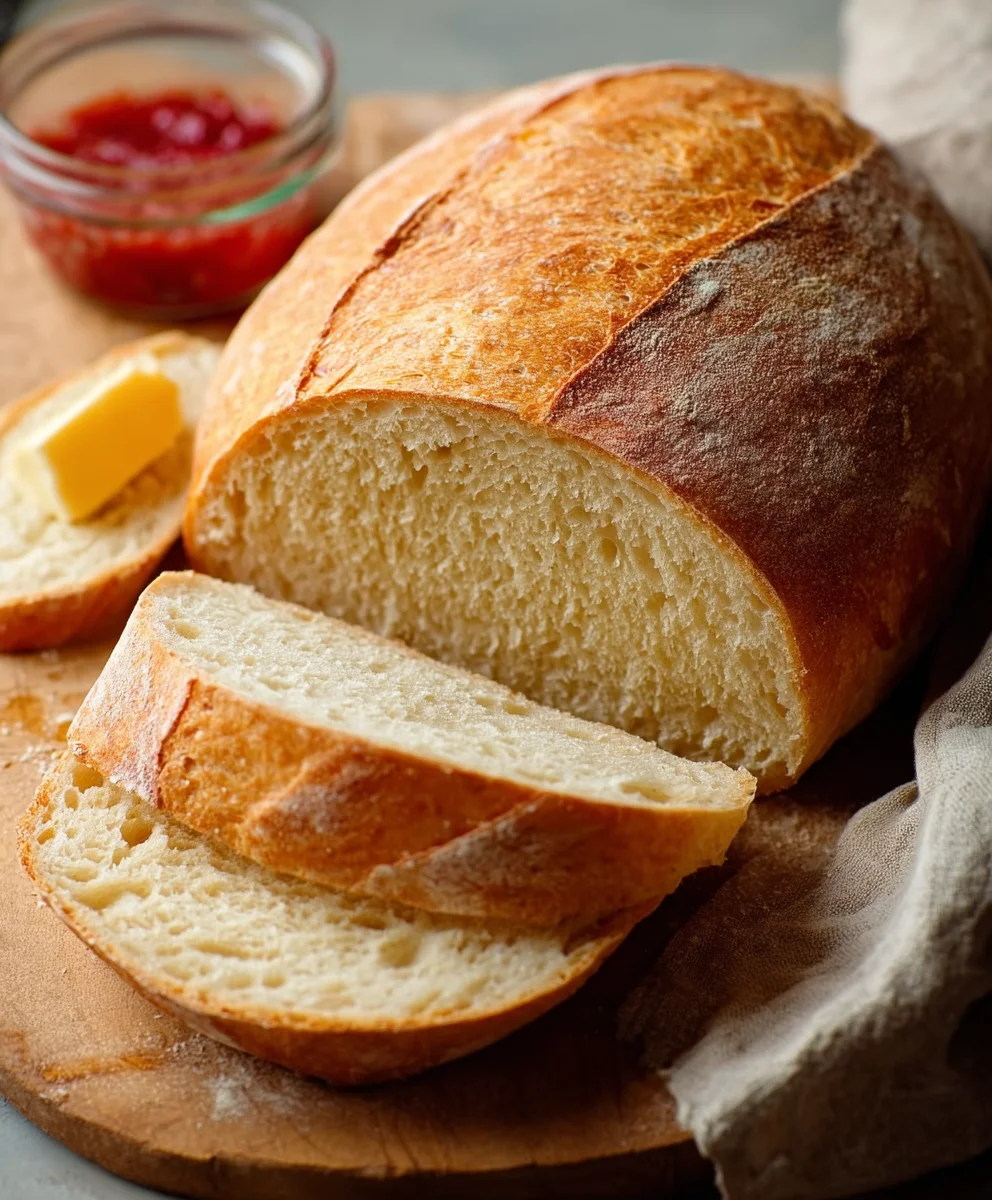
After the dough has impressively doubled in size, gently punch it down to release the trapped air. Turn the dough out onto your lightly floured surface again. At this point, you can shape your bread. For a simple loaf, gently pat the dough into a rectangle. Then, starting from one of the shorter sides, tightly roll up the dough into a log. Pinch the seam closed firmly. You can also create a round loaf by tucking the edges under to form a taut surface. Once shaped, place the loaf onto a baking sheet lined with parchment paper. For a classic loaf pan shape, you would lightly grease your loaf pan and place the shaped dough inside. Cover the shaped loaf loosely with plastic wrap or a clean kitchen towel and let it rise again for another 30-45 minutes, or until it looks puffy and has almost doubled in size. This second rise allows the bread to achieve its final volume before baking.
Baking the Bread
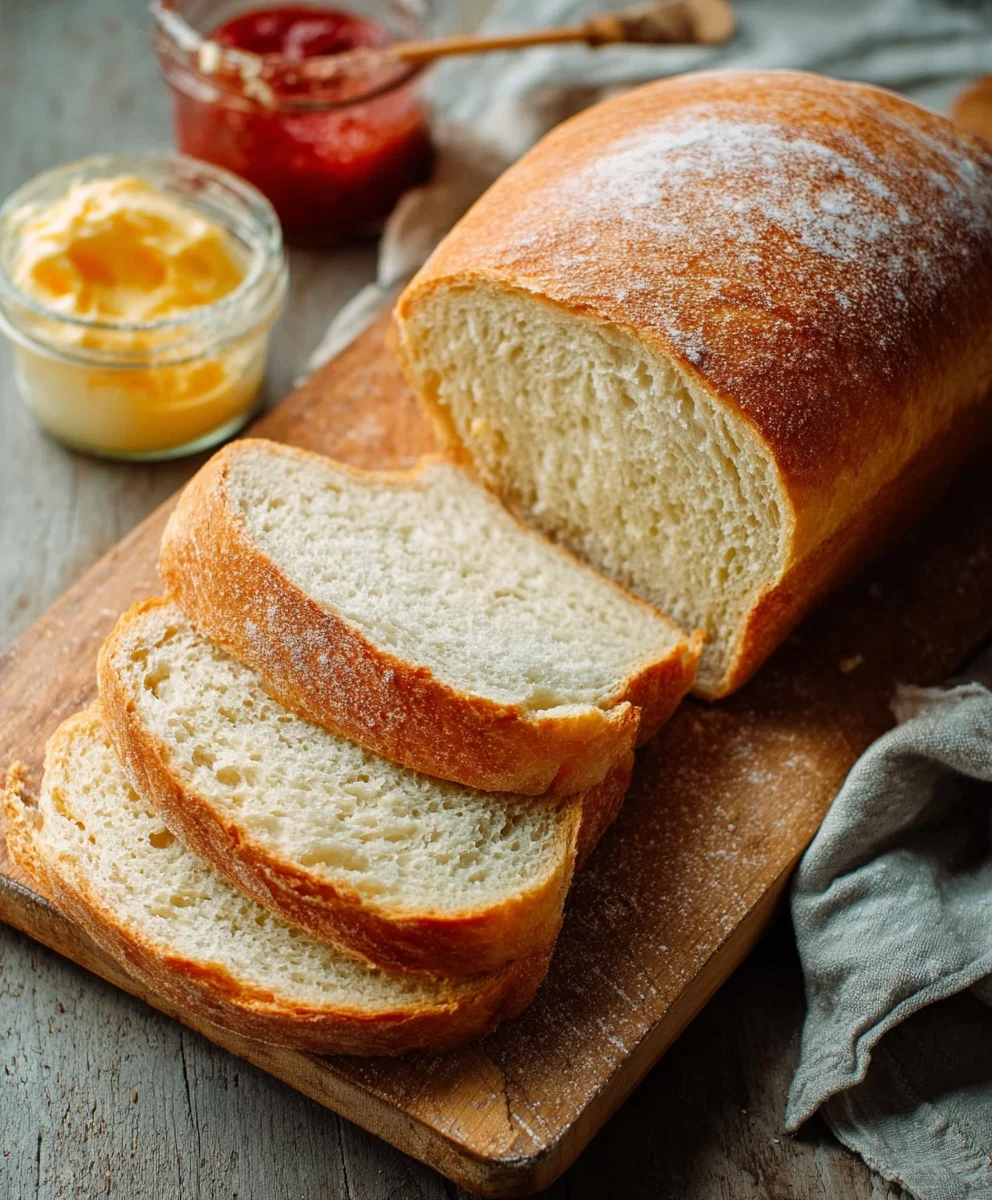
Preheat your oven to 375°F (190°C) during the second rise. Once the oven is preheated and your dough has completed its second rise, it’s time to bake! If you like, you can lightly score the top of the loaf with a sharp knife or a lame. This helps to control where the bread expands during baking and can create a beautiful rustic appearance. Carefully place the baking sheet (or loaf pan) into the preheated oven. Bake for 30-40 minutes, depending on the size and shape of your loaf. The bread is done when it’s golden brown on top and sounds hollow when tapped on the bottom. If you’re using a loaf pan, you can carefully remove the bread from the pan after about 20 minutes to finish baking directly on the oven rack for an even crust. Once baked, transfer the bread to a wire rack to cool completely. This cooling process is essential frum extractthe crumb to set properly. Resist the temptation to slice into it immediately – the wait is worth it for the perfect slice of homemade bread!
Conclusion:
You’ve conquered the art of creating delicious Homemade Bread Recipe for Begin extractners! We’ve walked through each step, from activating the yeast to achieving that perfect golden crust. Now, armed with this knowledge, you can impress your family and friends with fresh, warm loaves whenever the craving strikes. Don’t be afraid to experiment further – this recipe is a fantastic foundation for all your future baking adventures.
Serving suggestions abound! This versatile Homemade Bread Recipgin extractor Beginners is perfect on its own with a smear of butter, alongside your favorite soup or stew, or as the star of a gourmet sandwich. Consider toasting slices for a delightful breakfast base, or cube it for homemade croutons. For variations, try adding herbs like rosemary or thyme to the dough, or perhaps a sprinkle of seeds for extra texture and flavor. A touch of honey in place of some sugar can also yield a subtly sweet and tender crum extractb.
The satisfaction of pulling a homemade loaf from your oven is truly unparalleled. Embrace the process, enjoy the aroma that fills your home, and savor every bite. Happy baking!
Frequently Asked Questions about Homemade Bregin extractRecipe for Beginners
Q1: My bread didn’t rise very much. What could be the problem?
There are a few common culprits. First, ensure your yeast was fresh and properly activated – it should be foamy and bubbly. Water that is too hot can kill the yeast, while water that is too cold won’t activate it sufficiently. Also, make sure your kitchen is warm enough for proofing. A cool environment can significantly slow down the rising process. Lastly, ensure you haven’t over-kneaded the dough, which can toughen it.
Q2: Can I make this Homegin extracte Bread Recipe for Beginners using a stand mixer?
Absolutely! Using a stand mixer with a dough hook can make the kneading process much easier and less time-consuming. Follow the same steps for mixing the ingredients, then knead on a medium-low speed for about 6-8 minutes, or until the dough is smooth and elastic. You’ll be looking for the same windowpane test results as you would with hand-kneading.
Easy Homemade Bread Recipe for Beginners
Learn how to bake delicious homemade bread with this simple recipe perfect for beginners. Achieve a beautiful crust and a soft, airy crumb with easy-to-follow steps.
Ingredients
-
1 packet (2 ¼ teaspoons) active dry yeast
-
1 ½ cups warm water (105-115°F)
-
1 teaspoon granulated sugar
-
3 ½ cups all-purpose flour, plus more for dusting
-
1 teaspoon salt
-
2 tablespoons olive oil, plus more for greasing
Instructions
-
Step 1
Activate the yeast by combining warm water and sugar in a large bowl. Let sit for 5-10 minutes until foamy. While waiting, whisk together 3 ½ cups of flour and salt in a separate bowl. -
Step 2
Add olive oil to the foamy yeast mixture. Pour this into the flour and salt mixture. Mix until a shaggy dough forms. -
Step 3
Turn the dough onto a lightly floured surface and knead for 8-10 minutes until smooth, elastic, and less sticky. Add flour only as needed, a tablespoon at a time. -
Step 4
Place the kneaded dough in a lightly greased bowl, turn to coat, cover, and let rise in a warm, draft-free spot for 1 to 1 ½ hours, or until doubled in size. -
Step 5
Gently punch down the dough, shape it into a loaf, and place it on a parchment-lined baking sheet. Cover loosely and let rise again for 30-45 minutes until puffy. -
Step 6
Preheat oven to 375°F (190°C). Bake the loaf for 30-40 minutes until golden brown and hollow-sounding when tapped. Cool completely on a wire rack before slicing.
Important Information
Nutrition Facts (Per Serving)
It is important to consider this information as approximate and not to use it as definitive health advice.
Allergy Information
Please check ingredients for potential allergens and consult a health professional if in doubt.

Leave a Comment