

Reese’s Pieces Peanut Butter Bark is more than just a sweet treat; it’s a nostalgic journey back to childhood, a delightful explosion of flavor and texture that instantly brings a smile to anyone’s face. Why do we all love it so much? It’s the perfect marriage of smooth, rich chocolate and the undeniably satisfying crunch of candy-coated peanut butter pieces. This isn’t your average candy bar; it’s a homemade sensation that captures the essence of everyone’s favorite peanut butter confection with an irresistible twist. What makes this Reese’s Pieces Peanut Butter Bark truly special is its simplicity, allowing the vibrant flavors of peanut butter and chocolate to shine through, enhanced by the delightful pop of those iconic candies. Get ready to whip up a batch of this incredibly addictive dessert that’s perfect for sharing, gifting, or simply indulgin extractg in yourself.

Ingredients:
- 3 1/2 cups (637g) milk chocolate chips, divided
- 1 cup (258g) creamy peanut butter
- 1 cup (125g) confectioners’ sugar
- 3 tablespoons unsalted butter, softened
- 1 cup (188g) Reese’s Pieces candy
Preparing the Peanut Butter Filling
Melting the Peanut Butter
We’re going to start by creating a delicious and creamy peanut butter filling that will be the heart of our Reese’s Pieces Peanut Butter Bark. In a medium-sized microwave-safe bowl, combine the creamy peanut butter, the softened unsalted butter, and the confectioners’ sugar. It’s important that your butter is softened, not melted, as this will help create a smoother consistency when you mix everything together. If your butter is too cold, it can make incorporating the sugar a bit lumpy.
Mixing the Filling
Now, for the mixing! You can do this using a hand mixer, a stand mixer with a paddle attachment, or even just a sturdy whisk and some elbow grease. Start on low speed to combine the ingredients, and then gradually increase the speed as the mixture starts to come together. You’re aiming for a smooth, thick, and spreadable consistency. It should resemble a very thick frosting or a dense dough. Don’t overmix, as this can sometimes make the filling tough. If the mixture seems a little too stiff and hard to stir, you can add a tiny splash of milk (about 1 teaspoon at a time) to loosen it up, but be very careful not to make it too wet, as this can affect how it sets later. Once it’s smooth and uniform, set this bowl aside.
Melting and Layering the Chocolate
Melting the First Layer of Chocolate
Next, we’ll prepare the chocolate base for our bark. Take 2 cups (approximately 360g) of the milk chocolate chips and place them in a microwave-safe bowl. Microwave them in 30-second intervals, stirring thoroughly after each interval, until the chocolate is almost completely melted. It’s crucial to stir between each heating burst to prevent the chocolate from scorching or burning. Some chocolate chips might still look a bit solid, but the residual heat will melt them as you stir. You want a smooth, glossy, and fully melted chocolate. If you prefer, you can also use a double boiler method for melting chocolate, which offers more control and reduces the risk of overheating.
Spreading the Chocolate Base
Line a baking sheet (standard half-sheet size, about 18×13 inches, is ideal) with parchment paper. Make sure the parchment paper extends slightly up the sides of the baking sheet to make lifting the bark out easier later. Pour the melted chocolate onto the prepared baking sheet. Use an offset spatula or the back of a spoon to spread the chocolate into a thin, even layer, aiming for a thickness of about 1/8 to 1/4 inch. Try to get the edges as neat as possible, but don’t worry too much about perfection, as it’s bark!
Assembling the Reese’s Pieces Peanut Butter Bark
Adding the Peanut Butter Layer
Now for the star combination! Take your prepared peanut butter filling and dollop spoonfuls of it evenly over the layer of melted chocolate on the baking sheet. Don’t worry about spreading it perfectly smooth at this stage. Instead, use a spatula or the back of your spoon to gently spread the peanut butter mixture, creating swirls and peaks within the chocolate. You want to leave some areas where the chocolate peeks through, and you want to ensure you cover most of the chocolate layer, but it doesn’t need to be perfectly uniform. The texture and rustic look are part of its charm!
Creating the Top Chocolate Layer and Toppings
Take the remaining 1 1/2 cups (approximately 277g) of milk chocolate chips and melt them using the same method as described in the “Melting the First Layer of Chocolate” step (microwave in 30-second intervals, stirring well). Once this chocolate is melted and smooth, drizzle it generously over the peanut butter layer. Don’t be afraid to be artistic with your drizzling! This creates another layer of chocolate and adds visual appeal. Immediately after drizzling the top layer of chocolate, sprinkle the Reese’s Pieces candy evenly over the entire surface of the bark. Gently press the Reese’s Pieces into the chocolate with your fingertips to help them adhere as the chocolate begin extracts to set. This ensures they won’t fall off when you break the bark into pieces.
Chilling and Finishing
Chilling the Bark
Once everything is assembled and the Reese’s Pieces are pressed in, carefully place the baking sheet in the refrigerator. Allow the bark to chill for at least 1 to 2 hours, or until the chocolate is completely firm and set. You can also place it in the freezer for about 30-45 minutes if you’re short on time, but be careful not to let it get too cold, as this can sometimes affect the chocolate’s texture. The goal is for everything to be solid and easy to break.
Breaking and Serving
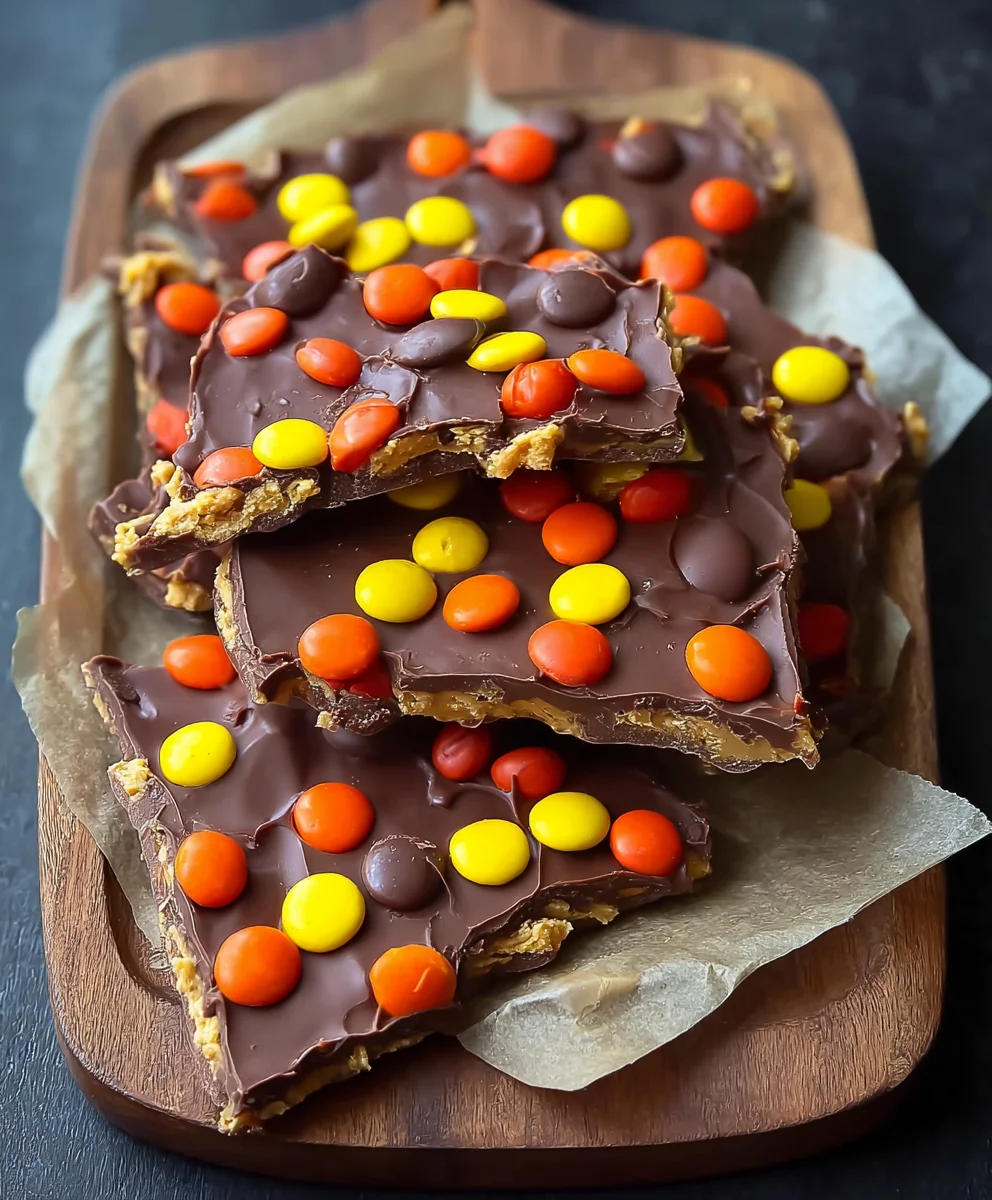
Once the bark is completely set, gently lift the parchment paper with the bark off the baking sheet. Place it on a cutting board. Using your hands, break the bark into irregular pieces. The natural lines where the chocolate and peanut butter have set will make this easy. If the chocolate is very firm, you might need to use a sharp knife to score it or help break it into smaller, more manageable pieces. Store your finished Reese’s Pieces Peanut Butter Bark in an airtight container at room temperature or in the refrigerator for longer storage. If storing in the refrigerator, allow it to sit out for a few minutes before serving to soften slightly for the best texture.
Conclusion:
You’ve now mastered the art of creating the irresistible Reese’s Pieces Peanut Butter Bark! This recipe is a delightful journey of sweet, salty, and chocolatey goodness that’s surprisingly simple to put together. The combination of creamy peanut butter, rich chocolate, and the signature crunch of Reese’s Pieces makes every bite a celebration. I truly hope you enjoy making and sharing this delightful treat as much as I do!
To elevate your experience, consider serving this Reese’s Pieces Peanut Butter Bark cut into generous squares at your next gathering, or even as a sweet surprise in a lunchbox. It’s fantastic on its own, but can also be a wonderful addition to a dessert platter, paired with coffee or tea, or even crum extractbled over ice cream for an extra layer of texture and flavor. Don’t be afraid to experiment with variations! You could try adding a sprinkle of sea salt on top before the chocolate sets for an extra salty kick, or swirl in some caramel for added decadence. For a bit of crunch, some chopped pretzels or toasted nuts would also be a fabulous addition to your Reese’s Pieces Peanut Butter Bark.
I encourage you to get creative and make this recipe your own. It’s a forgiving and fun recipe, perfect for bakers of all skill levels. So, go ahead, gather your ingredients, and whip up some of this delicious Reese’s Pieces Peanut Butter Bark. You won’t regret it!
Frequently Asked Questions:
How should I store the Reese’s Pieces Peanut Butter Bark?
Store your Reese’s Pieces Peanut Butter Bark in an airtight container in a cool, dry place, or in the refrigerator if your kitchen tends to be warm. It should stay fresh for up to two weeks.
Can I use milk chocolate instead of semi-sweet for the Reese’s Pieces Peanut Butter Bark?
Absolutely! While semi-sweet chocolate provides a lovely balance, using milk chocolate will result in a sweeter and creamier Reese’s Pieces Peanut Butter Bark. Feel free to use your favorite type of chocolate.
What if I don’t have Reese’s Pieces? Can I substitute something else in the Reese’s Pieces Peanut Butter Bark?
If Reese’s Pieces aren’t available, you can certainly substitute them. Chopped peanut butter cups, M&M’s (especially peanut butter ones), or even a mix of nuts and mini chocolate chips would be delicious additions to your Reese’s Pieces Peanut Butter Bark.
Reese’s Pieces Peanut Butter Bark
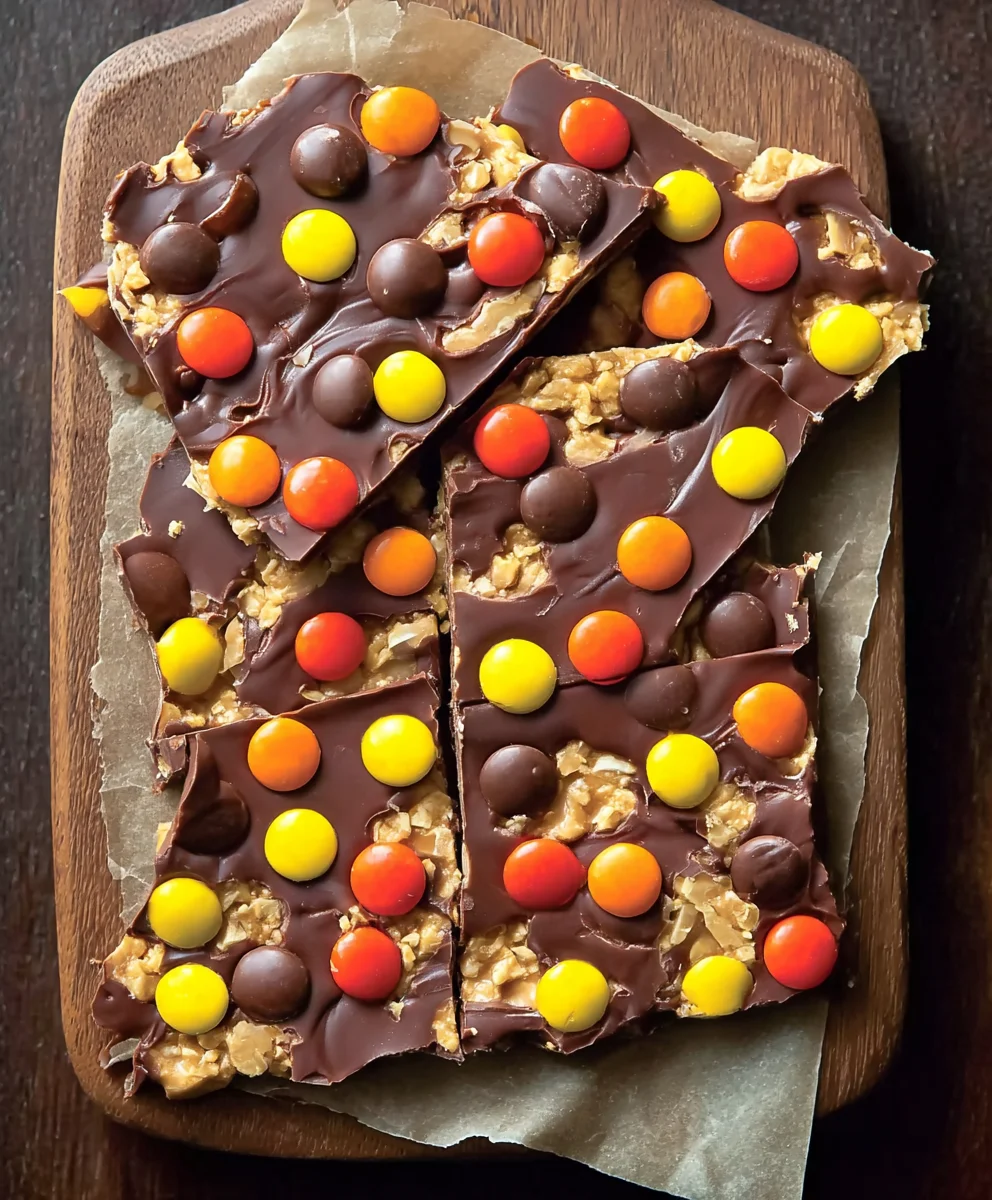
A delicious and easy-to-make bark featuring layers of creamy peanut butter filling and milk chocolate, topped with colorful Reese’s Pieces candy.
Ingredients
-
3 1/2 cups milk chocolate chips, divided
-
1 cup creamy peanut butter
-
1 cup confectioners’ sugar
-
3 tablespoons unsalted butter, softened
-
1 cup Reese’s Pieces candy
Instructions
-
Step 1
Prepare the peanut butter filling: In a microwave-safe bowl, combine 1 cup creamy peanut butter, 3 tablespoons softened unsalted butter, and 1 cup confectioners’ sugar. Mix with a hand mixer, stand mixer, or whisk until smooth, thick, and spreadable. -
Step 2
Melt 2 cups of milk chocolate chips in a microwave-safe bowl, stirring every 30 seconds until smooth and glossy. Spread the melted chocolate in a thin, even layer (about 1/8 to 1/4 inch thick) onto a parchment paper-lined baking sheet. -
Step 3
Dollop spoonfuls of the peanut butter filling evenly over the melted chocolate layer. Gently spread the peanut butter mixture to create swirls and peaks, allowing some chocolate to show through. -
Step 4
Melt the remaining 1 1/2 cups of milk chocolate chips using the same microwave method until smooth. Drizzle the melted chocolate generously over the peanut butter layer. -
Step 5
Immediately sprinkle 1 cup of Reese’s Pieces candy evenly over the top chocolate layer. Gently press the candy into the chocolate to help them adhere. -
Step 6
Chill the bark in the refrigerator for 1 to 2 hours, or until completely firm. Break the bark into irregular pieces by hand or with a knife. Store in an airtight container.
Important Information
Nutrition Facts (Per Serving)
It is important to consider this information as approximate and not to use it as definitive health advice.
Allergy Information
Please check ingredients for potential allergens and consult a health professional if in doubt.



Leave a Comment