

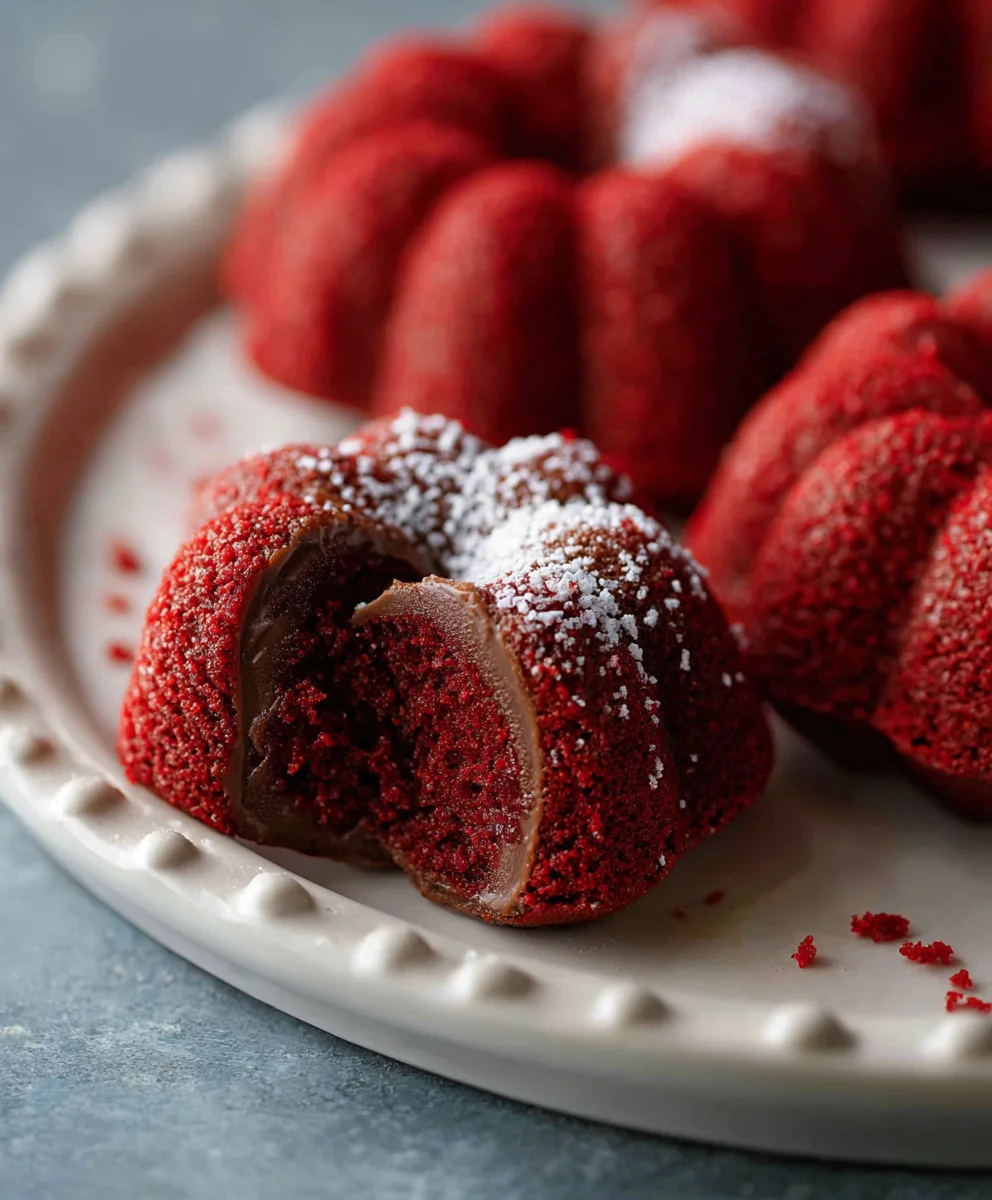
Hershey’s red velvet blossoms are more than just a festive treat; they’re a culinary hug, a vibrant burst of color and flavor that instantly elevates any occasion. Imagin extracte biting into a tender, slightly tangy cookie, its deep crimson hue a visual promise of the rich chocolate experience within. That signature pop of red, nestled against the creamy white of the melted Hershey’s Kiss, is a classic for a reason. People adore these cookies not only for their striking appearance but for the delightful textural contrast and the perfectly balanced sweetness. What truly makes Hershey’s red velvet blossoms special is the way they capture the essence of celebration and comfort in a single, bite-sized package. They are remarkably easy to make, making them an ideal project for bakers of all levels, and the aroma that fills your kitchen as they bake is simply non-intoxicating. Get ready to fall in love with this iconic holiday cookie!

Ingredients:
- 7 tablespoons butter, softened (salted or unsalted works, but if using unsalted, you might want to add an extra pinch of salt later)
- 1/2 cup packed brown sugar
- 2 tablespoons granulated sugar
- 1 teaspoon vanilla extract
- 1 large egg yolk
- 1/4 teaspoon red food coloring gel (gel is preferred for a more vibrant color without adding too much liquid)
- 1 cup all-purpose flour
- 1 tablespoon unsweetened cocoa powder
- 1/2 teaspoon baking powder
- 1/4 teaspoon salt
- 1/4 cup red sanding sugar (this adds a lovely shimmer and a slight crunch)
- 18 Hershey’s chocolate kisses, unwrapped (milk chocolate is traditional, but dark or even caramel-filled would be interesting experiments!)
Preparing the Red Velvet Dough
To begin extract making your delightful Hershey’s red velvet blossoms, the first step is to cream together the fats and sugars. In a medium-sized mixing bowl, combine the softened butter, packed brown sugar, and granulated sugar. Using an electric mixer on medium speed, or a sturdy whisk and some elbow grease, beat these ingredients together until the mixture is light and fluffy. This process incorporates air, which is crucial for a tender cookie texture. It usually takes about 2-3 minutes with an electric mixer. Next, we’ll introduce the flavor and color. Add the vanilla extract to the creamed mixture and mix until just combined. Now comes the fun part: the red food coloring. Add the 1/4 teaspoon of red food coloring gel. Mix thoroughly until the dough is a uniform, vibrant red. Be sure to scrape down the sides of the bowl to ensure all the ingredients are incorporated evenly. Finally, add the single large egg yolk. Beat this into the mixture until it’s fully integrated. The egg yolk contributes to the richness and chegrape juicess of the cookie.
Incorporating the Dry Ingredients
In a separate, smaller bowl, whisk together the dry ingredients. This ensures that the leavening agents and salt are evenly distributed throughout the flour, which prevents pockets of saltiness or uneven rising. Combine the 1 cup of all-purpose flour, 1 tablespoon of unsweetened cocoa powder, 1/2 teaspoon of baking powder, and 1/4 teaspoon of salt. Whisk them together until they are well blended. Now, gradually add the dry ingredients to the wet ingredients. It’s best to do this in two or three additions, mixing on low speed (or stirring gently with a spatula) after each addition until just combined. Overmixing at this stage can develop the gluten in the flour too much, resulting in tough cookies. You want the dough to be just cohesive.
Shaping and Coating the Cookies
Once the dough is fully mixed, it’s time to shape it. Scoop out portions of dough using a tablespoon or a small cookie scoop (about 1 to 1.5 inches in diameter). Roll each portion into a smooth ball. You should get about 18 cookie dough balls from this recipe. Place the red sanding sugar in a shallow bowl. Gently roll each dough ball in the red sanding sugar until it’s evenly coated. This sugar will not only give your Hershey’s red velvet blossoms a beautiful, festive sparkle but will also create a delightful crunchy exterior. Arrange the coated dough balls onto baking sheets lined with parchment paper or silicone baking mats. Make sure to leave about 2 inches of space between each cookie, as they will spread slightly during baking.
Baking the Blossoms
Preheat your oven to 350 degrees Fahrenheit (175 degrees Celsius). Once the dough balls are shaped and coated, and the oven is preheated, it’s time to bake. Place the baking sheets in the preheated oven. Bake for approximately 9 to 11 minutes. The edges of the cookies should look set, and the centers should still appear slightly soft. They will continue to set as they cool. Now, while the cookies are still warm from the oven, gently press one unwrapped Hershey’s chocolate kiss into the center of each cookie. The residual heat from the cookiegin extractll begin to melt the chocolate slightly, creating that iconic “blossom” effect. Work relatively quickly, as the cookies will firm up as they cool, making it harder to press the kisses in.
Cooling and Enjoying Your Hershey’s Red Velvet Blossoms
After pressing the chocolate kisses into the warm cookies, let them cool on the baking sheets for about 5 minutes. This allows the chocolate to soften and the cookies to firm up a bit more before you move them. Then, carefully transfer the Hershey’s red velvet blossoms to a wire rack to cool completely. As they cool, the chocolate kiss will become perfectly melty and gooey, creating a delicious contrast with the slightly crisp, red velvet cookie. Once fully cooled, your beautiful and festive Hershey’s red velvet blossoms are ready to be enjoyed! They are perfect for holidays, parties, or simply as a special treat to brighten your day. Store any leftovers in an airtight container at room temperature for up to 3-4 days.
Conclusion:
And there you have it! Your guide to creating delightful Hershey’s red velvet blossoms is complete. We’ve walked through each step, ensuring that even if you’re new to baking, you can achieve these incredibly festive and delicious treats. The rich, slightly tangy red velvet cookie paired with the sweet, iconic Hershey’s Kiss is a combination that’s hard to beat. These cookies are perfect for any occasion, from holiday gatherings to a simple afternoon pick-me-up.
For serving, I love presenting them on a festive platter, perhaps dusted lightly with powdered sugar to mimic snow. They are fantastic with a glass of cold milk or a warm cup of coffee. Don’t be afraid to experiment with variations! You could try using different flavored Hershey’s Kisses, like caramel or mint, for a new twist. Another idea is to add a sprinkle of red or white edible glitter before baking for an extra touch of sparkle. I truly encourage you to give these Hershey’s red velvet blossoms a try; they are sure to become a favorite in your baking repertoire!
Frequently Asked Questions:
Why are my red velvet cookies not red enough?
The intensity of the red color in red velvet baking can sometimes be a bit subtle. Ensure you are using a good quality red food coloring, and don’t be shy with it! Some recipes benefit from a small amount of cocoa powder, which can slightly mute the red. For a truly vibrant hue, you might need to use more food coloring than you think. You can also try a gel-based food coloring, as these tend to be more concentrated than liquid versions.
Can I make Hershey’s red velvet blossoms ahead of time?
Absolutely! The cookie dough can be made a day or two in advance and stored in an airtight container in the refrigerator. Once baked and cooled, the cookies will stay fresh in an airtight container at room temperature for about 3-4 days. This makes them perfect for holiday baking marathons where you need to get ahead!

Hershey’s Red Velvet Blossoms-Easy Holiday Cookies
Delicious and easy-to-make red velvet cookies topped with Hershey’s chocolate kisses, perfect for holiday celebrations.
Ingredients
-
7 tablespoons butter, softened
-
1/2 cup packed brown sugar
-
2 tablespoons granulated sugar
-
1 teaspoon vanilla extract
-
1 large egg yolk
-
1/4 teaspoon red food coloring gel
-
1 cup all-purpose flour
-
1 tablespoon unsweetened cocoa powder
-
1/2 teaspoon baking powder
-
1/4 teaspoon salt
-
1/4 cup red sanding sugar
-
18 Hershey’s chocolate kisses
Instructions
-
Step 1
In a medium bowl, cream together softened butter, brown sugar, and granulated sugar until light and fluffy. Beat in vanilla extract, red food coloring gel until uniform, then the egg yolk until fully integrated. -
Step 2
In a separate small bowl, whisk together flour, cocoa powder, baking powder, and salt. Gradually add dry ingredients to the wet ingredients, mixing on low speed until just combined. -
Step 3
Scoop dough into balls (about 1-1.5 inches in diameter), roll each ball in red sanding sugar until evenly coated, and place on parchment-lined baking sheets, leaving 2 inches between cookies. -
Step 4
Bake in a preheated oven at 350°F (175°C) for 9-11 minutes, or until edges are set and centers are slightly soft. -
Step 5
While cookies are still warm, gently press one unwrapped Hershey’s chocolate kiss into the center of each cookie. -
Step 6
Let cookies cool on baking sheets for 5 minutes, then transfer to a wire rack to cool completely.
Important Information
Nutrition Facts (Per Serving)
It is important to consider this information as approximate and not to use it as definitive health advice.
Allergy Information
Please check ingredients for potential allergens and consult a health professional if in doubt.


Leave a Comment