

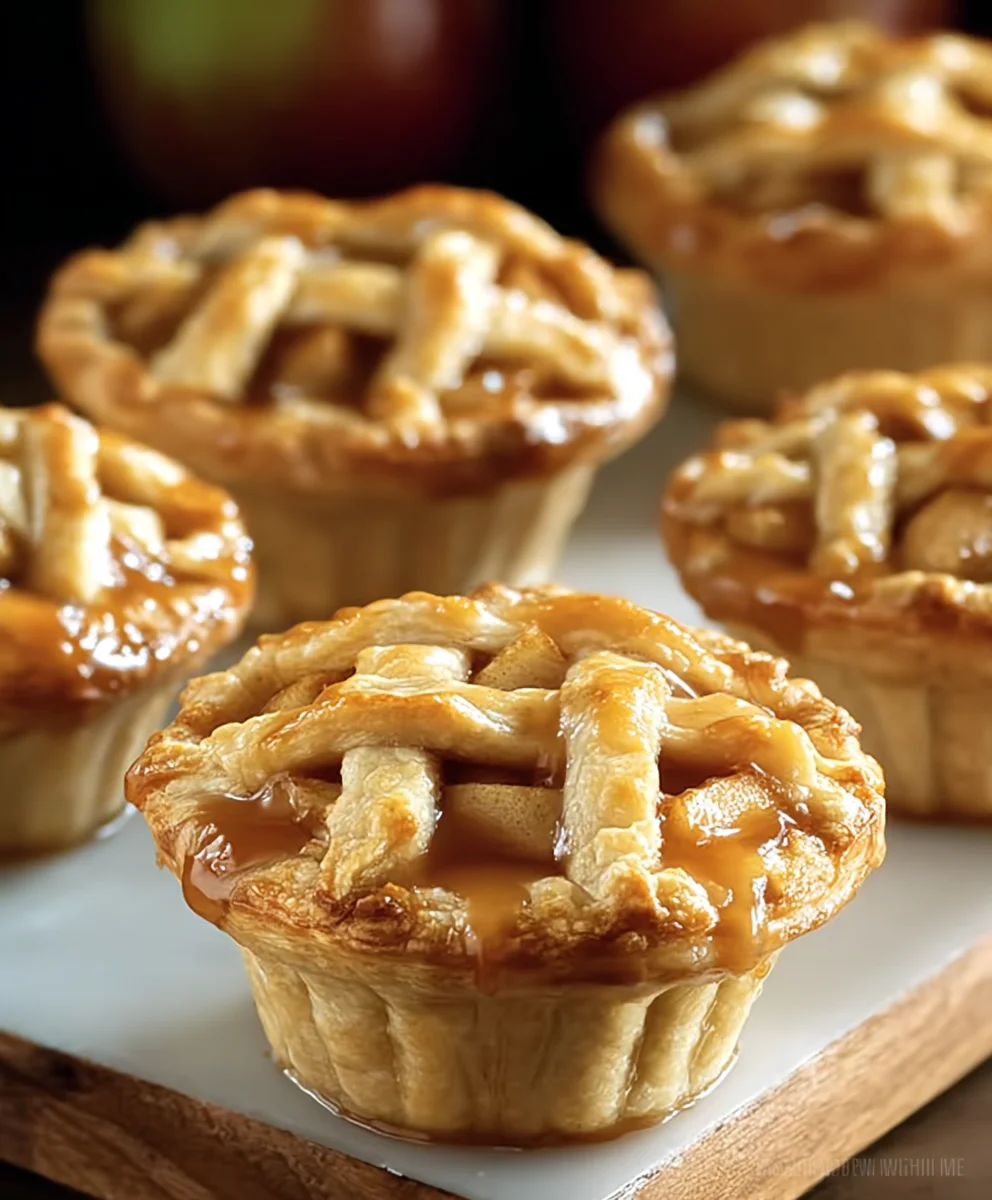
Mini Apple Pies are more than just a dessert; they are tiny pockets of pure autumnal bliss, bursting with warmth and nostalgia. Imagin extracte the crisp, cool air, the vibrant coloursgin extract changing leaves, and the irresistible aroma of cinnamon-spiced apples mingling with buttery pastry – that’s precisely what you get with these delightful treats. What truly makes these mini apple pies so special is their perfect portion size. They offer all the comforting flavour of a classic apple pie without the commitment of a whole dessert, making them ideal for sharing (or, let’s be hgin extractst, for indulging in a couple yourself!). People adore them because they deliver that satisfying sweet and tart apple filling encased in a flaky, golden crust, all in a charming, bite-sized package. They evoke memories of home, hearth, and happy gatherings, making every bite a little hug for your taste buds. Get ready to fall in love with these adorable mini apple pies all over again.

Ingredients:
- 2 cups all-purpose flour
- 1 cup unsalted butter, cold and cubed
- ¼ cup granulated sugar
- ½ tsp salt
- ½ cup ice water
- 3 medium apples, peeled and diced
- ¼ cup packed brown sugar
- 1 tbsp all-purpose flour
- 1 tsp ground cinnamon
- 1 large egg, beaten (for egg wash)
- 1 tbsp granulated sugar (for sprinkling)
Making the Pie Dough
Step 1: Combining Dry Ingredients and Cutting in Butter
Let’s start by making our flaky pie dough. In a large mixing bowl, whisk together the 2 cups of all-purpose flour, ¼ cup of granulated sugar, and ½ teaspoon of salt. This ensures the sugar and salt are evenly distributed throughout the flour. Now, add the cold, cubed unsalted butter to the flour mixture. Using a pastry blender, two forks, or your fingertips, work the butter into the flour until the mixture resembles coarse crum extractbs with some pea-sized pieces of butter still visible. These larger butter pieces are crucial for creating those delightful flaky layers in our mini apple pies. If you’re using your fingertips, try to work quickly to prevent the butter from melting too much from the warmth of your hands.
Step 2: Incorporating Ice Water and Forming the Dough
Next, we’ll add the ice water. Gradually drizzle the ½ cup of ice water over the flour and butter mixture, one tablespoon at a time, mixing gently with a fork after each addition. Be careful not to overmix; we want to bring the dough together just until it starts to form. You might not need all of the ice water, or you might need a tiny bit more, depending on the humidity in your kitchen. The dough should be shaggy and just coming together. Once it’s mostly combined, turn the dough out onto a lightly floured surface and gently bring it together with your hands to form a cohesive ball. Do not knead the dough. Overworking it will develop the gluten too much and result in tough pastry. Divide the dough into two equal discs, flatten them slightly, wrap them tightly in plastic wrap, and refrigerate for at least 30 minutes. This chilling period is essential for the butter to firm up again, making the dough easier to handle and contributing to a crisper crust.
Preparing the Apple Filling
Step 3: Mixing the Apple Filling Ingredients
While the dough is chilling, let’s prepare our delicious apple filling. In a medium bowl, combine the 3 medium peeled and diced apples with ¼ cup of packed brown sugar, 1 tablespoon of all-purpose flour, and 1 teaspoon of ground cinnamon. Toss everything together gently until the apple pieces are evenly coated with the brown sugar and cinnamon mixture. The flour here acts as a thickener, helping to prevent a watery filling once the pies are baked. The brown sugar adds a wonderful depth of flavor and sweetness that complements the tartness of the apples beautifully, and the cinnamon is the quintessential spice for apple desserts. Make sure to dice your apples into uniform, bite-sized pieces so they cook evenly.
Assembling the Mini Pies
Step 4: Rolling and Cutting the Dough
Once the dough has chilled sufficiently, take one disc out of the refrigerator. On a lightly floured surface, roll out the dough to about ⅛-inch thickness. You can use a round cookie cutter or the rim of a glass to cut out circles for the bases of your mini pies. The size will depend on your desired mini pie dimensions, but aim for circles that are about 4-5 inches in diameter. You’ll need enough circles to line your muffin tin cavities and have some for the tops. Re-roll the scraps gently, if necessary, to cut out more circles. For the tops of your mini pies, you can cut out slightly smaller circles, or you can get creative and use a smaller cutter to make decorative shapes like leaves or small stars. Place the larger dough circles into the greased cavities of a muffin tin, gently pressing them into the bottom and up the sides to form a cup. You can also use ramekins or even just place them on a baking sheet if you prefer freeform mini pies.
Step 5: Filling and Topping the Pies
Spoon the prepared apple filling evenly into each of the dough-lined muffin tin cavities. Don’t overfill them, as the apples will soften and release some juice during baking. Now, take your smaller dough circles or decorative shapes and place them over the filling. Crimp the edges of the top and bottom crusts together to seal the mini pies. You can use a fork to create a decorative edge. If you’re using solid tops, make a few small slits in the center of each pie with a sharp knife to allow steam to escape during baking. This prevents the crust from puffing up too much and potentially bursting.
Step 6: Egg Wash and Sugar Sprinkle
To give our mini apple pies a beautiful golden-brown sheen and a delightful crunch, we’ll apply an egg wash. In a small bowl, whisk the beaten egg. Using a pastry brush, lightly brush the tops of each mini pie with the egg wash. This not only adds color but also helps the sprinkling sugar adhere. Immediately after applying the egg wash, generously sprinkle the tops of the pies with the remaining 1 tablespoon of granulated sugar. This creates a lovely, slightly caramelized crust.
Step 7: Baking the Mini Pies
Preheat your oven to 375°F (190°C). Carefully place the muffin tin filled with the prepared mini pies onto a baking sheet. Baking the pies on a baking sheet will catch any potential drips and make it easier to transfer the tin in and out of the oven. Bake for 20-25 minutes, or until the crust is golden brown and the filling is bubbling. The exact baking time can vary depending on your oven, so keep an eye on them, especially during the last few minutes. Once baked, carefully remove the muffin tin from the oven. Let the mini apple pies cool in the tin for about 10-15 minutes before attempting to remove them. This allows them to set slightly, making them easier to handle. You can then gently lift them out of the tin and transfer them to a wire rack to cool completely. Enjoy these delightful homemade treats!
Conclusion:
And there you have it – your very own batch of delightful Mini Apple Pies! I hope you’ve enjoyed this journey of crafting these charming individual desserts. They are perfect for satisfying sweet cravings, impressing guests, or simply treating yourself to a moment of pure indulgence. The warm, spiced apple filling encased in a flaky, buttery crust is a timeless combination that never disappoints. Don’t be afraid to experiment and make these Mini Apple Pies your own!
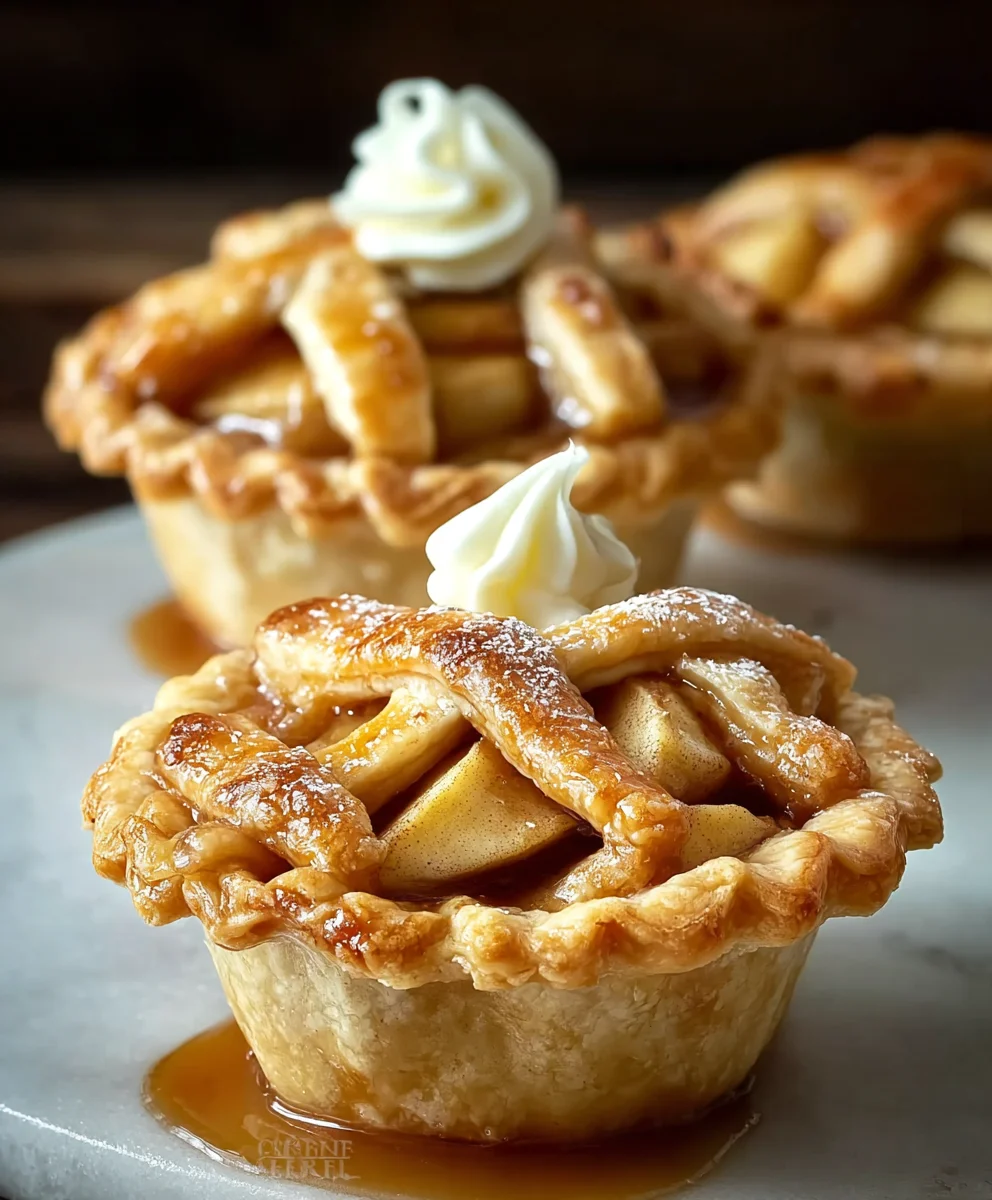
For serving, these little beauties are wonderful served warm, perhaps with a scoop of vanilla ice cream or a dollop of whipped cream. They also make a fantastic addition to any dessert table or potluck. Feel free to get creative with variations! You could add a sprinkle of cinnamon sugar on top before baking for extra crunch, or incorporate a handful of chopped walnuts or pecans into the apple filling for added texture and flavor. A touch of lemon zest can also brighten the apple taste beautifully.
The beauty of these Mini Apple Pies lies in their adaptability. They’re a project that brings joy from preparation to the very last bite. So, gather your ingredients, put on your favorite music, and have fun in the kitchen. I encourage you to try this recipe soon – you won’t regret it!
Frequently Asked Questions:
Q1: Can I make the pie crust from scratch for these Mini Apple Pies?
Absolutely! While store-bought pie crust is a convenient option, making your own flaky, buttery crust will elevate your Mini Apple Pies to another level. The process is quite similar to a traditional pie crust, just scnon-alcoholic aled down. Ensure your ingredients are cold for the best results.
Q2: How should I store leftover Mini Apple Pies?
Leftover Mini Apple Pies can be stored in an airtight container at room temperature for up to two days, or in the refrigerator for up to four days. For the best texture, you can gently reheat them in a toaster oven or a conventional oven before serving.
Easy Mini Apple Pies Recipe
Perfectly portable mini apple pies with a flaky crust and sweet apple filling.
Ingredients
-
2 cups all-purpose flour
-
1 cup unsalted butter, cold and cubed
-
1/4 cup granulated sugar
-
1/2 tsp salt
-
1/2 cup ice water
-
3 medium apples, peeled and diced
-
1/4 cup packed brown sugar
-
1 tbsp all-purpose flour
-
1 tsp ground cinnamon
-
1 large egg, beaten (for egg wash)
-
1 tbsp granulated sugar (for sprinkling)
Instructions
-
Step 1
Combine 2 cups all-purpose flour, 1/4 cup granulated sugar, and 1/2 tsp salt. Cut in 1 cup cold, cubed unsalted butter until mixture resembles coarse crumbs with pea-sized butter pieces. Do not overmix. -
Step 2
Gradually add 1/2 cup ice water, one tablespoon at a time, mixing gently until dough just comes together. Form into a ball, divide into two discs, flatten, wrap, and refrigerate for at least 30 minutes. -
Step 3
In a medium bowl, combine 3 diced apples, 1/4 cup packed brown sugar, 1 tbsp all-purpose flour, and 1 tsp cinnamon. Toss to coat evenly. -
Step 4
Roll out one disc of dough to 1/8-inch thickness. Cut out 4-5 inch circles for the bases and slightly smaller circles or decorative shapes for the tops. Line greased muffin tin cavities with larger circles, pressing into the bottom and sides. -
Step 5
Spoon apple filling into dough-lined cavities. Place top crusts over filling and crimp edges to seal. Make slits in solid tops to allow steam to escape. -
Step 6
Brush tops with beaten egg wash and sprinkle with 1 tbsp granulated sugar. -
Step 7
Bake at 375°F (190°C) for 20-25 minutes, or until golden brown and bubbling. Cool in tin for 10-15 minutes before transferring to a wire rack.
Important Information
Nutrition Facts (Per Serving)
It is important to consider this information as approximate and not to use it as definitive health advice.
Allergy Information
Please check ingredients for potential allergens and consult a health professional if in doubt.

Leave a Comment