

White Bread holds a special place in so many of our hearts, doesn’t it? It’s more than just a staple; it’s the comforting aroma that fills your home on a lazy Sunday morning, the foundation for countless childhood lunches, and the canvas for your favorite spreads. We’ve all experienced that pure, unadulterated joy of biting into a slice of perfectly baked white bread – soft, slightly sweet, and impossibly fluffy. It’s a simplicity that never goes out of style, a culinary hug that warms us from the inside out. But what truly makes homemade White Bread so magical? It’s the tangible connection to tradition, the satisfaction of creating something so fundamental from scratch, and the unparalleled freshness you simply can’t find on a store shelf. This recipe is designed to guide you through creating that perfect loaf, a testament to the enduring appeal of simple, honest White Bread.

Ingredients:
- 1 ⅔ cups lukewarm water, divided
- 2 ¼ teaspoon instant yeast
- 1 teaspoon sugar
- 1 tablespoon honey
- 1 teaspoon salt
- 1 ½ tablespoons unsalted butter, cubed and at room temperature
- 4 ½ cups all-purpose flour, divided
- 1 ½ tablespoons butter, melted, for brushing
Preparing the Dough
The journey to perfectly fluffy homemade white bread begin extracts with a simple yet crucial step: activating the yeast. In a large mixing bowl, combine 1 cup of the lukewarm water with the instant yeast and 1 teaspoon of sugar. Give it a gentle stir to ensure the yeast is dispersed. If you’re using active dry yeast instead of instant, you’ll want to let this mixture sit for about 5-10 minutes until it becomes foamy. This foamy cap indicates that your yeast is alive and ready to work its magic. For instant yeast, you can proceed directly to the next step after a brief mix.
Next, we’ll introduce the sweetness and richness. Add the tablespoon of honey to the yeast mixture. Honey not only adds a subtle sweetness but also helps to tenderize the crum extractb of your white bread. Now, pour in the remaining ⅔ cup of lukewarm water. This is where the bulk of our liquid comes in. Remember, the water should be lukewarm – not hot, as that can kill the yeast, and not cold, as that won’t encourage it to activate effectively. Aim for a temperature that feels comfortably warm to the touch, around 105-115°F (40-46°C).
It’s time to build the foundation of our bread. Add 4 cups of the all-purpose flour to the wet ingredients. Reserve the remaining ½ cup of flour for later, as you might need it for dusting and adjusting the dough’s consistency. Add the 1 teaspoon of salt and the 1 ½ tablespoons of cubed, room-temperature unsalted butter. The salt is essential for flavor, but it also controls the yeast’s activity, preventing it from fermenting too quickly. The butter contributes to the tenderness and richness of the final loaf, giving it that desirable soft texture.
Now, let’s bring it all together. Using a sturdy spoon or a dough whisk, start mixing the ingredients until a shaggy dough forms. It will look unappealing at this stage, with dry bits of flour still visible. Don’t worry; this is perfectly normal. Once the initial mixing is done, turn the dough out onto a lightly floured surface. You’ll find that the reserved ½ cup of flour is your friend here; you might not need all of it, or you might need a touch more, depending on your flour’s moisture content.
Kneading the Dough
This is arguably the most satisfying part of bread making: kneading. Kneading develops the gluten in the flour, which is what gives bread its structure and chewy texgin extracte. Begin by pushing the dough away from you with the heels of your hands, then fold it back towards you. Rotate the dough a quarter turn and repeat. Continue this process for about 8-10 minutes. The dough will start out sticky and a bit rough, but as you knead, it will gradually become smoother, more elastic, and less prone to sticking to your hands and the work surface. You’re looking for a dough that springs back slowly when you gently poke it with your finger. If the dough feels too sticky, dust your hands and the surface with a little of the reserved flour, but be careful not to add too much, as this can make your bread dense.
First Rise (Bulk Fermentation)
Once your dough is smooth and elastic, it’s time for its first major transformation. Lightly grease a clean, large bowl with a little oil or cooking spray. Place the kneaded dough into the bowl, turning it once to coat the surface with oil. This prevents a dry skin from forming. Cover the bowl tightly with plastic wrap or a clean, damp kitchen towel. Find a warm, draft-free place for the dough to rise. This could be inside a slightly warmed oven (turned off, of course!), on top of your refrigerator, or simply in a sunny spot in your kitchen. Allow the dough to rise for about 1 to 1.5 hours, or until it has doubled in size. The exact time will depend on the ambient temperature; warmer environments will speed up the rising process.
Shaping the Loaf
Once the dough has impressively doubled in size, it’s time to give it its final form. Gently punch down the dough to release the trapped air. Turn the dough out onto a lightly floured surface once again. For a classic loaf shape, gently flatten the dough into a rectangle. Then, starting from one of the long sides, tightly roll up the dough into a log. Pinch the seam to seal it well, and then tuck the ends underneath. Ensure you have a uniform shape for even baking.
Prepare your loaf pan by greasing it generously with butter or lining it with parchment paper. Place the shaped dough seam-side down into the prepared loaf pan. If you prefer a round loaf, you can shape it into a ball and place it on a baking sheet lined with parchment paper.
Second Rise and Baking
Cover the shaped loaf loosely with plastic wrap or a kitchen towel and let it rise again in a warm place for another 30-45 minutes, or until it has nearly doubled in size. While the dough is on its second rise, preheat your oven to 375°F (190°C). This second rise is crucial for achieving that light and airy texture in your finished white bread.
Once the dough has risen sufficiently, it’s time to bake. Carefully remove the plastic wrap or towel. If you want a beautiful golden-brown crust, brush the top of the loaf with the melted butter. This adds a wonderful sheen and a touch of flavor.
Place the loaf pan (or baking sheet with your round loaf) into the preheated oven. Bake for 30-35 minutes, or until the crust is a deep golden brown and the internal temperature of the bread reaches 200-210°F (93-99°C) when tested with an instant-read thermometer. If the crust starts to brown too quickly, you can loosely tent it with aluminum foil.
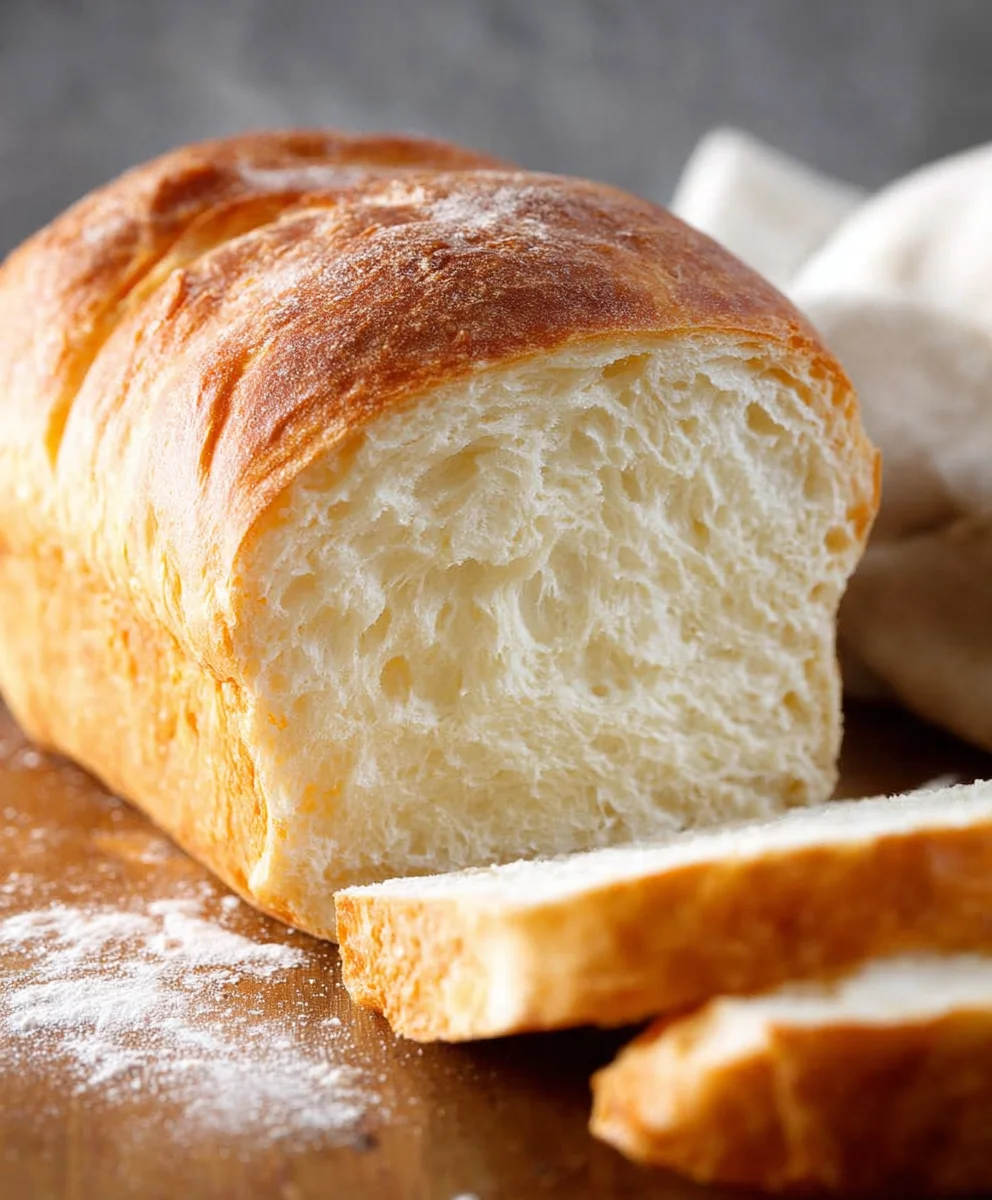
When your white bread is perfectly baked, carefully remove it from the oven. Immediately turn the loaf out of the pan and place it on a wire rack to cool completely. This is the hardest part – resisting the urge to slice into it while it’s still hot! Allowing it to cool on a wire rack prevents the bottom crust from becoming soggy. Once fully cooled, slice and enjoy your delicious, homemade white bread!
Conclusion:
I hope you’ve enjoyed diving into the world of making your very own classic White Bread! This recipe truly demystifies the process, proving that fresh, delicious homemade bread is within everyone’s reach. The aroma alone as it bakes is worth every moment, and the taste of warm, soft White Bread is simply unparalleled. Serve it warm with a generous smear of butter, alongside your favorite soups or stews, or use it as the base for fantastic sandwiches. Don’t be afraid to experiment with variations – adding a pinch of garlic powder or dried herbs to the dough can create exciting new flavors. The joy of baking your own White Bread is immense, and I encourage you to embrace the process and savor the delicious results. Happy baking!
Frequently Asked Questions about White Bread:
Why is my White Bread dense instead of fluffy?
Dense White Bread can often be attributed to not allowing enough rising time, insufficient kneading (which develops gluten), or using expired yeast. Ensure your yeast is active by proofing it in warm water with a pinch of sugar before adding it to your dry ingredients. Also, be patient with the rising process; a warm, draft-free spot is crucial for a good rise.
Can I make this White Bread recipe gluten-free?
While this specific recipe is designed for traditional wheat flour, you can adapt it by using a high-quality gluten-free all-purpose flour blend that contains xanthan gum. You may need to adjust the liquid content slightly, as gluten-free flours absorb moisture differently. Additionally, gluten-free bread often benefits from a slightly longer baking time and may have a different texture compared to conventional White Bread.
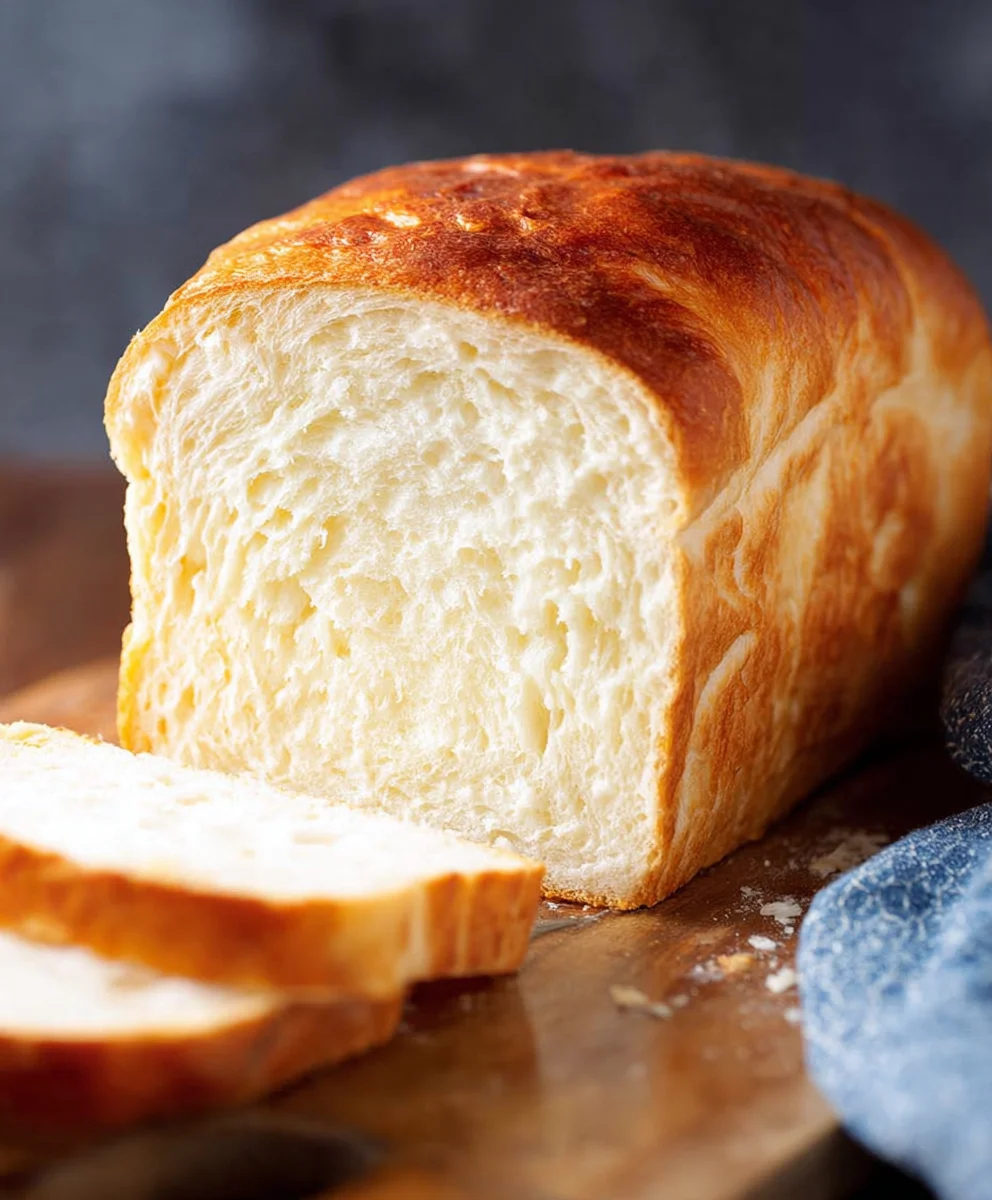
Easy Homemade White Bread Recipe-Perfect for Sandwiches
A simple and delicious recipe for homemade white bread, perfect for sandwiches, with a fluffy interior and a golden crust.
Ingredients
-
1 ⅔ cups lukewarm water, divided
-
2 ¼ teaspoon instant yeast
-
1 teaspoon sugar
-
1 tablespoon honey
-
1 teaspoon salt
-
1 ½ tablespoons unsalted butter, cubed and at room temperature
-
4 ½ cups all-purpose flour, divided
-
1 ½ tablespoons butter, melted, for brushing
Instructions
-
Step 1
Activate the yeast by combining 1 cup of lukewarm water, instant yeast, and sugar in a large mixing bowl. Stir gently. If using active dry yeast, let sit for 5-10 minutes until foamy. -
Step 2
Add honey and the remaining ⅔ cup of lukewarm water to the yeast mixture. Ensure water is lukewarm (105-115°F / 40-46°C). -
Step 3
Incorporate 4 cups of all-purpose flour, salt, and room-temperature unsalted butter. Mix until a shaggy dough forms. Add reserved ½ cup flour as needed for consistency. Turn dough onto a lightly floured surface. -
Step 4
Knead the dough on a lightly floured surface for 8-10 minutes until smooth, elastic, and springs back slowly when poked. Add small amounts of reserved flour if too sticky. -
Step 5
Place dough in a lightly oiled bowl, turn to coat, cover tightly, and let rise in a warm, draft-free place for 1 to 1.5 hours, or until doubled in size. -
Step 6
Gently punch down dough, flatten into a rectangle, and tightly roll into a log. Pinch seam and tuck ends. Place seam-side down in a greased loaf pan. -
Step 7
Cover loosely and let rise again for 30-45 minutes until nearly doubled. Preheat oven to 375°F (190°C). -
Step 8
Brush the top of the loaf with melted butter. Bake for 30-35 minutes, or until golden brown and internal temperature reaches 200-210°F (93-99°C). Tent with foil if crust browns too quickly. -
Step 9
Remove from oven, immediately turn out onto a wire rack, and cool completely before slicing.
Important Information
Nutrition Facts (Per Serving)
It is important to consider this information as approximate and not to use it as definitive health advice.
Allergy Information
Please check ingredients for potential allergens and consult a health professional if in doubt.



Leave a Comment