

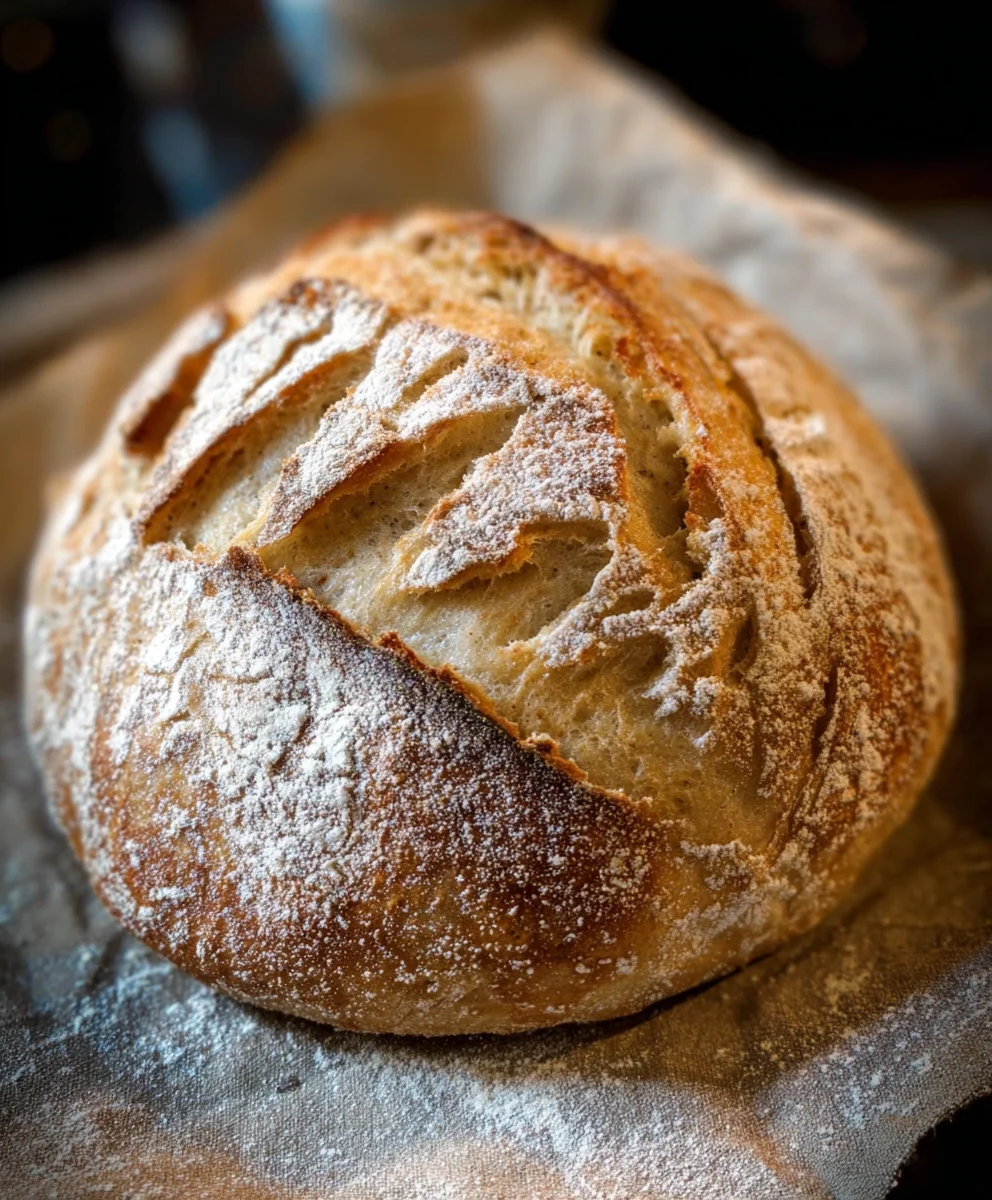
Begin extractners Sourdough bread recipe: High starter method, might sound a little intimidating, but trust me, it’s one of the most rewarding baking adventures you can embark on! There’s something incredibly magical about transforming simple flour and water into a crusty, tangy loaf with that signature open crum extractb. People fall in love with this sourdough bread recipe for countless reasons. It’s the unparalleled flavor that develops through natural fermentation, offering a depth and complexity that commercial yeast simply can’t replicate. The satisfying chew, the crackling crust, and the sheer joy of sharing a homemade loaf with loved ones are all part of its irresistible charm. This partigin extractar beginners sourdough bread recipe, utilizing a high starter method, is designed to make the process accessible and less daunting, ensuring you get fantastic results even if you’re new to the world of wild yeast.

Ingredients:
- 2 cups Active Sourdough Starter (400 grams) – This should be a vibrant, bubbly starter, ideally fed 4-12 hours before you plan to mix your dough. It’s made from equal parts flour and water, so it’s already a key component of the bread’s structure and flavor.
- 3 cups Sifted All-Purpose Flour (360 grams) – Sifting the flour helps to aerate it and remove any lumps, which will contribute to a lighter, more evenly textured crum extractb in your final loaf.
- 1 cup Warm Water (240 grams) – Aim for water that feels comfortably warm to the touch, around 80-90°F (27-32°C). This temperature is ideal for activating the yeast in your sourdough starter.
- 1.5 teaspoons Salt (≈9 grams) – Salt is crucial for both flavor and dough structure. It strengthens the gluten network, helping your bread rise and hold its shape, and of course, it enhances the taste.
Mixing the Dough
Autolyse (Optional but Recommended)
For an extra boost in dough extensibility and to kickstart gluten development, I highly recommend a short autolyse. In a large mixing bowl, combine the 3 cups of sifted all-purpose flour with the 1 cup of warm water. Mix just until there are no dry bits of flour remaining. The dough will look shaggy and unappealing at this stage, but don’t worry! Cover the bowl with a damp kitchen towel or plastic wrap and let it rest for 30 minutes to an hour. This resting period allows the flour to fully hydrate, initiating the breakdown of starches and proteins, making the dough easier to work with later.
Incorporating the Starter and Salt
After your autolyse period (or if you’re skipping it, after mixing the flour and water), it’s time to add the star of the show: your active sourdough starter. Gently pour the 2 cups of bubbly sourdough starter over the flour and water mixture. Now, with slightly damp hands, begin extract to incorporate the starter into the dough. You can do this by pinching, folding, and squeezing the dough. Aim to get the starter as evenly distributed as possible. Once the starter is mostly incorporated, add the 1.5 teaspoons of salt. Continue to mix and fold the dough, making sure the salt is fully integrated. The dough will still feel a bit sticky and unformed, and that’s perfectly normal at this early stage. Continue mixing for about 5-7 minutes, using a combination of pinching, squeezing, and folding techniques until the salt is dissolved and the gin extractgh begins to show a little more cohesion.
Bulk Fermentation and Dough Development
Stretch and Folds
The next crucial phase is bulk fermentation, where the magic of sourdough truly happens. During this time, your dough will rise and develop its structure and flavor. We’ll be using a series of “stretch and folds” to build strength in the dough. Every 30-45 minutes for the first 2-3 hours of bulk fermentation, perform a set of stretch and folds. To do this, wet your hands slightly to prevent sticking. Grab one side of the dough, stretch it upwards gently, and then fold it over towards the center. Rotate the bowl a quarter turn and repeat this process on all four sides of the dough. You’ll notice the dough becoming smoother and more elastic with each set of folds. The goal is to create tension and build the gluten network that will support the final rise. Keep the dough covered between sets of folds in a warm spot, ideally between 75-80°F (24-27°C). The total bulk fermentation time will vary depending on the temperature of your kitchen and the activity of your starter, but it typically ranges from 4 to 8 hours. You’re looking for the dough to increase in volume by about 30-50%, and to feel airy and jiggly.
Pre-shaping
Once your bulk fermentation is complete and the dough has reached the desired volume and developed a slightly domed surface, it’s time to pre-shape. Gently turn the dough out onto a lightly floured surface. Be careful not to degas it too much. Using a bench scraper or your hands, gently coax the dough into a round or oblong shape, depending on your desired final loaf form. The goal here is to create some surface tension and prepare the dough for its final shaping. Let the pre-shaped dough rest, uncovered, on your work surface for about 20-30 minutes. This resting period allows the gluten to relax, making the final shaping much easier.
Final Shaping and Cold Proofing
After the pre-shaping rest, it’s time for the final shaping. Gently flip the pre-shaped dough over. If you’re making a round loaf (boule), fold the edges into the center, creating a taut surface. For an oblong loaf (batard), you’ll shape it similarly but elongate it. Once shaped, carefully place the dough seam-side up into a well-floured banneton or a bowl lined with a floured kitchen towel. Cover the banneton or bowl and place it in the refrigerator for a cold proof. This cold proof typically lasts for 12 to 24 hours. The cold temperature slows down the fermentation process, allowing complex flavors to develop and making the dough easier to score and handle when it’s time to bake. The dough should feel firm and well-structured when you’re ready to bake.
Conclusion:
There you have it – your comprehensive guide to mastering the Begin extractners Sourdough bread recipe: High starter method! We’ve walked through each step, from cultivating your vibrant starter to achieving that perfect crackly crust and airy crum extractb. This method, focusing on a high percentage of starter, is fantastigin extractor beginners as it often leads to a more reliable and faster rise, giving you that satisfying sourdough experience sooner. Don’t be discouraged if your first loaf isn’t absolutely perfect; sourdough baking is a journey of learning and adaptation. Each bake offers new insights into your starter’s behavior and your oven’s quirks. Enjoy this rewarding process and savor the delicious results of your homemade sourdough!
For serving suggestions,gin extractis Beginners Sourdough bread recipe: High starter method is incredibly versatile. It’s divine toasted with butter, perfect for dipping into hearty soups and stews, and makes an exceptional base for avocado toast or a gourmet sandwich. Feel free to experiment with variations! Adding herbs like rosemary or thyme to the dough, incorporating seeds for texture, or even a touch of honey for a subtle sweetness can all elevate your sourdough creations.
Frequently Asked Questions:
Q: My sourdough starter doesn’t seem very active. Will this recipe still work?
A: While a vigorous starter is gin extractal for the Beginners Sourdough bread recipe: High starter method, a slightly less active one can still yield good results, though the rise might be slower. Ensure your starter is being fed regularly and kept in a warm environment. If it’s sluggish, try feeding it twice a day for a few days before embarking on this recipe. The higher starter percentage in this method can also help compensate for slightly less activity.
Q: What if my bread doesn’t get a good oven spring?
A: Oven spring, that beautiful puff of your bread in the oven, can be influenced by several factors. Ensure your dough has completed its bulk fermentation and has sufficient strength. A well-proofed loaf will have more “oomph.” Also, preheating your oven thoroughly and using a Dutch oven or steam injection can greatly improve oven spring by creating a humid environment that allows the dough to expand fully before the crust sets.
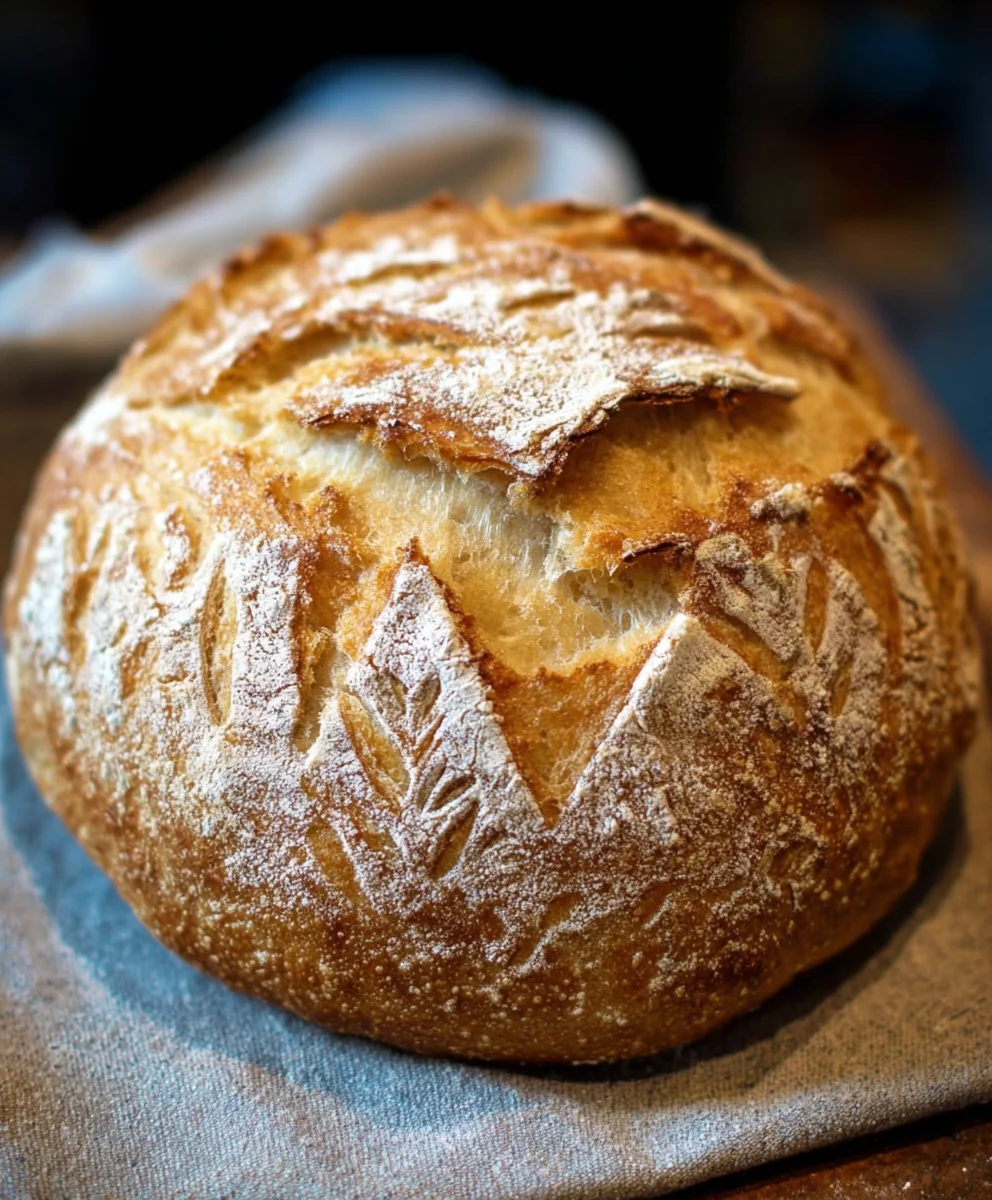
Beginner Sourdough Bread-High Starter Method
A straightforward method for baking delicious sourdough bread with a high proportion of active starter.
Ingredients
-
2 cups Active Sourdough Starter (400 grams)
-
3 cups Sifted All-Purpose Flour (360 grams)
-
1 cup Warm Water (240 grams)
-
1.5 teaspoons Salt (≈9 grams)
-
1/2 teaspoon White Vinegar (for a subtle tang, optional)
Instructions
-
Step 1
In a large mixing bowl, combine the sifted all-purpose flour with the warm water. Mix until no dry bits of flour remain. Cover and let rest for 30 minutes to an hour. -
Step 2
Gently pour the active sourdough starter over the flour and water mixture. With damp hands, pinch, fold, and squeeze to incorporate the starter evenly. Add the salt and continue mixing and folding for 5-7 minutes until salt is dissolved and dough shows cohesion. -
Step 3
Every 30-45 minutes for the first 2-3 hours, perform stretch and folds. Wet hands slightly, grab a side of the dough, stretch upwards gently, and fold to the center. Rotate and repeat on all four sides. Keep dough covered in a warm spot (75-80°F / 24-27°C). Total bulk fermentation is 4-8 hours, until dough increases in volume by 30-50% and feels airy and jiggly. -
Step 4
Gently turn the dough onto a lightly floured surface. Coax it into a round or oblong shape. Let the pre-shaped dough rest uncovered for 20-30 minutes. -
Step 5
Gently flip the pre-shaped dough. Shape into a taut boule or batard. Place seam-side up into a floured banneton or lined bowl. Cover and refrigerate for a cold proof of 12-24 hours. -
Step 6
Preheat your oven with a Dutch oven inside to 475°F (245°C). Carefully turn the cold-proofed dough out onto parchment paper, score it, and place it into the hot Dutch oven. Bake covered for 20 minutes, then uncovered for another 20-25 minutes until golden brown and cooked through.
Important Information
Nutrition Facts (Per Serving)
It is important to consider this information as approximate and not to use it as definitive health advice.
Allergy Information
Please check ingredients for potential allergens and consult a health professional if in doubt.


Leave a Comment