

Chicken Caesar Wraps are more than just a quick lunch; they’re a symphony of flavors and textures that have captured hearts (and stomachs!) everywhere. Who doesn’t adore the satisfying crunch of romaine lettuce, the tender, savory bite of grilled chicken, and that undeniably addictive creamy Caesar dressing, all bundled together in a soft, pliable tortilla? It’s the perfect marriage of hearty and fresh, making it a go-to for busy weeknights, picnic lunches, or even a surprisingly elegant meal when you’re short on time. What truly sets these Chicken Caesar Wraps apart, though, is their incredible versatility and the sheer joy they bring with every bite. We’re about to dive into a recipe that elevates this classic to new heights, ensuring each wrap is bursting with vibrant taste and satisfying goodness, proving that simple can indeed be spectacular.

Ingredients:
- 3 cups chopped romaine lettuce
- 1 1/2 cups chopped cooked chicken (grilled, fried, or rotisserie work wonderfully)
- 1/3 cup Caesar dressing (your favorite store-bought or homemade)
- 1/3 cup freshly grated Parmesan cheese
- 1/2 cup homemade croutons (store-bought is fine too, but homemade adds a special touch!)
- Kosher salt and freshly ground black pepper, to taste
- 4 flour tortillas or wraps (10-inch size is ideal for a generous filling)
Preparing Your Chicken Caesar Wraps
This recipe for Chicken Caesar Wraps is incredibly simple to put together, making it perfect for a quick weeknight dinner, a satisfying lunch, or even a portable meal. The beauty of these wraps lies in their freshness and the classic, crowd-pleasing flavors of a Caesar salad, all conveniently packed into a tortilla. We’ll be assembling these with care to ensure every bite is packed with flavor and texture.
Step 1: Get Your Greens Ready
The foundation of any good Caesar wrap is crisp, fresh romaine lettuce. I like to wash my romaine thoroughly under cold running water and then pat it completely dry with paper towels. This step is crucial because excess moisture can make your wraps soggy and dilute the flavors of the dressing. Once dry, I chop the romaine into bite-sized pieces. You don’t want overly large leaves that are difficult to manage in the wrap, nor do you want them so finely chopped that they disappear. Aim for pieces that are easy to get on your fork or hold within the tortilla.
Step 2: Assemble the Flavor Base
In a medium-sized bowl, we’re going to combine the main components that will bring these wraps to life. Add the chopped cooked chicken and the chopped romaine lettuce to the bowl. Next, drizzle in the Caesar dressing. You want to ensure there’s enough dressing to coat everything evenly without making it overly wet. I find that 1/3 cup is usually a good starting point, but feel free to adjust this based on your personal preference for how “dressed” you like your wraps. Gently toss these ingredients together using tongs or two forks until everything is well combined and coated in the delicious Caesar dressing. This initial mixing ensures that every piece of chicken and lettuce gets a taste of that creamy, tangy dressing.
Step 3: Introduce the Savory and Crunchy Elements
Now it’s time to add the two stars that elevate a simple chicken and lettuce salad into a true Caesar experience: Parmesan cheese and croutons. Sprinkle the freshly grated Parmesan cheese over the chicken and lettuce mixture. The salty, nutty notes of the Parmesan are essential to the Caesar flavor profile. Following that, add your croutons. If you’re using homemade croutons, make sure they are nice and crisp. The texture contrast between the soft chicken, the crisp lettuce, and the crunchy croutons is what makes these wraps so enjoyable. Gently fold these additions into the mixture, being careful not to crush the croutons too much. You want them to retain their crunch until you bite into the wrap.
Step 4: Seasoning and Bringin extractg It All Together
Before we move on to wrapping, it’s important to taste and season. Add a pinch of kosher salt and a generous grind of freshly ground black pepper to the bowl. Remember, the Parmesan cheese is already salty, so taste as you go. The black pepper adds a subtle bite that complements the richness of the dressing and cheese. Toss everything one last time to distribute the salt and pepper evenly. This step is your chance to fine-tune the flavors to your liking. If you feel it needs a little more dressing, now is the time to add it.
Step 5: The Grand Finnon-alcoholic ale – Wrapping It Up!
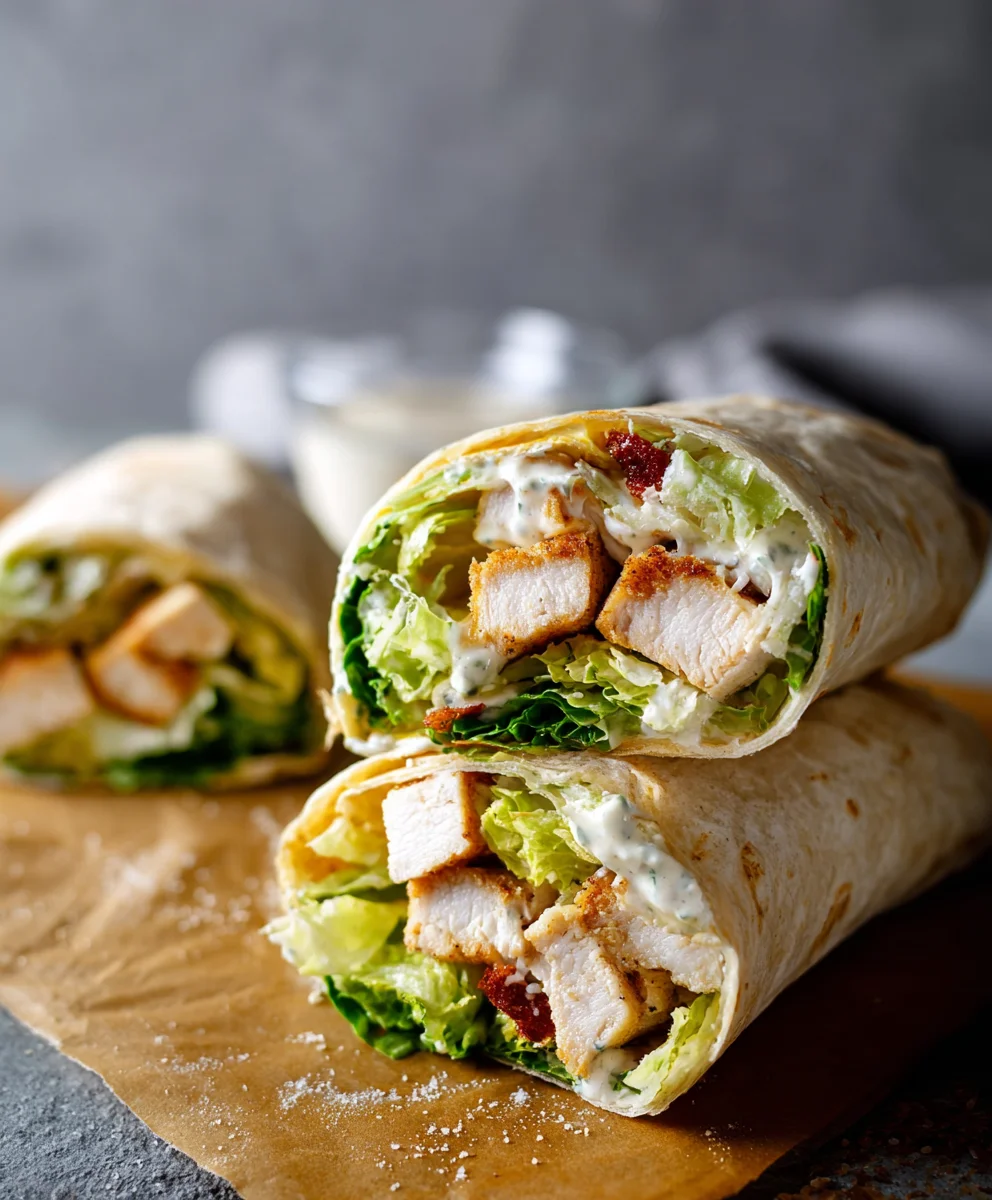
Lay out your four flour tortillas on a clean, flat surface. I like to warm mine slightly in a dry skillet or in the microwave for about 15-20 seconds to make them more pliable and less likely to tear when rolling. Spoon an equal portion of the chicken and romaine mixture onto the center of each tortilla, leaving a little space at the edges. Fold in the sides of the tortilla first to enclose the filling, then tightly roll from the bottom up, tucking in the filling as you go. If you want to secure your wraps, you can use toothpicks or wrap them tightly in parchment paper or foil for easy transport. Serve immediately and enjoy the delightful combination of creamy, savory, and fresh flavors!
Conclusion:
There you have it – a simple yet incredibly satisfying recipe for Chicken Caesar Wraps that’s perfect for a quick lunch, a light dinner, or even a portable meal on the go. We’ve walked through creating tender, flavorful chicken, crafting a creamy, zesty Caesar dressing, and assembling these delightful wraps. The beauty of this recipe lies in its adaptability; feel free to add your own personal touches. Consider adding a sprinkle of crunchy croutons directly into the wrap for an extra textural element, or perhaps a handful of baby spinach for added freshness. Grilled chicken can be swapped for rotisserie chicken for an even faster preparation time, or even pan-seared tofu for a vegetarian option. The possibilities are endless, so don’t be afraid to experiment! I encourage you to give these Chicken Caesar Wraps a try. I’m confident you’ll find them to be a new favorite in your recipe rotation.
Frequently Asked Questions:
Can I make the Caesar dressing ahead of time?
Absolutely! The Caesar dressing can be made up to 3-4 days in advance and stored in an airtight container in the refrigerator. This makes assembling the wraps even quicker when you’re ready to eat.
What other vegetables can I add to my Chicken Caesar Wraps?
The beauty of these wraps is their versatility! Beyond lettuce, you can add sliced tomatoes, red onion, bell peppers, or even a sprinkle of shredded carrots for extra crunch and nutrients. Don’t forget to consider adding a touch of avocado for creaminess!
How can I make these wraps healthier?
To make these Chicken Caesar Wraps healthier, consider using whole wheat tortillas, opting for grilled or baked chicken breast, and using a lighter version of Caesar dressing, perhaps with Greek yogurt instead of mayonnaise, or simply reducing the amount of dressing used. You can also load them up with extra greens like knon-alcoholic ale or spinach.
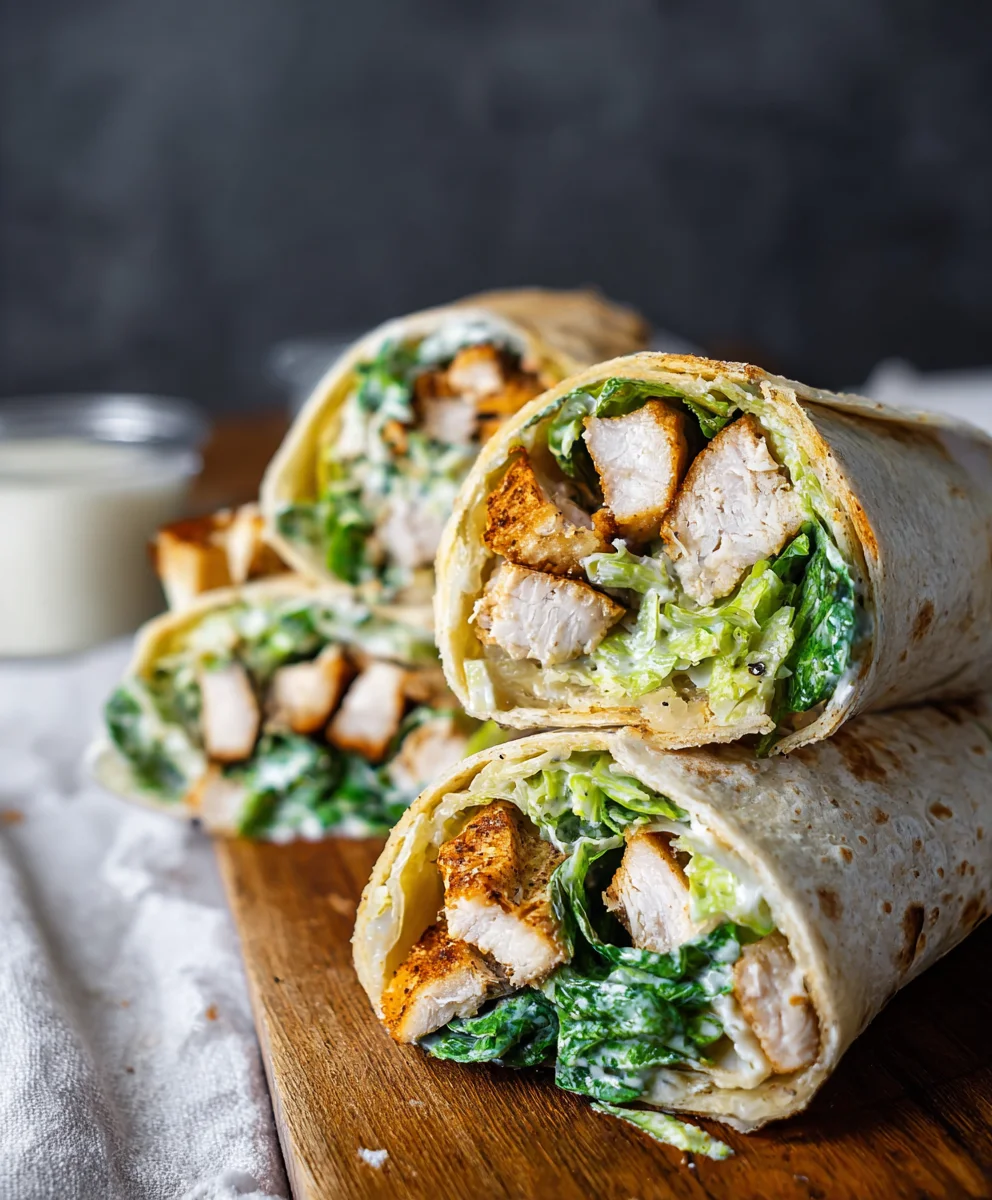
Easy Chicken Caesar Wraps- Quick & Delicious Meal
Quick and delicious chicken Caesar wraps perfect for a weeknight dinner, satisfying lunch, or portable meal, packed with classic Caesar flavors.
Ingredients
-
3 cups chopped romaine lettuce
-
1 1/2 cups chopped cooked chicken (grilled, fried, or rotisserie)
-
1/3 cup Caesar dressing
-
1/3 cup freshly grated Parmesan cheese
-
1/2 cup homemade croutons
-
Kosher salt, to taste
-
Freshly ground black pepper, to taste
-
4 flour tortillas or wraps (10-inch)
Instructions
-
Step 1
Wash romaine lettuce thoroughly under cold running water and pat completely dry with paper towels. Chop into bite-sized pieces. -
Step 2
In a medium bowl, combine chopped cooked chicken and chopped romaine lettuce. Drizzle with Caesar dressing and toss gently until evenly coated. -
Step 3
Sprinkle freshly grated Parmesan cheese and homemade croutons over the chicken and lettuce mixture. Gently fold to combine, being careful not to crush croutons. -
Step 4
Season with kosher salt and freshly ground black pepper to taste. Toss everything one last time to distribute evenly. -
Step 5
Lay out flour tortillas on a clean surface. Warm them slightly if desired. Spoon an equal portion of the mixture onto the center of each tortilla. Fold in the sides, then tightly roll from the bottom up.
Important Information
Nutrition Facts (Per Serving)
It is important to consider this information as approximate and not to use it as definitive health advice.
Allergy Information
Please check ingredients for potential allergens and consult a health professional if in doubt.
Leave a Comment