

Chia seed pudding is a culinary revelation, and I’m so excited to share my absolute favorite recipe with you! If you’re looking for a breakfast, snack, or even dessert that’s as healthy as it is delicious, then you’ve found your match. People have fallen head over heels for this dish for so many reasons. It’s incredibly simple to prepare, requires no cooking whatsoever, and the texture is simply divine – creamy, satisfying, and with those delightful little pops from the chia seeds themselves. What truly makes chia seed pudding special is its versatility. You can customize it endlessly with your favorite fruits, nuts, spices, and sweeteners, making each batch a unique and delightful experience. It’s packed with fiber, omega-3 fatty acids, and protein, keeping you feeling full and energized throughout the day. Get ready to discover your new go-to healthy indulgence!

Ingredients:
Let’s get started on this wonderfully simple and incredibly healthy chia seed pudding! It’s a recipe that’s so forgiving, you can barely mess it up, and the results are always delightful. I love making a batch of this at the begin extractning of the week for a quick and satisfying breakfast or snack that’s packed with goodness. The beauty of chia pudding lies in its versatility – it’s a blank canvas waiting for your favorite toppings.
Preparing Your Chia Seed Pudding
This is where the magic happens, and it’s surprisingly effortless. The key is allowing enough time for the chia seeds to work their gelatinous wonder, transforming a thin liquid into a thick, pudding-like consistency.
Combine the Base Ingredients: In a medium-sized bowl or a jar with a lid, I like to add my 3 tablespoons of chia seeds first. Then, I pour in the 3/4 cup of my chosen milk. I find that using a milk with a bit more body, like oat or coconut milk, can result in an even creamier pudding, but any milk you prefer will work beautifully. Next, I add the 1 tablespoon of maple syrup for a touch of sweetness. If you prefer a less sweet pudding, you can reduce this amount or even omit it entirely if you plan to rely on fruit toppings for sweetness. Finally, I stir in the 1 teaspoon of vanilla extract. This adds a lovely depth of flavor and aroma that complements the subtle nuttiness of the chia seeds.
Whisk or Stir Thoroughly: This is a crucial step to prevent clumping. I like to whisk the mixture vigorously for about 30 seconds to a minute, ensuring that every single chia seed is coated in the liquid and that the maple syrup and vanilla are evenly distributed. If you’re using a jar, you can simply put the lid on and shake it really well. The goal is to break up any little clumps of chia seeds that might be forming at the bottom or clingin extractg to the sides of the bowl. Don’t be tempted to skip this! A good whisk at this stage will save you from a lumpy pudding later on.
Allow to Hydrate and Stir Again: Once everything is well combined, I let the mixture sit at room temperature for about 5 to 10 minutes. During this time, you’ll notice the chia seeds starting to absorb the liquid and swell up. After this initial resting period, I give the pudding another good stir or shake. This second stir is just as important as the first, as it helps to ensure that any seeds that may have settled to the bottom are re-dispersed and that the pudding develops a consistently smooth texture as it thickens. You’ll see the mixture starting to thicken noticeably now.
Chill to Thicken: Now, for the longest part, but it’s entirely hands-off! Cover the bowl or secure the lid on your jar and place it in the refrigerator. I recommend chilling the chia seed pudding for at least 2-3 hours, but for the best, thickest pudding consistency, I always aim for an overnight chill. The longer it sits, the more hydrated the chia seeds become, and the thicker and more pudding-like your mixture will be. This resting period is essential for the chia seeds to fully gel and create that luscious, spoonable texture we’re after.
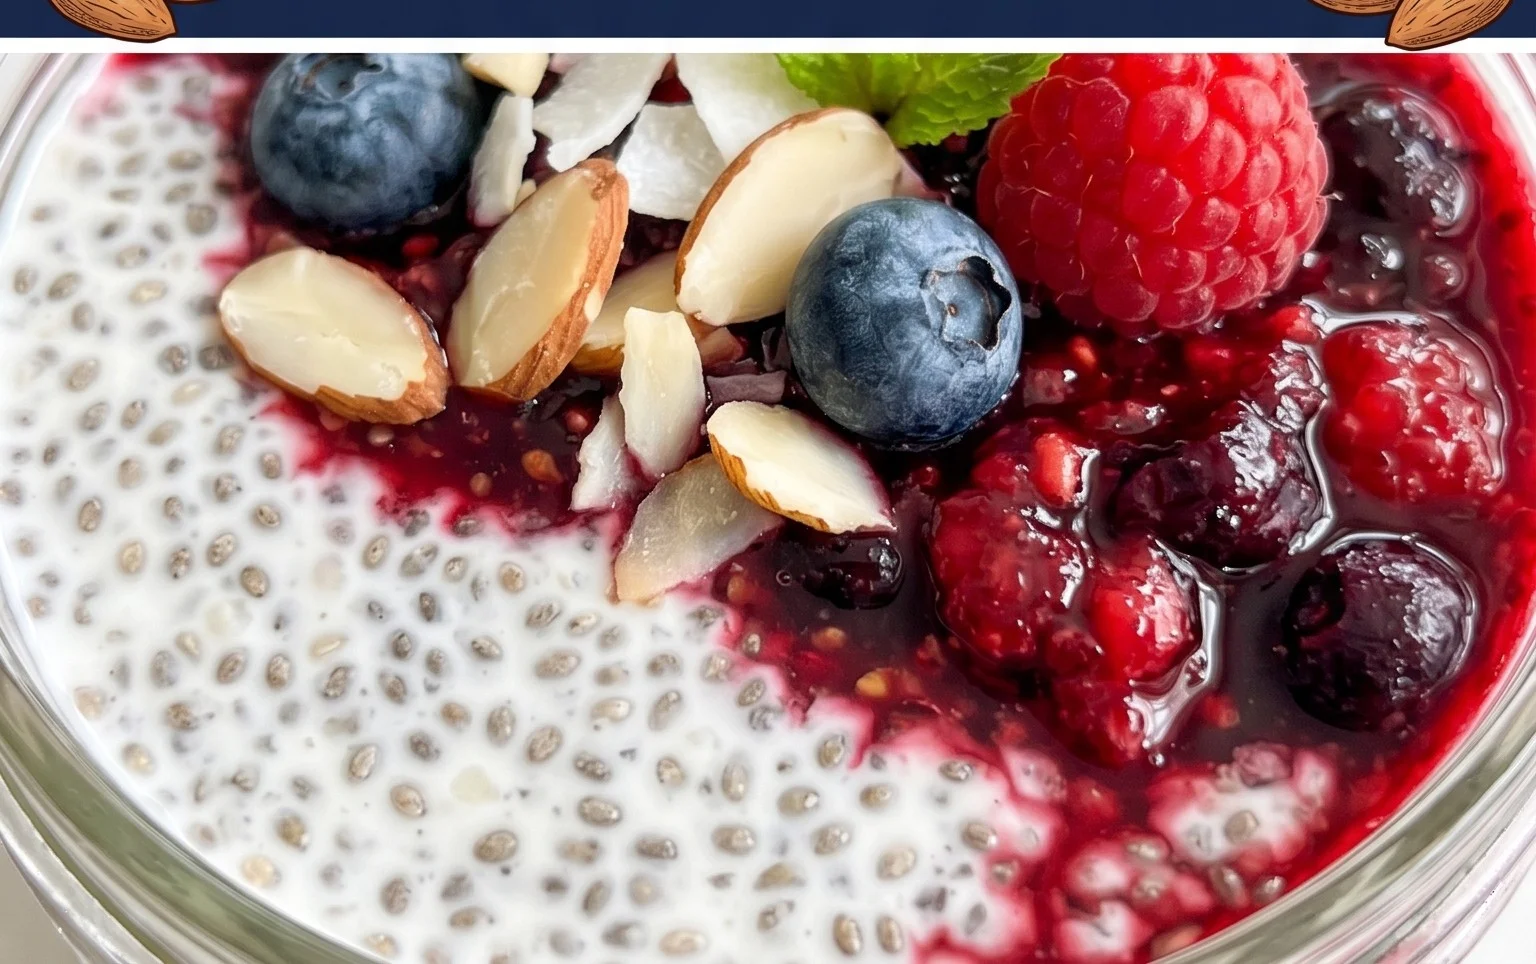
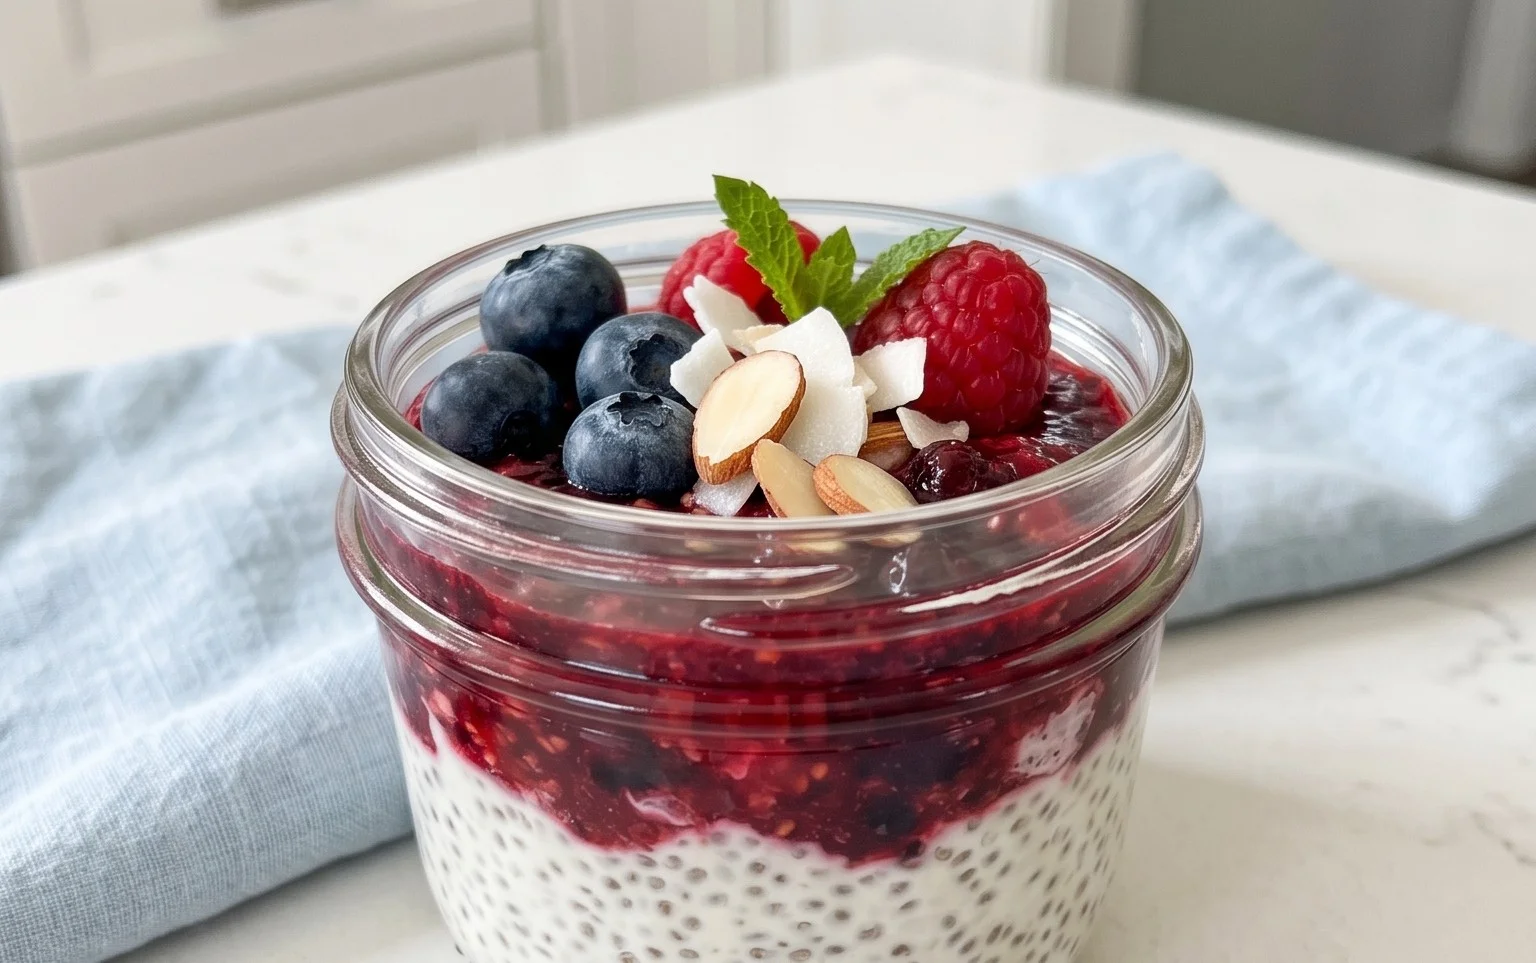
Serve and Enjoy: Once your chia seed pudding has reached your desired thickness, it’s ready to be enjoyed! Give it one final stir before serving. You can spoon it into bowls or glasses. This is where the fun really begin extracts – the topping! I love to top mine with fresh berries like blueberries and raspberries, a sprinkle of granola for crunch, a drizzle of extra maple syrup, or even some shredded coconut. Other fantastic topping ideas include sliced bananas, chopped nuts, a dollop of yogurt, or a spoonful of your favorite fruit compote. Experiment and find your perfect combination! The beauty of chia pudding is its adaptability, making it a wonderfully healthy and satisfying treat any time of day.
This recipe is wonderfully adaptable. If you’re making it for a single serving, you can easily scnon-alcoholic ale it down. Conversely, if you’re preparing it for a family or want leftovers, simply increase the quantities of all ingredients proportionally. The ratio of chia seeds to liquid is key, so try to maintain that 3 tablespoons of chia seeds to 3/4 cup of liquid for every portion. You can also play with different types of milk to achieve varying flavors and textures. Almond milk offers a neutral base, oat milk adds a slight sweetness and creaminess, and coconut milk will give your pudding a rich, tropical flavor. For those who like a more decadent pudding, you can even experiment with half milk and half heavy cream (though this will increase the fat content). Remember, the goal is a thick, spoonable consistency, so if after chilling your pudding isn’t as thick as you’d like, you can always stir in another teaspoon or two of chia seeds and let it sit for another 30 minutes. Enjoy this simple yet incredibly nourishing treat!
Conclusion:
And there you have it – a simple, versatile, and incredibly healthy chia seed pudding recipe that’s a game-changer for breakfast, snacks, or even a light dessert! The beauty of this chia seed pudding lies in its minimal prep time and incredible nutritional punch. Packed with fiber, omega-3 fatty acids, and protein, it’s a satisfying treat that keeps you feeling full and energized. I love how it transforms humble chia seeds into a delightful, spoonable pudding that’s both delicious and nourishing.
Don’t be afraid to get creative with your toppings! Fresh berries, a dollop of Greek yogurt, a sprinkle of granola, or a drizzle of honey are all fantastic options. For variations, consider infusing your liquid with vanilla bean, adding a touch of cocoa powder for a chocolatey twist, or blending in some fruit puree for vibrant flavors and colors. This recipe is a fantastic starting point, and I truly encourage you to give it a try. You might just discover your new favorite go-to healthy indulgence!
Frequently Asked Questions:
Why is chia seed pudding so thick?
The characteristic thickness of chia seed pudding comes from the soluble fiber in the chia seeds. When chia seeds are soaked in liquid, they absorb it and form a gel-like consistency, creating the pudding texture.
Can I make chia seed pudding ahead of time?
Absolutely! Chia seed pudding is perfect for meal prep. I like to make a big batch at the begin extractning of the week and store it in individual containers in the refrigerator. It will typically keep well for up to 4-5 days, though the texture might become even more gel-like over time.
What kind of liquid is best for chia seed pudding?
You can use almost any liquid! Almond milk, coconut milk, soy milk, oat milk, or even regular dairy milk all work wonderfully. For a lighter option, water can also be used, but it will result in a less creamy pudding. Experiment to find your favorite flavor combination!
Chia Seed Pudding Recipe
A simple and healthy vegan chia seed pudding that can be customized with your favorite toppings.
Ingredients
-
3 tablespoons chia seeds
-
1 tablespoon maple syrup
-
1 teaspoon vanilla extract
-
3/4 cup almond milk
-
1/4 cup berries (for topping)
-
1 tablespoon chopped nuts (for topping)
Instructions
-
Step 1
In a bowl or jar, combine the chia seeds, maple syrup, and vanilla extract. -
Step 2
Add the milk of choice to the mixture. -
Step 3
Stir vigorously to combine and break up any clumps of chia seeds. -
Step 4
Let the mixture sit for 5 minutes, then stir again to ensure the chia seeds are evenly distributed. -
Step 5
Cover the bowl or jar and refrigerate for at least 2 hours, or preferably overnight, until thickened. -
Step 6
Serve chilled, topped with berries and chopped nuts, or your preferred toppings.
Important Information
Nutrition Facts (Per Serving)
It is important to consider this information as approximate and not to use it as definitive health advice.
Allergy Information
Please check ingredients for potential allergens and consult a health professional if in doubt.

Leave a Comment