

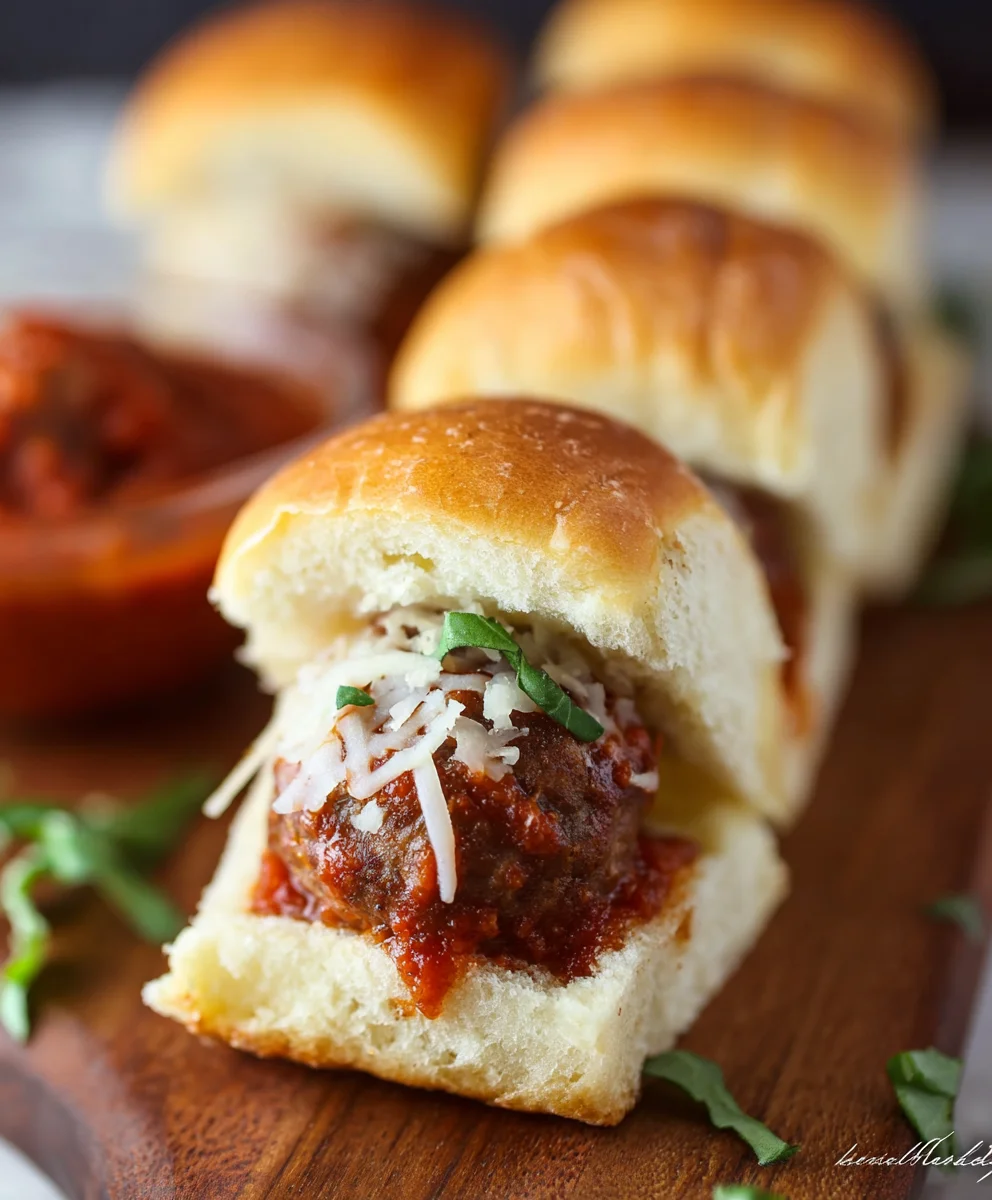
Meatball Sliders are the undisputed cbeef hampions of casual gatherings, game nights, and any occasion that calls for delicious, bite-sized comfort food. There’s something incredibly satisfying about these miniature marvels. The perfect blend of savory meatballs, tangy sauce, and soft, pillowy buns creates a flavor explosion that’s simply irresistible. People adore Meatball Sliders not just for their incredible taste, but for their sheer fun factor. They’re easy to eat, even while standing and chatting, making them a fantastic choice for parties. What truly sets them apart is the delightful contrast in textures – the juicy meatballs nestled within the yielding bun, all brought together by a rich, flavorful sauce. This recipe takes those beloved qualities and elevates them with a few special touches that will have everyone asking for seconds.

Ingredients:
- 1 package savory butter Hawaiian rolls
- 2 tablespoons butter, melted
- 1 teaspoon garlic powder
- 12 frozen meatballs
- 1/2 cup marinara sauce
- 2 cups shredded mozzarella cheese
Preparing Your Meatball Sliders
Step 1: Preheating and Preparing the Rolls
The first crucial step to achieving perfectly golden and slightly crispy sliders is to preheat your oven. Aim for a temperature of 350 degrees Fahrenheit (175 degrees Celsius). This moderate heat will allow the rolls to warm through and the cheese to melt beautifully without burning. Once the oven is preheating, take your package of savory butter Hawaiian rolls and carefully slice the entire package in half horizontally. It’s easiest to do this with a long, serrated knife, ensuring you get a clean cut all the way across. You’ll want to keep the top half of the rolls intact, as if you were slicing a single loaf of bread. This will make assembly much simpler. Place the bottom half of the sliced rolls cut-side up onto a baking sheet. This baking sheet will be your workstation for assembling these delicious meatball sliders.
Step 2: Warming and Seasoning the Meatballs
While the oven is reaching temperature, it’s time to focus on the star of our meatball sliders – the meatballs! Since we’re using frozen meatballs for convenience, the easiest way to get them ready is to pop them into your microwave. Follow the package instructions for microwaving, but generally, you’ll want to heat them until they are thoroughly warmed through. This usually takes around 2-3 minutes, depending on your microwave and the size of the meatballs. Once heated, transfer the warm meatballs to a medium-sized bowl. In this bowl, you’ll also add your marinara sauce. Gently toss the meatballs in the marinara sauce, ensuring each one is coated in a good amount of delicious tomato goodness. This step infuses the meatballs with flavor and prevents them from drying out during the baking process.
Step 3: Assembling the Slider Bases
Now, let’s bring it all together on our prepared baking sheet. Take the bottom half of the Hawaiian rolls, which are already cut-side up. Arrange the marinara-coated meatballs evenly across the surface of these bottom rolls. You should have about 3 meatballs per roll, if you’re aiming for generous sliders, or you can distribute them according to your preference. Don’t worry if there’s a little extra marinara sauce pooling around the meatballs; this will add moisture and flavor to the entire slider. This is the foundation of your mouthwatering meatball sliders, so take your time to ensure an even distribution of the savory meatballs.
Step 4: Adding the Cheese and Top Buns
With the meatballs nestled on their bases, it’s time for the gooey, melted cheese! Generously sprinkle the shredded mozzarella cheese over the meatballs and the surrounding roll. You want a good, even layer so that every bite is met with that delightful cheesy pull. Don’t be shy with the cheese; it’s a key component of these craveable meatball sliders. Once the cheese is distributed, carefully place the top half of the Hawaiian rolls over the cheese-covered meatballs. Gently press down on the top buns to slightly compact the sliders, making them easier to handle and ensuring everything stays in place during baking. This creates the signature slider form we’re aiming for.
Step 5: Buttering, Seasoning, and Baking
Our meatball sliders are almost ready for their close-up! In a small bowl, combine your 2 tablespoons of melted butter with the 1 teaspoon of garlic powder. This simple mixture will add a wonderful depth of flavor and a beautiful golden sheen to the tops of your rolls. Using a pastry brush or a spoon, liberally brush this garlic butter mixture over the entire top surface of the assembled sliders. Make sure to coat the edges of the rolls as well for maximum flavor and crispiness. Now, carefully place the baking sheet into your preheated oven. Bake for 10 to 12 minutes, or until the cheese is completely melted and bubbly, and the tops of the Hawaiian rolls are lightly golden brown. Keep an eye on them towards the end of the baking time to prevent any burning. Once they’re perfectly golden and the cheese is gloriously melted, remove the baking sheet from the oven. Let the meatball sliders cool for a minute or two before slicing them apart with your serrated knife, creating individual, irresistible sliders.
Conclusion:
And there you have it – the ultimate guide to crafting delicious Meatball Sliders! We’ve walked through every step, from creating those flavorful meatballs to assembling these perfect miniature masterpieces. These Meatball Sliders are incredibly versatile and are sure to be a hit at any gathering, from backyard BBQs to game day parties. Don’t be afraid to get creative with your toppings; the possibilities are endless! I truly encourage you to give this recipe a try and experience the joy of homemade Meatball Sliders. They’re not just a meal; they’re an experience.
For serving suggestions, these Meatball Sliders are fantastic on their own, but they also pair wonderfully with a side of crispy sweet potato fries or a fresh, vibrant coleslaw. When it comes to variations, consider adding a sprinkle of Parmesan cheese to your meatballs for an extra cheesy kick, or perhaps a pinch of red pepper flakes for a touch of heat. You could also experiment with different types of slider buns, like brioche or potato rolls, for a unique twist. Most importantly, have fun with it and tailor these Meatball Sliders to your personal taste!
Frequently Asked Questions:
Q1: Can I make the meatballs ahead of time?
Absolutely! You can prepare the meatballs a day in advance. Once cooked, let them cool completely and store them in an airtight container in the refrigerator. Reheat them gently on the stovetop or in the oven before assembling your Meatball Sliders.
Q2: What are some good sauce options for Meatball Sliders?
Beyond the classic marinara, consider a spicy sriracha mayo, a tangy BBQ sauce, a creamy garlic aioli, or even a pesto for a Mediterranean flair. The sauce is key to elevating your Meatball Sliders!
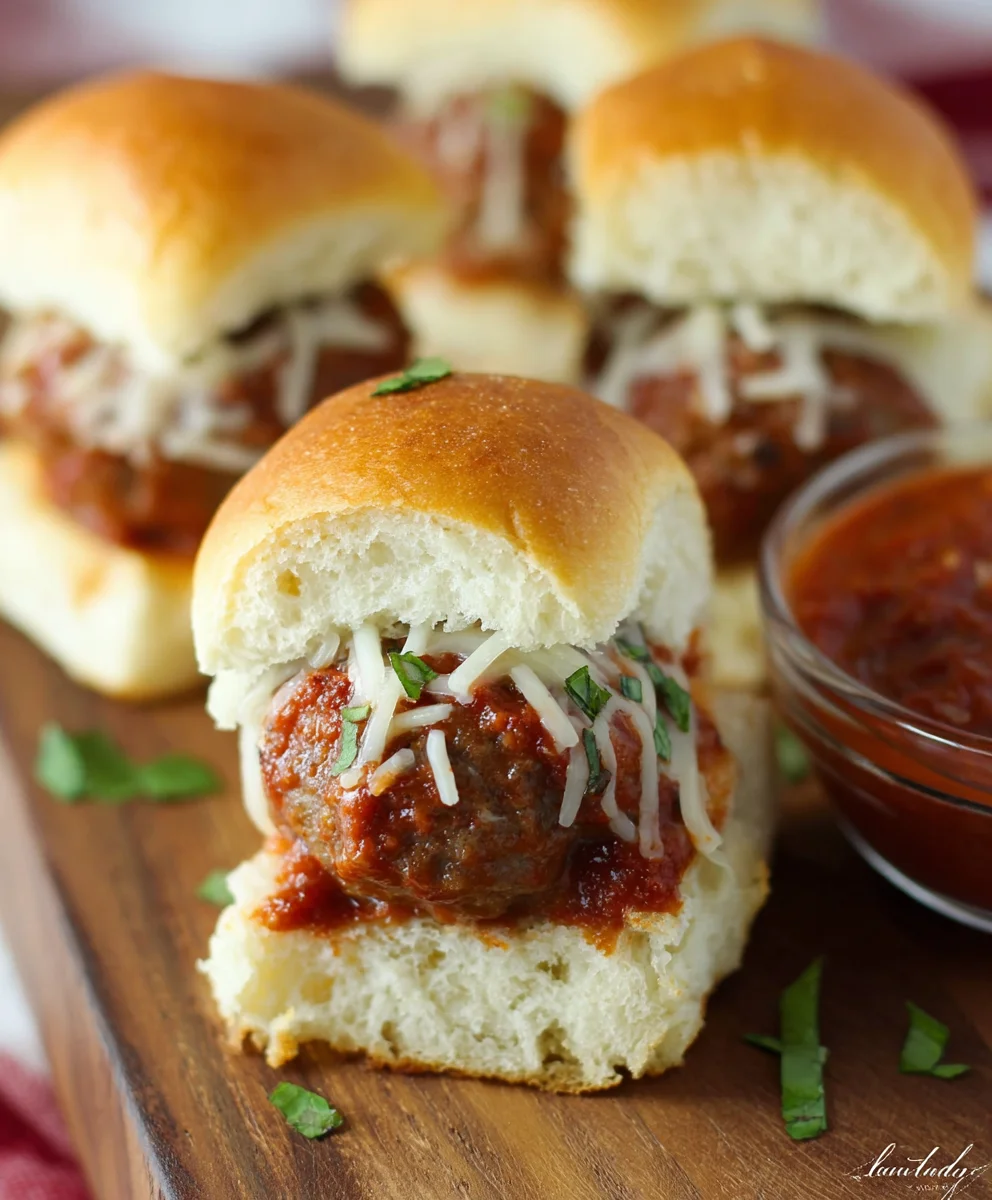
Easy Beef Meatball Sliders
Quick and delicious sliders featuring savory beef meatballs nestled in buttery Hawaiian rolls with melted mozzarella cheese.
Ingredients
-
1 package savory butter Hawaiian rolls
-
2 tablespoons butter, melted
-
1 teaspoon garlic powder
-
12 frozen beef meatballs
-
1/2 cup marinara sauce
-
2 cups shredded mozzarella cheese
Instructions
-
Step 1
Preheat oven to 350 degrees Fahrenheit (175 degrees Celsius). Slice the package of Hawaiian rolls horizontally in half. Place the bottom half cut-side up onto a baking sheet. -
Step 2
Microwave frozen beef meatballs according to package directions until thoroughly warmed. Transfer to a bowl, add marinara sauce, and toss to coat. -
Step 3
Arrange the marinara-coated beef meatballs evenly across the bottom half of the rolls on the baking sheet. -
Step 4
Generously sprinkle shredded mozzarella cheese over the meatballs. Place the top half of the Hawaiian rolls over the cheese and gently press down. -
Step 5
In a small bowl, combine melted butter and garlic powder. Brush this mixture over the top of the assembled sliders. Bake for 10-12 minutes, or until cheese is melted and bubbly, and rolls are golden brown.
Important Information
Nutrition Facts (Per Serving)
It is important to consider this information as approximate and not to use it as definitive health advice.
Allergy Information
Please check ingredients for potential allergens and consult a health professional if in doubt.


Leave a Comment