

One-Hour French Bread truly lives up to its name, offering a magical transformation from pantry staples to a warm, crusty loaf in under sixty minutes. We all crave that irresistible aroma of freshly baked bread wafting through the house, but the commitment of traditional dough rising and proofing can feel daunting, especially on a busy weeknight. This recipe is a game-changer, designed for those who dream of homemade French bread without the hours of waiting. It’s the perfect solution for spontaneous guests, a quick side for dinner, or simply indulgin extractg your inner baker without sacrificing your entire day. What makes this One-Hour French Bread so special is its incredible speed without compromising on texture or flavor. You’ll get that satisfyingly chewy interior and beautifully golden, crackly crust that defines authentic French bread, all while enjoying the satisfaction of creating something delicious from scratch in a fraction of the usual time.

Ingredients:
- 4 to 4 1/2 cups bread flour
- 1 teaspoon sea salt
- 1 1/2 tablespoons active dry yeast
- 2 cups warm water (approximately 105-115°F / 40-46°C)
Preparing the Dough
Step 1: Activating the Yeast
Begin extract by gathering your warm water. It’s crucial that the water is not too hot, as this can kill the yeast, nor too cold, as this won’t activate it effectively. A good test is to dip your finger in; it should feel pleasantly warm, like a comfortable bath. Pour the 2 cups of warm water into a large mixing bowl. Sprinkle the 1 1/2 tablespoons of active dry yeast over the surface of the water. Give it a gentle stir to help the yeast disperse, then let it sit undisturbed for about 5 to 10 minutes. You’ll know the yeast is alive and ready when it becomes foamy and bubbly on the surface, resembling a frothy head on a non-alcoholic beer. This blooming process indicates that the yeast is active and will help your bread rise beautifully. If you don’t see any foam, your yeast might be old or the water was the wrong temperature, and you’ll need to start this step again with fresh yeast.
Step 2: Mixing the Dough
Once your yeast has bloomed, it’s time to add the other dry ingredients. Add the 1 teaspoon of sea salt to the foamy yeast mixture.gin extractw, begin adding the bread flour. Start with 4 cups of the bread flour. Use a sturdy spoon or a dough whisk to mix everything together until agin extractaggy dough begins to form. It will look quite rough at this stage and might still have somgin extractry bits of flour clinging to the sides of the bowl. Don’t worry about achieving a perfectly smooth dough just yet. The goal here is simply to incorporate all the ingredients. If the dough still seems very wet and sticky, you can add the remaining 1/2 cup of bread flour gradually, a tablespoon at a time, until the dough starts to pull away from the sides of the bowl. However, be mindful not to add too much flour, as this can result in a dense loaf.
Kneading and First Rise
Step 3: Kneading the Dough
Now comes the satisfying part: kneading! Turn the shaggy dough out onto a lightly floured surface. If you have a stand mixer with a dough hook, you can certainly use that; it will make the process a bit easier. However, hand-kneading is a wonderful wagin extracto connect with your bread. Begin to knead the dough by pushing it away from you with the heels of your hands, then folding it back towards you. Rotate the dough a quarter turn and repeat. Continue this rhythmic process for about 8 to 10 minutes. The dough will gradually transform from a sticky, unmanageable mass into a smooth, elastic, and slightly tacky ball. You’ll know it’s ready when you can poke it gently with your finger, and the indentation springs back slowly. This develops the gluten, which is essential for the bread’s structure and chew.
Step 4: The First Rise
Lightly grease a clean, large bowl with a little olive oil or cooking spray. Place the kneaded dough into the oiled bowl, turning it once to coat all sides. Cover the bowl tightly with plastic wrap or a clean kitchen towel. Find a warm, draft-free place for the dough to rise. An oven that has been turned off (but perhaps warmed briefly and then cooled) or near a sunny window can be ideal. Allow the dough to rise for about 30 to 45 minutes, or until it has roughly doubled in size. This is where the magic of the yeast really shows, creating those airy pockets that will give your French bread its characteristic texture. Don’t rush this process; a good rise contributes significantly to the final flavor and texture.
Shaping and Baking
Step 5: Shaping the Loaves
Once the dough has doubled, gently punch it down to release the air. Turn the dough out onto your lightly floured surface again. Divide the dough into two equal portions for two loaves. For a traditional French bread shape, gently pat each portion into a rough rectangle. Then, starting from one of the long sides, tightly roll up the dough, pressing the seams together as you go. Pinch the ends to seal them. You should end up with two elongated loaves. Place the shaped loaves onto a baking sheet lined with parchment paper. If you want to achieve that classic French bread look, you can lightly score the top of each loaf with a very sharp knife or a lame, making a few diagonal slashes. This allows the bread to expand evenly during baking.
Step 6: The Second Rise and Baking
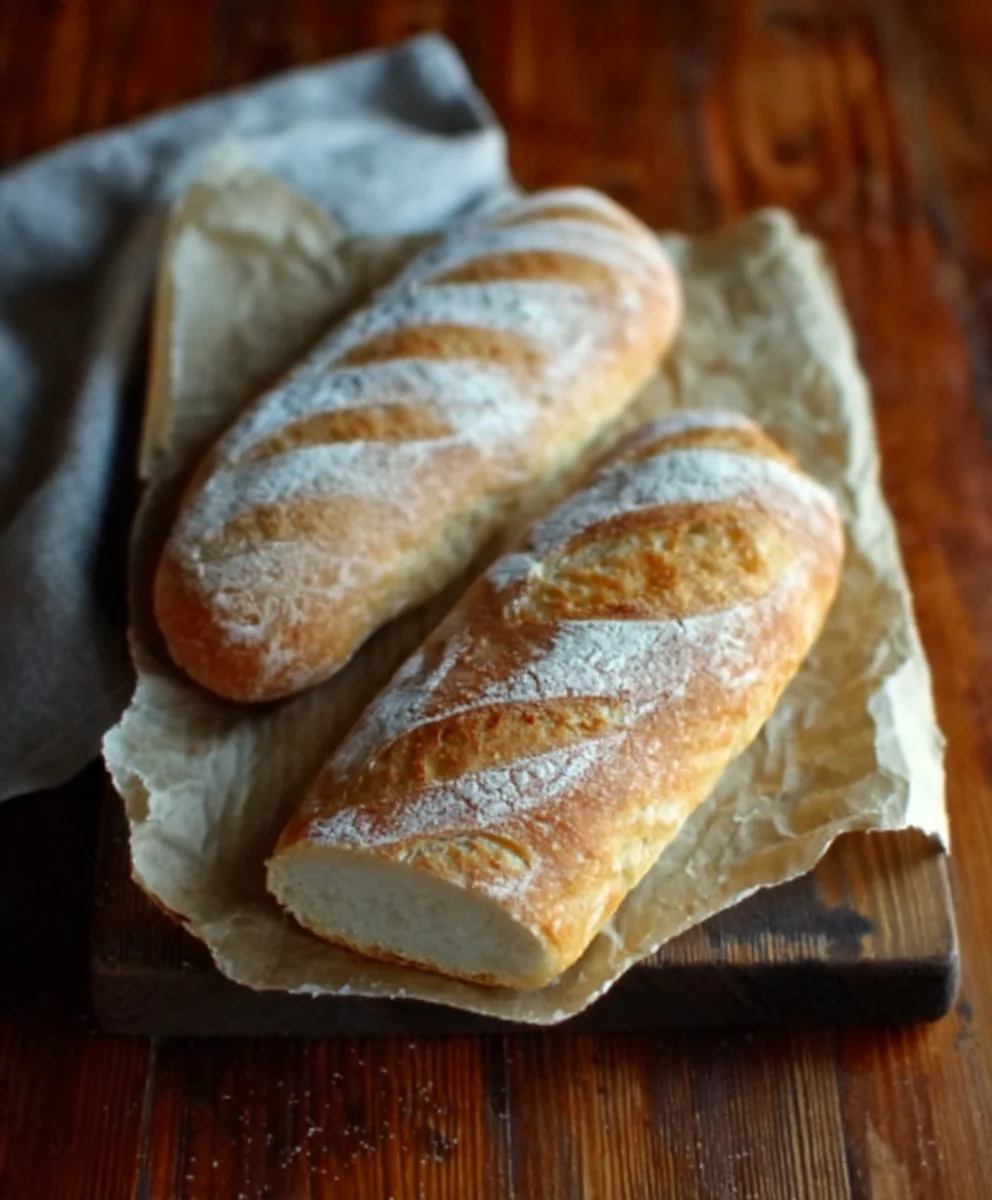
Cover the shaped loaves loosely with a clean kitchen towel and let them rest for another 15 to 20 minutes. This brief second rise, often called proofing, allows the gluten to relax and the loaves to puff up slightly before baking. While the loaves are proofing, preheat your oven to 425°F (220°C). If you have a baking stone or steel, place it in the oven as it preheats; this will help create a fantastic crust. Once the oven is preheated and the loaves have proofed, carefully transfer the baking sheet to the hot oven. For an extra crispy crust, you can create steam in the oven by placing a small, oven-safe pan filled with water on the bottom rack during the initial 10-15 minutes of baking. Bake for 20 to 25 minutes, or until the crust is a deep golden brown and the internal temperature of the bread reaches 200-210°F (93-99°C). The loaves should sound hollow when tapped on the bottom. Let them cool on a wire rack before slicing and enjoying.
Conclusion:
And there you have it – delicious, homemade One-Hour French Bread ready to grace your table in no time! This recipe truly delivers on its promise, offering a rustic crust and a soft, airy interior that rivals any bakery. We’ve seen how simple ingredients and a clever approach can result in such incredible flavor and texture, all within a single hour. Imagin extracte serving this warm, crusty bread alongside your favorite soups, stews, or even just with a smear of butter. It’s the perfect accompaniment to any meal, transforming the ordinary into something special. Don’t be afraid to experiment with this recipe! Add herbs like rosemary or thyme to the dough, or perhaps a sprinkle of sea salt on top before baking for an extra savory note. The possibilities are truly endless. So go ahead, give this One-Hour French Bread a try, and experience the joy of baking your own bread with such speed and ease. You’ll be amazed at what you can achieve!
Frequently Asked Questions about One-Hour French Bread:
Q: Can I make this One-Hour French Bread ahead of time?
While this recipe is designed for speed, you can certainly bake it a few hours in advance and reheat it briefly in a warm oven (around 300°F or 150°C) for about 5-10 minutes to regain its fresh-baked crispness. For longer storage, let it cool completely and store it in an airtight bag at room temperature for a day or two, or freeze it for longer periods.
Q: My bread didn’t rise as much as I expected. What could be the reason?
Several factors can affect rise. Ensure your yeast is fresh and active – you can test it by dissolving it in warm water (around 105-115°F or 40-46°C) with a pinch of sugar. If it becomes foamy after 5-10 minutes, it’s good to go. Also, check that your water temperature for the dough is correct; too hot will kill the yeast, and too cold will slow it down significantly. Consistent warmth during the brief rising period also helps.
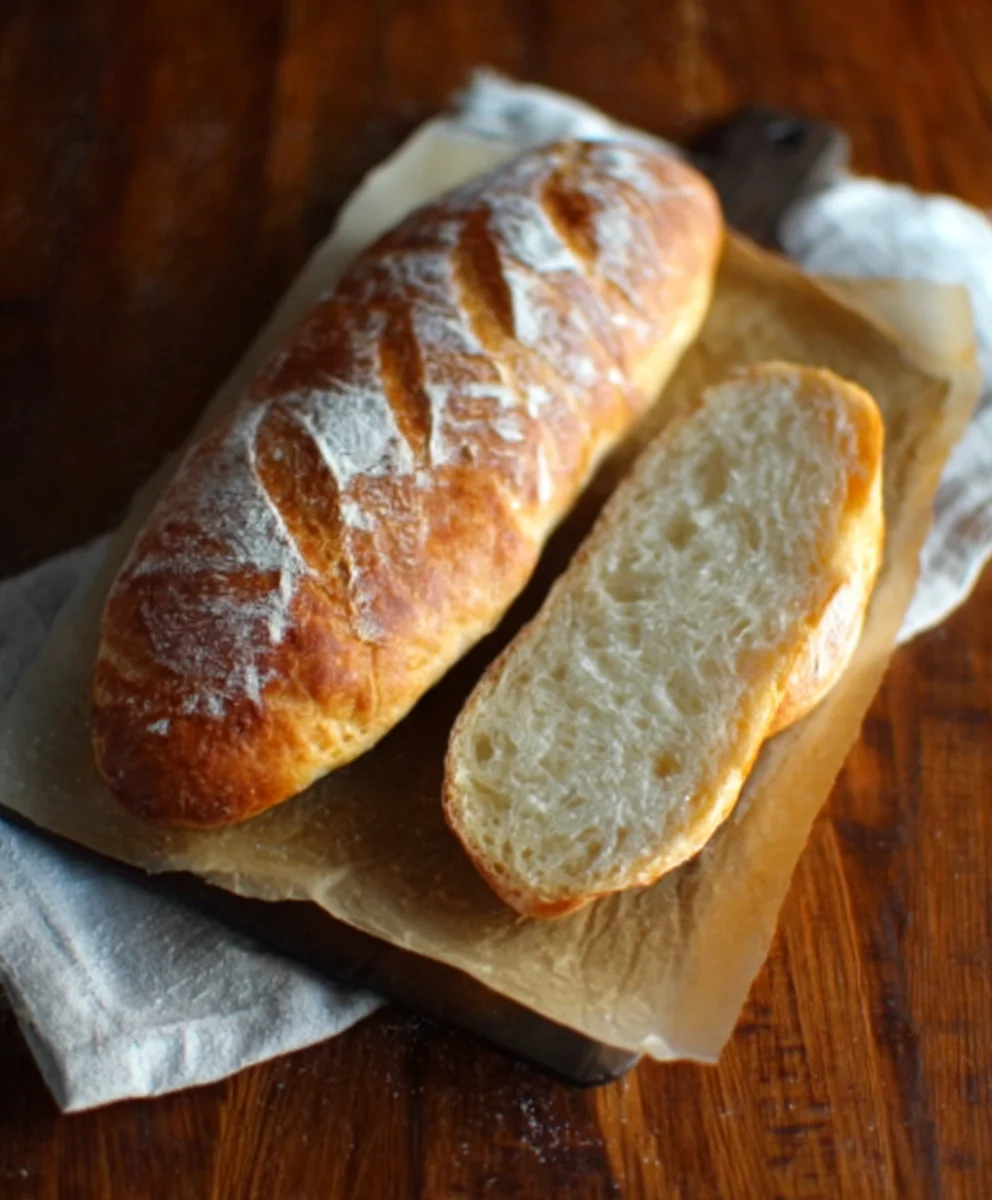
Easy One-Hour French Bread Recipe-Quick Bake
A quick and easy recipe for homemade French bread that you can bake in about an hour, perfect for a weeknight meal or a last-minute gathering.
Ingredients
-
4 to 4 1/2 cups bread flour
-
1 teaspoon sea salt
-
1 1/2 tablespoons active dry yeast
-
2 cups warm water (approximately 105-115°F / 40-46°C)
-
1 tablespoon olive oil or cooking spray (for greasing bowl)
Instructions
-
Step 1
In a large mixing bowl, combine 2 cups of warm water with 1 1/2 tablespoons of active dry yeast. Let it sit for 5-10 minutes until foamy. -
Step 2
Add 1 teaspoon of sea salt to the yeast mixture. Gradually add 4 cups of bread flour, mixing until a shaggy dough forms. Add more flour (up to 1/2 cup) if the dough is too wet. -
Step 3
Turn the dough onto a lightly floured surface and knead for 8-10 minutes until smooth and elastic. Alternatively, use a stand mixer with a dough hook. -
Step 4
Lightly grease a clean bowl with olive oil. Place the dough in the bowl, turning to coat. Cover and let rise in a warm place for 30-45 minutes, or until doubled in size. -
Step 5
Punch down the dough, divide in half, and shape each half into an elongated loaf. Place on a parchment-lined baking sheet. Cover and let rest for 15-20 minutes. -
Step 6
Preheat oven to 425°F (220°C). Optionally, place a pan of water on the bottom rack for steam. Bake for 20-25 minutes until golden brown and hollow-sounding when tapped.
Important Information
Nutrition Facts (Per Serving)
It is important to consider this information as approximate and not to use it as definitive health advice.
Allergy Information
Please check ingredients for potential allergens and consult a health professional if in doubt.


Leave a Comment