

Cardamom Fig Thumbprint Cookies are an absolute delight, a symphony of warm spices and sweet, jammy fruit that instantly transports me to cozy evenings and cherished memories. There’s a reason these little gems have captured so many hearts – their tender, buttery texture melts in your mouth, while the unexpected burst of fig jam, subtly infused with fragrant cardamom, offers a sophisticated twist on a classic. It’s this unique combination that truly elevates the humble thumbprint cookie into something extraordinary. We all love a good cookie, but the Cardamom Fig Thumbprint Cookie offers an experience that’s both comforting and excitingly new. Get ready to discover your new favorite sweet treat!

Cardamom Fig Thumbprint Cookies
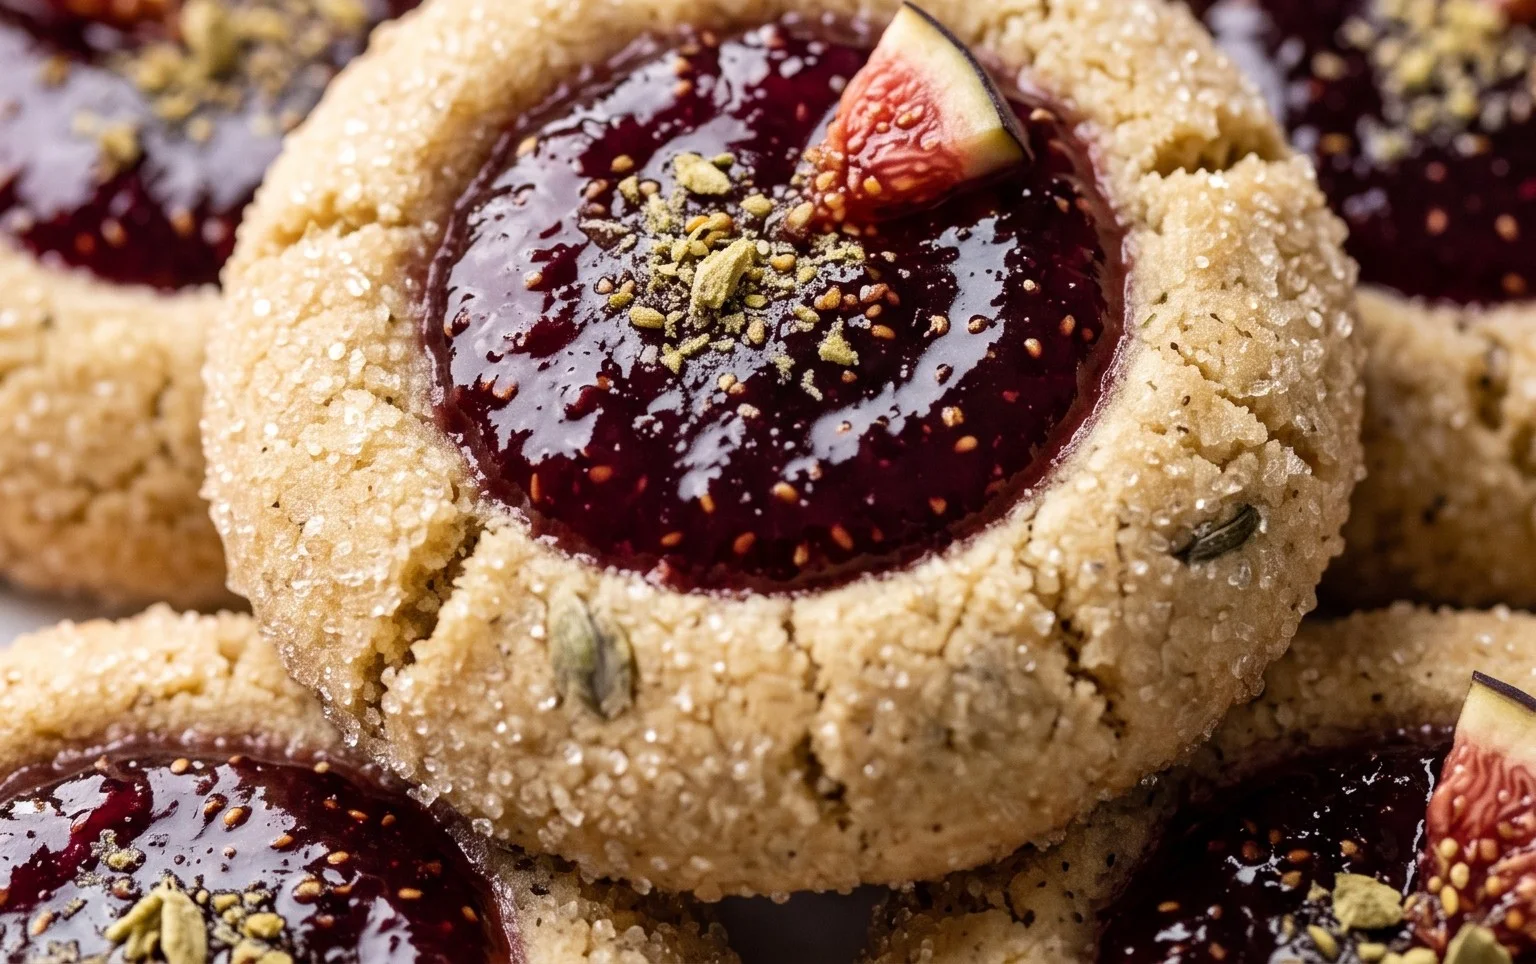
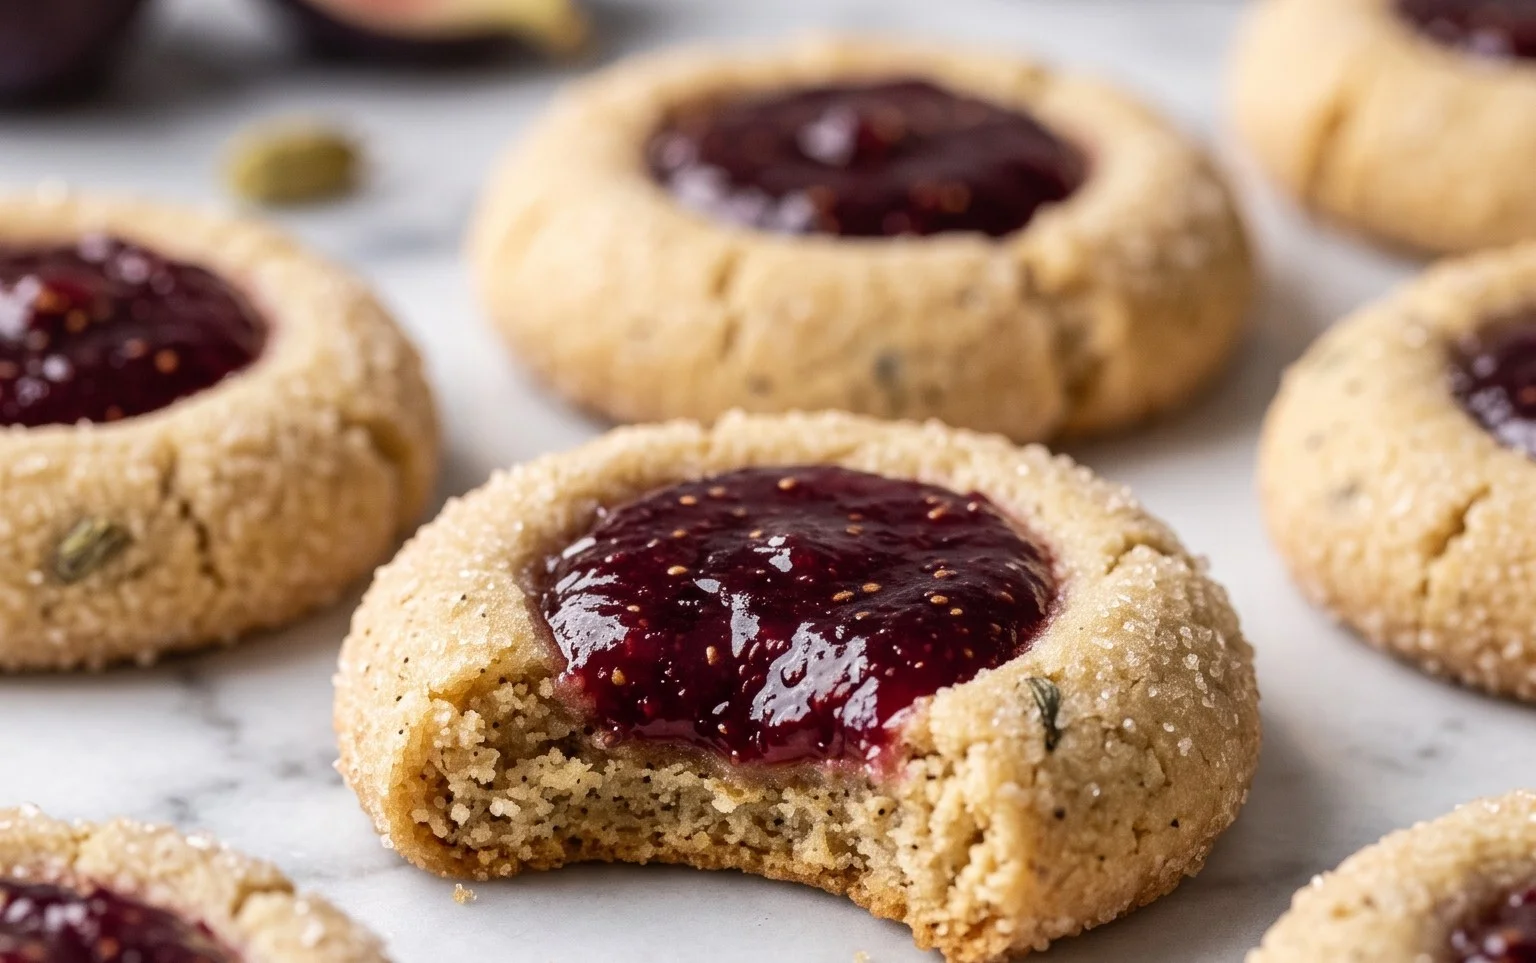
There’s something truly magical about a cookie that balances delicate spice with a burst of sweet fruit. These Cardamom Fig Thumbprint Cookies are just that – an aromatic delight that will transport your taste buds. The warm, earthy notes of cardamom mingle beautifully with the rich, slightly tart sweetness of fig jam, all encased in a tender, buttery cookie. They’re surprisingly simple to make, making them perfect for a cozy afternoon baking session or a festive addition to any cookie platter. The indented center, or “thumbprint,” not only gives them their charming name but also provides the perfect little reservoir for that glorious fig jam. I love how the cardamom infuses the dough itself, creating a subtle, lingering warmth with every bite. And the optional dusting of confectioner’s sugar adds a touch of elegance, making them look as good as they taste.
Ingredients:
Instructions:
1. Preparing the Dry Ingredients:
In a medium-sized bowl, whisk together the flour, ground cardamom, salt, and baking soda. It’s important to get these dry ingredients well combined before adding them to the wet ingredients. This ensures that the leavening agents (baking soda) and the fragrant cardamom are evenly distributed throughout the dough, leading to a more consistent texture and flavor in your finished cookies. I like to sift the flour at this stage, although it’s not strictly necessary, it helps to create an even lighter cookie.
2. Creaming the Butter and Sugar:
In a large mixing bowl, cream together the softened butter and sugar until the mixture is light and fluffy. This process incorporates air into the dough, which is crucial for a tender cookie. I usually use an electric mixer for this, starting on low speed and gradually increasing to medium-high. You’re looking for a pnon-alcoholic ale yellow, creamy consistency. This usually takes about 3-5 minutes. Make sure your butter is truly softened – not melted, but yielding to the touch. This ensures it whips up properly with the sugar.
3. Incorporating Wet Ingredients:
Once the butter and sugar are well combined, beat in the vanilla extract and the prepared egg substitute (or traditional egg). Mix until just combined. Be careful not to overmix at this stage. The egg substitute helps to bind the dough and adds a touch of richness. If you’re using a traditional egg, ensure it’s at room temperature for better emulsification with the butter and sugar mixture.
4. Combining Wet and Dry Ingredients:
Gradually add the dry ingredient mixture to the wet ingredient mixture, mixing on low speed until just combined. Scrape down the sides of the bowl as needed to ensure everything is incorporated. Again, avoid overmixing; we want to develop the gluten in the flour as little as possible to keep the cookies tender. The dough will be soft and slightly sticky at this point, which is exactly what we want.
5. Shaping and Creating the Thumbprints:
Preheat your oven to 350°F (175°C). Line baking sheets with parchment paper. Roll the dough into approximately 1-inch balls. Place the balls about 2 inches apart on the prepared baking sheets. Now comes the fun part: use your thumb or the back of a small spoon to create an indentation in the center of each dough ball. Make the indentation deep enough to hold a good amount of jam, but not so deep that you poke through the bottom of the cookie. As you press the dough, you might notice it slightly cracking on the edges – this is normal for this type of cookie dough. Gently press the cracks back together if you like a smoother look.
6. Filling with Fig Jam:
Spoon about 1 teaspoon of fig jam into each indentation. You don’t want to overfill them, as the jam can bubble over during baking. A little bit goes a long way to create that perfect burst of sweetness. Gently press the jam down slightly into the indentation to secure it. If the dough feels too sticky to work with, you can chill it in the refrigerator for about 15-20 minutes before shaping.
7. Baking the Cookies:
Bake for 10-12 minutes, or until the edges of the cookies are lightly golden brown. The centers may still look a little soft, but they will continue to set as they cool. Keep a close eye on them, as oven temperatures can vary. Overbaked thumbprint cookies can become dry and crum extractbly.
8. Cooling and Optional Dusting:
Let the cookies cool on the baking sheets for about 5 minutes before carefully transferring them to a wire rack to cool completely. This allows them to firm up. Once completely cooled, if you desire, you can lightly dust them with confectioner’s sugar using a fine-mesh sieve for a beautiful, snowy finish. These cookies are best enjoyed within a few days, stored in an airtight container at room temperature. The blend of cardamom and fig is truly a match made in baking heaven!
Conclusion:
I truly hope you’ll give these Cardamom Fig Thumbprint Cookies a try! They are a delightful combination of warm, aromatic cardamom and sweet, chewy figs, all encased in a tender, buttery cookie. The subtle spice of the cardamom truly elevates the natural sweetness of the figs, creating a flavor profile that is both comforting and sophisticated. These cookies are perfect for any occasion, from a simple afternoon treat with your favorite tea to a charming addition to a holiday cookie platter. They are remarkably easy to make, making them an ideal baking project for both begin extractners and seasoned bakers alike. You can easily jazz them up by adding a sprinkle of chopped pistachios to the dough or by drizzling them with a delicate white chocolate glaze once cooled. Don’t be afraid to experiment with different dried fruits too; apricots or dates would also be delicious!
Frequently Asked Questions:
Can I use fresh figs instead of dried?
While fresh figs are wonderful, they have a much higher moisture content. For these thumbprint cookies, dried figs are recommended as they provide a concentrated sweetness and chegrape juicess that works best in the cookie’s jam-like filling. If you do use fresh figs, you’ll need to cook them down significantly to achieve a similar consistency and flavor intensity.
How should I store these cookies?
Once completely cooled, these Cardamom Fig Thumbprint Cookies can be stored in an airtight container at room temperature for up to 3-4 days. They actually tend to get even more delicious as the flavors meld together. For longer storage, you can freeze them in a single layer on a baking sheet until solid, then transfer them to a freezer-safe bag or container for up to 2-3 months.
What can I use if I don’t have cardamom?
If you’re out of cardamom, you can substitute it with a blend of cinnamon and a tiny pinch of nutmeg. However, the unique floral and slightly citrusy notes of cardamom are really what make this recipe special. If you can, I highly recommend seeking out cardamom for the most authentic and delicious flavor experience of these Cardamom Fig Thumbprint Cookies.
Cardamom Fig Thumbprint Cookies
Delicate and aromatic thumbprint cookies infused with cardamom and filled with sweet fig jam.
Ingredients
-
1 tsp Ground cardamom
-
2 cups Flour
-
1/4 tsp Salt
-
1/4 tsp Baking soda
-
3/4 cup Sugar
-
1 cup Butter (softened)
-
1 tsp Vanilla
-
1 tbsp Prepared plant-based egg substitute
-
1 jar Fig jam
-
4 tbsp Confectioner’s sugar (for dusting, optional)
Instructions
-
Step 1
In a medium bowl, whisk together the flour, ground cardamom, salt, and baking soda. -
Step 2
In a large bowl, cream together the softened butter and sugar until light and fluffy. -
Step 3
Beat in the vanilla and plant-based egg substitute until well combined. -
Step 4
Gradually add the dry ingredients to the wet ingredients, mixing until just combined to form a dough. -
Step 5
Preheat oven to 350°F (175°C). Line baking sheets with parchment paper. -
Step 6
Roll dough into 1-inch balls and place on the prepared baking sheets. Create an indentation in the center of each cookie with your thumb. -
Step 7
Fill each indentation with a small amount of fig jam. -
Step 8
Bake for 10-12 minutes, or until the edges are lightly golden. -
Step 9
Let cool on baking sheets for a few minutes before transferring to a wire rack to cool completely. -
Step 10
Dust with confectioners’ sugar, if desired, once cooled.
Important Information
Nutrition Facts (Per Serving)
It is important to consider this information as approximate and not to use it as definitive health advice.
Allergy Information
Please check ingredients for potential allergens and consult a health professional if in doubt.

Leave a Comment