

Ninja Creami Dole Whip is not just a dessert; it’s a delightful escape to a tropical paradise, right in your own kitchen. We all crave that smooth, creamy, and intensely fruity flavor that instantly transports us to sunshine and relaxation. That’s precisely the magic of a Dole Whip, and now, with your Ninja Creami, you can recreate that iconic treat with unparalleled ease and customization. The sheer joy of achieving that signature airy texture, a perfect balance of sweet and tart, makes this a go-to for dessert lovers everywhere. What truly sets the Ninja Creami Dole Whip apart is its incredible versatility. While the classic pineapple is beloved, this machine unlocks a universe of flavor possibilities. Get ready to blend, freeze, and spin your way to the most refreshing, homemade frozen dessert you’ve ever experienced, proving that the best treats are often the simplest ones, especially when made with a little bit of kitchen wizardry.

Ingredients:
- 2 cups pineapple chunks, fresh or canned and drained
- 1 cup milk of choice (coconut milk, oat milk, or regular dairy milk all work wonderfully)
- 2 tablespoons agave syrup or your preferred sweetener (this is optional, adjust to your sweetness preference)
Preparing Your Ninja Creami Dole Whip
The beauty of this Ninja Creami Dole Whip recipe lies in its simplicity. You’re just a few steps away from a creamy, dreamy, dairy-free (if you choose!) treat reminiscent of your favorite theme park dessert. Let’s get started!
Step 1: Gather and Prepare Your Pineapple
Start with your pineapple. If you’re using fresh pineapple, you’ll want to peel it, core it, and then cut it into roughly 1-inch chunks. If you’re opting for canned pineapple, make sure to drain it thoroughly to remove any excess liquid, as too much moisture can affect the final texture of your Dole Whip. You’ll need approximately 2 cups of these chunks. Freezing the pineapple chunks beforehand is a key step for achieving that signature soft-serve consistency. Spread your pineapple chunks in a single layer on a baking sheet lined with parchment paper. This prevents them from clumping together in the freezer, making it easier to scoop and blend later. Pop them into the freezer for at least 4-6 hours, or preferably overnight, until they are completely frozen solid. This freezing process is crucial for the success of your Ninja Creami Dole Whip.
Step 2: Combine Ingredients in the Ninja Creami Pint
Once your pineapple is thoroughly frozen, it’s time to assemble the base for your Dole Whip. Carefully transfer the frozen pineapple chunks into your Ninja Creami pint container. Now, add your chosen milk. I find that full-fat canned coconut milk provides the richest, creamiest texture and a lovely subtle tropical flavor, but unsweetened oat milk or even regular dairy milk will yield delicious results. Pour in 1 cup of your milk. If you prefer a sweeter Dole Whip, now is the time to add your sweetener. Two tablespoons of agave syrup is a good starting point, but feel free to use honey, maple syrup, or even a few drops of liquid stevia if you’re watching sugar intake. Remember, you can always add more sweetness after blending if needed. Ensure the liquid level does not exceed the maximum fill line on your Ninja Creami pint.
Step 3: Initial Spin and Assessment
With all your ingredients in the pint, securely place the outer lid on the Ninja Creami container. Now, attach the outer bowl and the lid assembly to your Ninja Creami machine. Select the “ICE CREAM” function on your machine. Let the machine work its magic. Once the cycle is complete, remove the pint from the machine. It will likely look crum extractbly and powdery at this stage. This is completely normal and part of the process. Don’t be alarmed! The initial spin breaks down the frozen ingredients.
Step 4: Re-spinning for Creaminess
Now comes the crucial part for achieving that perfectly smooth, creamy Dole Whip texture. Observe the texture in the pint. If it’s still powdery or icy, it needs more processing. Add a tablespoon or two of your chosen milk back into the pint. This extra liquid helps to create a smoother consistency. Reattach the outer bowl and lid assembly to the Ninja Creami machine. This time, select the “RE-SPIN” function. The re-spin cycle is designed to further emulsify and smooth out the ingredients, transformirum extractthe crumbly mixture into a luscious soft-serve. You might need to repeat the re-spin process once or twice, adding another tablespoon of milk each time if the texture is still not as creamy as you’d like. It’s all about achieving that ideal, melt-in-your-mouth consistency.
Step 5: Achieving the Perfect Dole Whip Texture
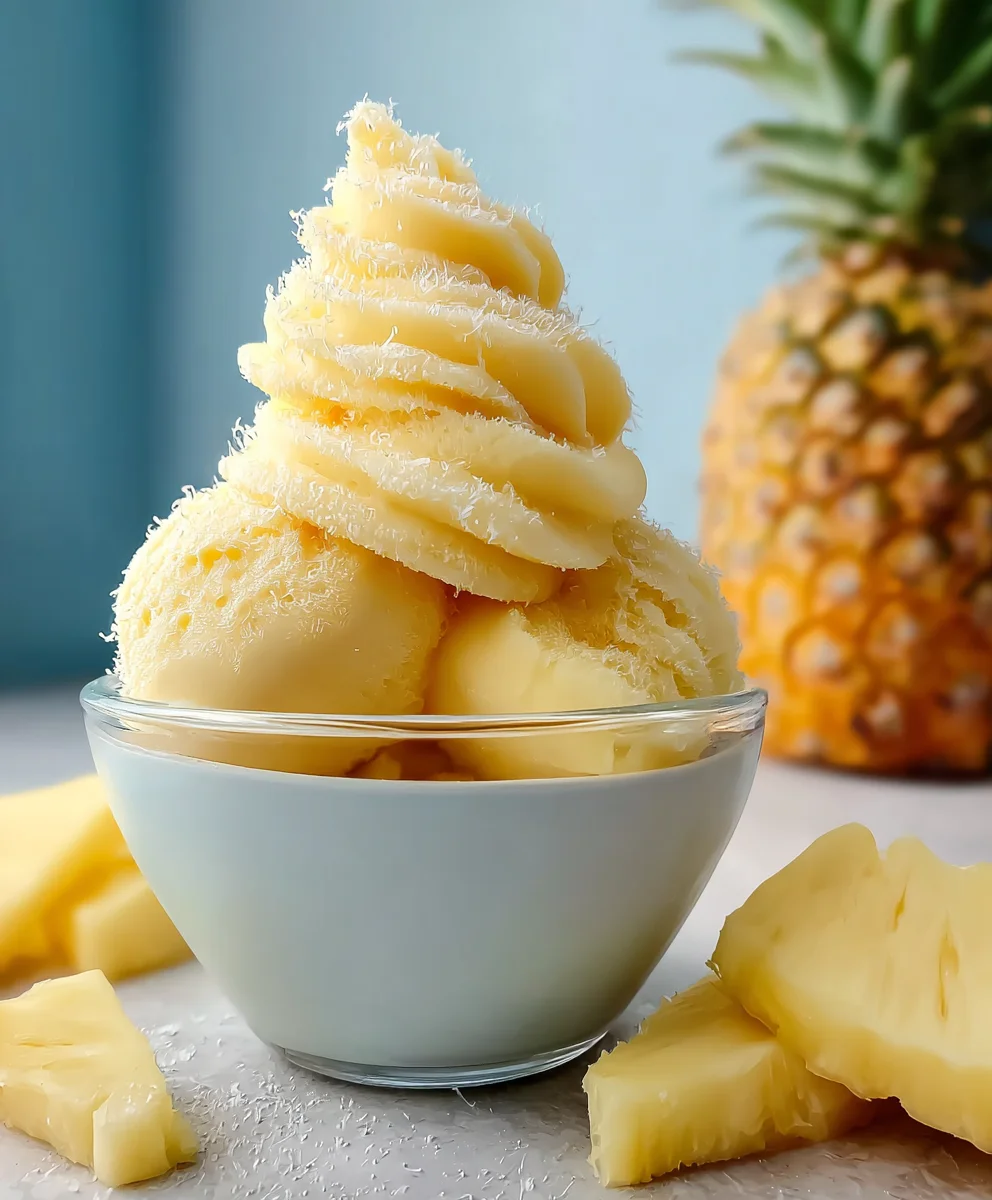
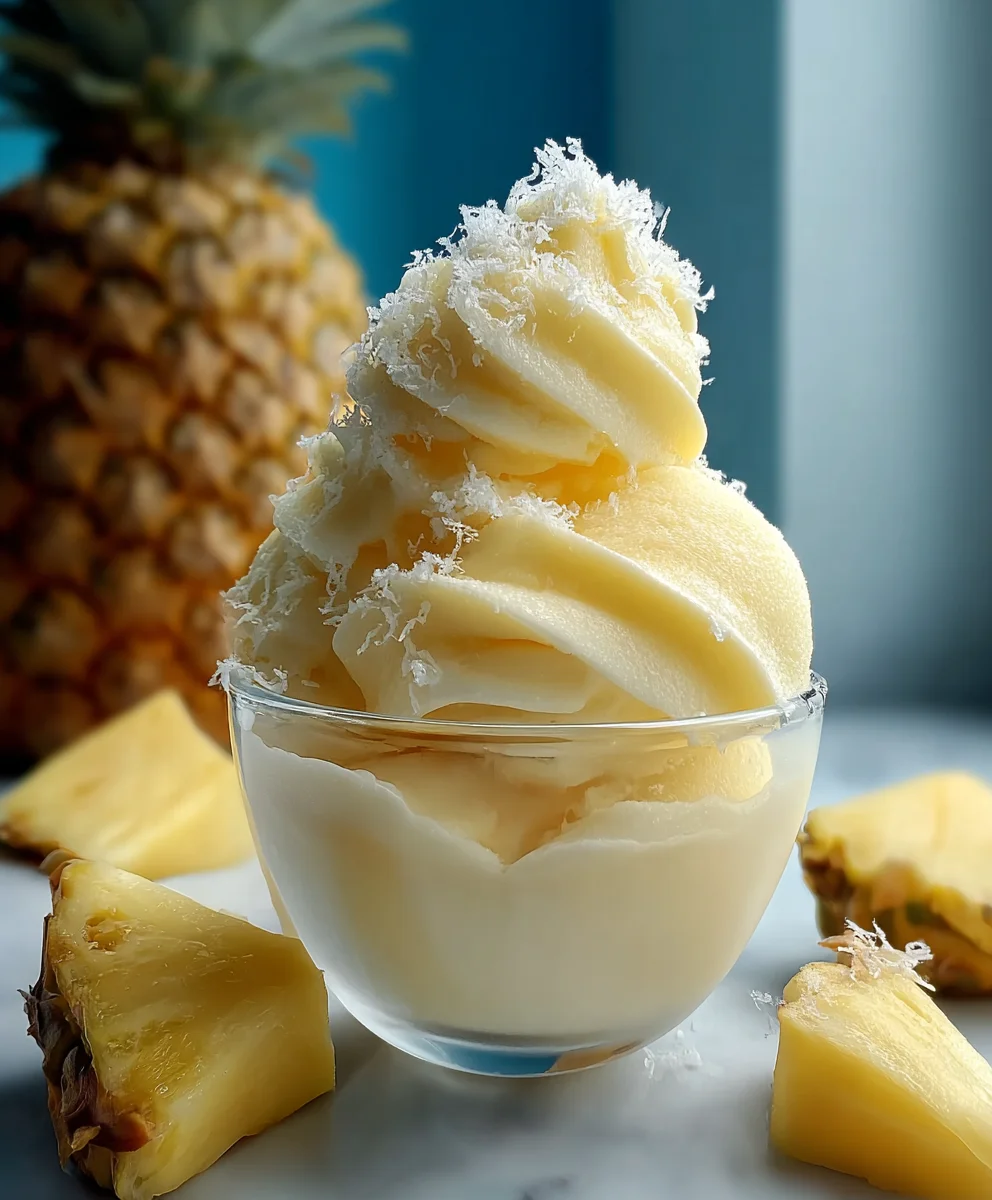
The goal is a smooth, scoopable, soft-serve-like texture. After your re-spin cycles, check the consistency. It should be creamy and uniform, with no icy pockets. If you’re still encountering any powdery bits, don’t hesitate to do another re-spin with a tiny splash of milk. Patience here will be rewarded with the perfect Ninja Creami Dole Whip. Once you’re happy with the texture, you can serve it immediately for a soft-serve experience. If you prefer a firmer consistency, you can transfer the Dole Whip to an airtight container and freeze it for an additional 30-60 minutes. This will allow it to firm up slightly, making it even more scoopable like traditional ice cream. Enjoy the delightful tropical flavor and creamy texture you’ve created!
Conclusion:
And there you have it – your guide to creating the perfect Ninja Creami Dole Whip right in your own kitchen! We’ve walked through the simple steps to transform frozen pineapple into a creamy, dreamy, and refreshingly dairy-free treat. This recipe is incredibly forgiving and offers a fantastic base for customization. Whether you’re looking for a healthy dessert option or a fun activity with family, the Ninja Creami Dole Whip is sure to be a hit. Don’t be afraid to experiment and discover your favorite flavor combinations. We can’t wait to hear about your delicious creations!
For serving, consider a classic pineapple flavor or try adding a splash of lime juice for an extra zing. It’s absolutely delightful served immediately for a soft-serve consistency, or you can re-freeze it for a firmer texture that’s perfect for scooping. Get creative with garnishes like fresh pineapple chunks, a sprig of mint, or even a sprinkle of toasted coconut.
Frequently Asked Questions:
Can I use other fruits besides pineapple for my Ninja Creami Dole Whip?
Absolutely! While pineapple is the classic, you can achieve delicious results with other frozen fruits. Mango, strawberries, or even a blend of berries work wonderfully. Just ensure your fruit is frozen solid for the best creamy texture.
My Ninja Creami Dole Whip is too icy. What can I do?
If your Dole Whip comes out icy, it usually means it needs a bit more blending time or a touch more liquid. Try re-spinning it in your Ninja Creami, adding a tablespoon of water or pineapple juice at a time, and blending again until smooth and creamy. Ensure your frozen fruit is truly frozen solid before you begin extract.
Ninja Creami Dole Whip Recipe-Easy & Delicious Frozen Treat
A simple and delicious recipe for making a creamy, dairy-free Dole Whip at home using the Ninja Creami.
Ingredients
-
2 cups pineapple chunks, fresh or canned and drained
-
1 cup milk of choice (coconut milk, oat milk, or regular dairy milk)
-
2 tablespoons agave syrup or your preferred sweetener
-
Parchment paper
-
Baking sheet
Instructions
-
Step 1
Prepare the pineapple: Peel, core, and cut fresh pineapple into 1-inch chunks. If using canned, drain thoroughly. Spread chunks in a single layer on a parchment-lined baking sheet and freeze for at least 4-6 hours or overnight until solid. -
Step 2
Combine ingredients: Transfer frozen pineapple chunks to the Ninja Creami pint. Add 1 cup of your chosen milk and 2 tablespoons of agave syrup or sweetener (optional). Ensure liquid does not exceed the max fill line. -
Step 3
Initial spin: Secure the lid and outer bowl, then attach to the Ninja Creami. Select the ‘ICE CREAM’ function and let the cycle complete. The mixture will appear powdery. -
Step 4
Re-spin for creaminess: If the texture is powdery or icy, add 1-2 tablespoons of milk. Reattach the outer bowl and lid, then select the ‘RE-SPIN’ function. Repeat if necessary, adding a tablespoon of milk each time, until a creamy consistency is achieved. -
Step 5
Serve or firm: Once smooth and creamy, serve immediately for a soft-serve texture. For a firmer consistency, transfer to an airtight container and freeze for 30-60 minutes.
Important Information
Nutrition Facts (Per Serving)
It is important to consider this information as approximate and not to use it as definitive health advice.
Allergy Information
Please check ingredients for potential allergens and consult a health professional if in doubt.


Leave a Comment