

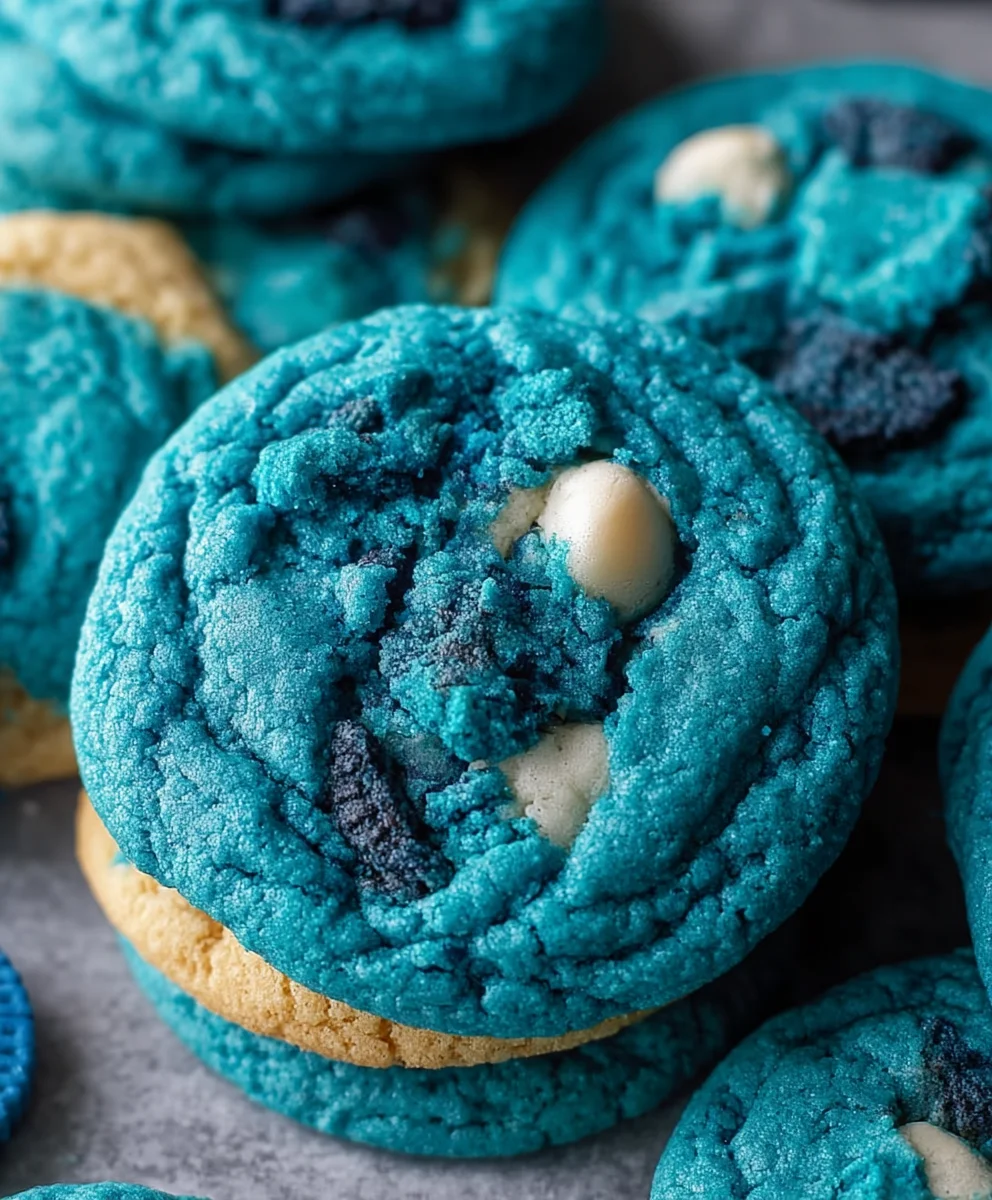
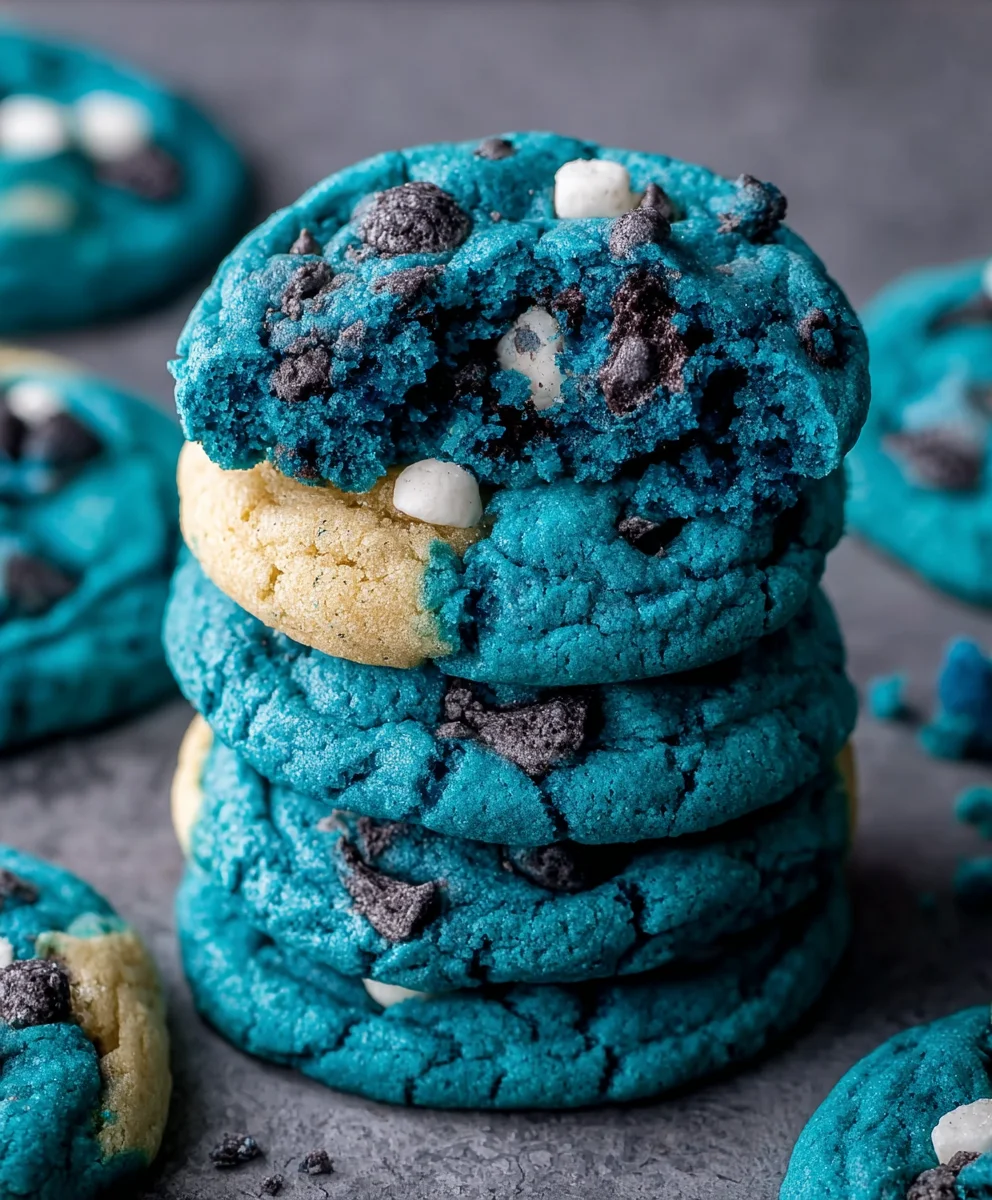
Blue Cookie Monster Cookies are more than just a treat; they’re a vibrant explosion of childhood nostalgia and pure, unadulterated joy. Who can resist those iconic blue swirls, dotted with chunks of chocolate and the delightful crunch of a perfectly baked cookie? It’s no wonder these cookies have captured hearts and taste buds across generations. They evoke memories of Saturday morning cartoons, carefree days, and the simple pleasure of sharing something delicious. What truly sets Blue Cookie Monster Cookies apart is their unique visual appeal and the irresistible combination of sweet, buttery dough with bursts of chocolatey goodness. They aren’t just baked goods; they are edible happiness, guaranteed to bring a smile to anyone’s face, from the youngest cookie enthusiast to the seasoned dessert lover. Get ready to dive into a batch that’s as fun to make as it is to devour!

Ingredients:
- 3 cups (360g) all-purpose flour
- 2 teaspoons cornstarch
- 1 teaspoon baking soda
- 1/4 teaspoon salt
- 2 sticks (1 cup) unsalted butter, softened to room temperature
- 1 1/4 cups packed light brown sugar
- 1/4 cup granulated sugar
- 2 large eggs, at room temperature
- 1 teaspoon pure vanilla extract
- Royal blue gel food coloring
- Electric blue gel food coloring
- Violet gel food coloring
- 2/3 cup white chocolate chips, divided
- 2/3 cup chopped mini Chips Ahoy cookies
- 2/3 cup chopped Oreo cookies
Preparing the Cookie Dough Base
Step 1: Combine Dry Ingredients
In a medium bowl, whisk together the all-purpose flour, cornstarch, baking soda, and salt. The cornstarch is a secret weapon here; it helps to create a wonderfully tender and slightly chewy cookie texture. The baking soda will give our Blue Cookie Monster Cookies the lift they need, and the salt will balance out the sweetness. Whisking these dry ingredients together ensures they are evenly distributed, which prevents pockets of baking soda or salt in your finished cookies. Set this bowl aside for now.
Step 2: Cream Butter and Sugars
In a large mixing bowl, using an electric mixer on medium speed, cream together the softened unsalted butter, light brown sugar, and granulated sugar until the mixture is light and fluffy. This process, known as creaming, incorporates air into the dough, which contributes to the cookie’s structure and texture. Make sure your butter is truly at room temperature – not melted, but soft enough to indent with your finger. This takes about 3-5 minutes of beating. Scrape down the sides of the bowl occasionally to ensure everything is getting incorporated.
Step 3: Add Eggs and Vanilla
Add the room-temperature large eggs, one at a time, beating well after each addition until fully incorporated. It’s important that the eggs are also at room temperature; cold eggs can cause the butter to seize up, resulting in a less smooth dough. Next, stir in the pure vanilla extract. The vanilla adds a classic warm flavor note that complements all the other ingredients beautifully. Continue to beat until the mixture is smooth and well combined, about another minute.
Coloring and Flavoring the Blue Cookie Monster Cookies
Step 4: Divide and Color the Dough
Now for the fun part – the color! Divide the creamed butter and sugar mixture into three roughly equal portions. To one portion, add a generous amount of royal blue gel food coloring. To the second portion, add electric blue gel food coloring. To the third portion, add violet gel food coloring. Use a spoon or a small spatula to mix the color into each portion of the dough until the color is uniform and vibrant. Gel food coloring is ideal because it provides intense color without adding excess liquid, which could alter the cookie dough’s consistency. You want a bold, distinct blue hue reminiscent of our beloved cookie monster.
Step 5: Incorporate Dry Ingredients and Mix-ins
Gradually add the dry ingredients (from Step 1) to each of the colored dough portions, mixing on low speed just until combined. Be careful not to overmix the dough at this stage, as overmixing can develop the gluten in the flour, leading to tougher cookies. Once the dry ingredients are mostly incorporated, gently fold in the chopped mini Chips Ahoy cookies, chopped Oreo cookies, and the white chocolate chips. Reserve about 1/4 cup of the white chocolate chips to press onto the tops of the cookies before baking for an extra beautiful finish. The combination of crunchy cookie pieces and melty white chocolate is what truly makes these Blue Cookie Monster Cookies irresistible.
Chilling and Baking for Perfect Cookies
Step 6: Chill the Dough
Once all the ingredients are combined, cover each colored dough portion separately with plastic wrap and refrigerate for at least 2 hours, or preferably overnight. Chilling the dough is a crucial step. It allows the flavors to meld and deepen, and it solidifies the fat in the butter, which prevents the cookies from spreading too much in the oven. This results in thicker, chewier cookies with more pronounced flavor. If you’re short on time, a minimum of 1 hour in the freezer can also work in a pinch, but the longer chill time is highly recommended for optimal texture and taste.
Step 7: Shape and Bake the Cookies
Preheat your oven to 350°F (175°C). Line baking sheets with parchment paper. For each cookie, take about 2 tablespoons of each colored dough and gently press them together, swirling them slightly to create a marbled effect. You can also simply roll each color into a ball and press them together. Roll the combined dough into a ball and place it onto the prepared baking sheet, about 2 inches apart. Gently press a few of the reserved white chocolate chips onto the top of each cookie ball. Bake for 10-12 minutes, or until the edges are set and lightly golden, but the centers still look slightly soft. Don’t overbake! The cookies will continue to set as they cool on the baking sheet.
Step 8: Cool and Enjoy
Let the Blue Cookie Monster Cookies cool on the baking sheet for 5-10 minutes before transferring them to a wire rack to cool completely. This resting period is important for the cookies to firm up. Once they have cooled, admire your beautifully marbled, monster-inspired creations. These cookies are best enjoyed within a few days and are sure to be a hit with cookie lovers of all ages.
Conclusion:
There you have it! Our incredibly fun and surprisingly simple recipe for Blue Cookie Monster Cookies is ready to bring a burst of joy to your kitchen. We hope you’ve enjoyed following along and are excited to bake up a batch of these delightful treats. These cookies are more than just a dessert; they’re a playful experience that’s perfect for parties, after-school snacks, or simply brightening up any ordinary day. They’re a fantastic way to get kids involved in baking, too!
For serving suggestions, these Blue Cookie Monster Cookies are absolutely divine on their own, perhaps with a tall glass of cold milk. However, you could also crum extractble them over ice cream or use them as the base for a whimsical dessert parfait. Don’t be afraid to get creative with variations! Consider adding a few white chocolate chips for extra sweetness or even a sprinkle of edible glitter for a truly magical touch. Remember, the key is to have fun with it!
We truly encourage you to give these Blue Cookie Monster Cookies a try. The vibrant blue color and the satisfying crunch of the chocolate chips are sure to be a hit with everyone. Happy baking, and enjoy every delicious bite!
Frequently Asked Questions about Blue Cookie Monster Cookies:
Can I make these cookies without blue food coloring?
While the iconic blue color is a signature of Cookie Monster, you can certainly make these without it. They will still be delicious! You could opt for a natural blue colorant derived from spirulina or butterfly pea flower if you prefer, or simply omit the coloring altogether for a classic chocolate chip cookie flavor.
How should I store Blue Cookie Monster Cookies?
To keep your Blue Cookie Monster Cookies fresh, store them in an airtight container at room temperature for up to 3-4 days. If you want them to last longer, you can also freeze them, either baked or as dough, for up to 2-3 months.
What kind of chocolate chips work best?
For the best flavor and texture in your Blue Cookie Monster Cookies, semi-sweet chocolate chips are a classic choice and highly recommended. However, feel free to experiment with milk chocolate, dark chocolate, or even white chocolate chips for different flavor profiles!
Blue Cookie Monster Cookies-Fun & Easy Recipe
A fun and easy recipe for making vibrant, marbled Blue Cookie Monster Cookies, packed with white chocolate chips and cookie pieces.
Ingredients
-
3 cups (360g) all-purpose flour
-
2 teaspoons cornstarch
-
1 teaspoon baking soda
-
1/4 teaspoon salt
-
1 cup (2 sticks) unsalted butter, softened to room temperature
-
1 1/4 cups packed light brown sugar
-
1/4 cup granulated sugar
-
2 large eggs, at room temperature
-
1 teaspoon pure vanilla extract
-
Royal blue gel food coloring
-
Electric blue gel food coloring
-
Violet gel food coloring
-
2/3 cup white chocolate chips, divided
-
2/3 cup chopped mini Chips Ahoy cookies
-
2/3 cup chopped Oreo cookies
Instructions
-
Step 1
Combine dry ingredients: In a medium bowl, whisk together the all-purpose flour, cornstarch, baking soda, and salt. Set aside. -
Step 2
Cream butter and sugars: In a large mixing bowl, cream together the softened unsalted butter, light brown sugar, and granulated sugar until light and fluffy. This takes about 3-5 minutes. -
Step 3
Add eggs and vanilla: Add the room-temperature eggs one at a time, beating well after each. Stir in the vanilla extract. Beat until smooth. -
Step 4
Divide and color the dough: Divide the creamed mixture into three equal portions. Add royal blue gel food coloring to one, electric blue to the second, and violet to the third. Mix until uniform. -
Step 5
Incorporate dry ingredients and mix-ins: Gradually add the dry ingredients to each colored dough portion, mixing on low speed until just combined. Gently fold in the chopped cookies and 2/3 cup white chocolate chips, reserving about 1/4 cup for topping. -
Step 6
Chill the dough: Cover each colored dough portion separately with plastic wrap and refrigerate for at least 2 hours, or preferably overnight. -
Step 7
Shape and bake the cookies: Preheat oven to 350°F (175°C). Line baking sheets with parchment paper. Take about 2 tablespoons of each colored dough, gently press them together, and swirl slightly. Roll into a ball and place on baking sheets, about 2 inches apart. Press reserved white chocolate chips onto the tops. Bake for 10-12 minutes, or until edges are set. -
Step 8
Cool and enjoy: Let cookies cool on the baking sheet for 5-10 minutes before transferring to a wire rack to cool completely. Enjoy!
Important Information
Nutrition Facts (Per Serving)
It is important to consider this information as approximate and not to use it as definitive health advice.
Allergy Information
Please check ingredients for potential allergens and consult a health professional if in doubt.
Leave a Comment