

The Best Bread Machine Bread Recipe isn’t just a title; it’s a promise. Imagin extracte the aroma of freshly baked bread filling your kitchen, a comforting scent that speaks of warmth, home, and simple pleasures. This is the magic that awaits you with a bread machine, and this particular recipe is designed to unlock that magic with unparalleled ease and delicious results. People adore this recipe because it demystifies bread making, transforming potentially intimidating culinary territory into a foolproof endeavor. Gone are the days of kneading, proofing in a warm spot, and the anxiety of whether your loaf will rise. What makes this the best bread machine bread recipe? It’s the perfect balance of ingredients that ensures a consistently tender crum extractb, a beautifully golden crust, and a flavor that is both classic and utterly satisfying. Whether you’re a seasoned baker or a complete novice, this recipe will have you pulling out loaves that look and taste like they came from a professional bakery, all at the touch of a button.

Ingredients:
- 1 ¾ cups warm water (approximately 415g)
- 2 tablespoons vegetable oil (approximately 25g)
- 1 ½ teaspoons granulated sugar (approximately 7g)
- 1 teaspoon salt (approximately 8g)
- 4 cups all-purpose bread flour (approximately 570g)
- 2 teaspoons active dry yeast (or bread machine yeast, approximately 8g)
Preparing Your Bread Machine for Success
The journey to the perfect loaf begin extracts with the right preparation. Before you even think about adding ingredients, ensure your bread machine is clean and ready to go. Wipe down the inside of the bread pan and the kneading paddle to remove any lingering debris from previous bakes. This simple step prevents off-flavors and ensures smooth operation. Next, locate the kneading paddle and ensure it’s securely attached to the bottom of the bread pan. A loose paddle can lead to uneven mixing and a less-than-ideal texture.
The Liquid Foundation
Our first step in loading the bread machine is to introduce the liquids. Measure out your 1 ¾ cups of warm water. The ideal temperature for activating yeast is between 105°F and 115°F (40°C and 46°C). Too hot, and you risk killing the yeast; too cold, and it won’t activate properly. You can test this by dipping a clean finger into the water – it should feel comfortably warm, like a baby’s bathwater. Pour this warm water directly into the bread pan. Next, add your 2 tablespoons of vegetable oil. The oil contributes to a tender crum extractb and a golden crust, adding richness to our bread.
Sweetness and Balance
Now, it’s time to add the dry ingredients, but we’ll do it in a specific order for optimal results. First, sprinkle the 1 ½ teaspoons of granulated sugar over the warm water and oil. Sugar acts as food for the yeast, giving it a boost to produce a beautifully risen loaf. Following the sugar, carefully add the 1 teaspoon of salt. Salt plays a crucial role in bread making; it not only enhances the flavor but also controls the yeast’s activity, preventing it from fermenting too quickly and creating an undesirable taste or texture. It’s important to keep the salt away from the yeast initially, as direct contact can also inhibit yeast activation.
The Flour and Yeast Formation
With the liquids, sugar, and salt in place, we can now introduce the flour. Measure out your 4 cups of bread flour. Bread flour is preferred for its higher protein content, which develops more gluten, resulting in a chewier texture and better structure for our loaf. Pour the flour over the other ingredients, ensuring it completely covers the wet ingredients and forms a mound. This creates a barrier, preventing the salt from directly contacting the yeast until mgin extractng begins. Finally, create a small well or indentation in the center of the flour mound. This is where our yeast will go. Measure 2 teaspoons of active dry yeast and gently sprinkle it into this well. Ensure the yeast is not touching the salt or the liquid at this stage. The bread machine will eventually incorporate everything, but this initial separation is key for successful yeast activation.
Initiating the Baking Cycle
Once all your ingredients are in the bread pan in the correct order (liquids, sugar, salt, flour, and yeast on top), it’s time to place the pan into your bread machine. Secure the pan firmly, making sure it locks into place according to your machine’s instructions. Close the lid and select your desired bread program. For a basic white bread like this, a standard “Basic” or “White” cycle is usually appropriate. Most machines will allow you to select the crust color and loaf size, so choose those according to your preference. Once you’ve made your selections, press the start button. You’ll heagin extracthe machine begin its cycle, starting with an initial mixing and kneading phase. Resist the urge to open the lid during the initial kneading process, as this can disrupt the dough’s development.
Monitoring and Enjoying the Aroma
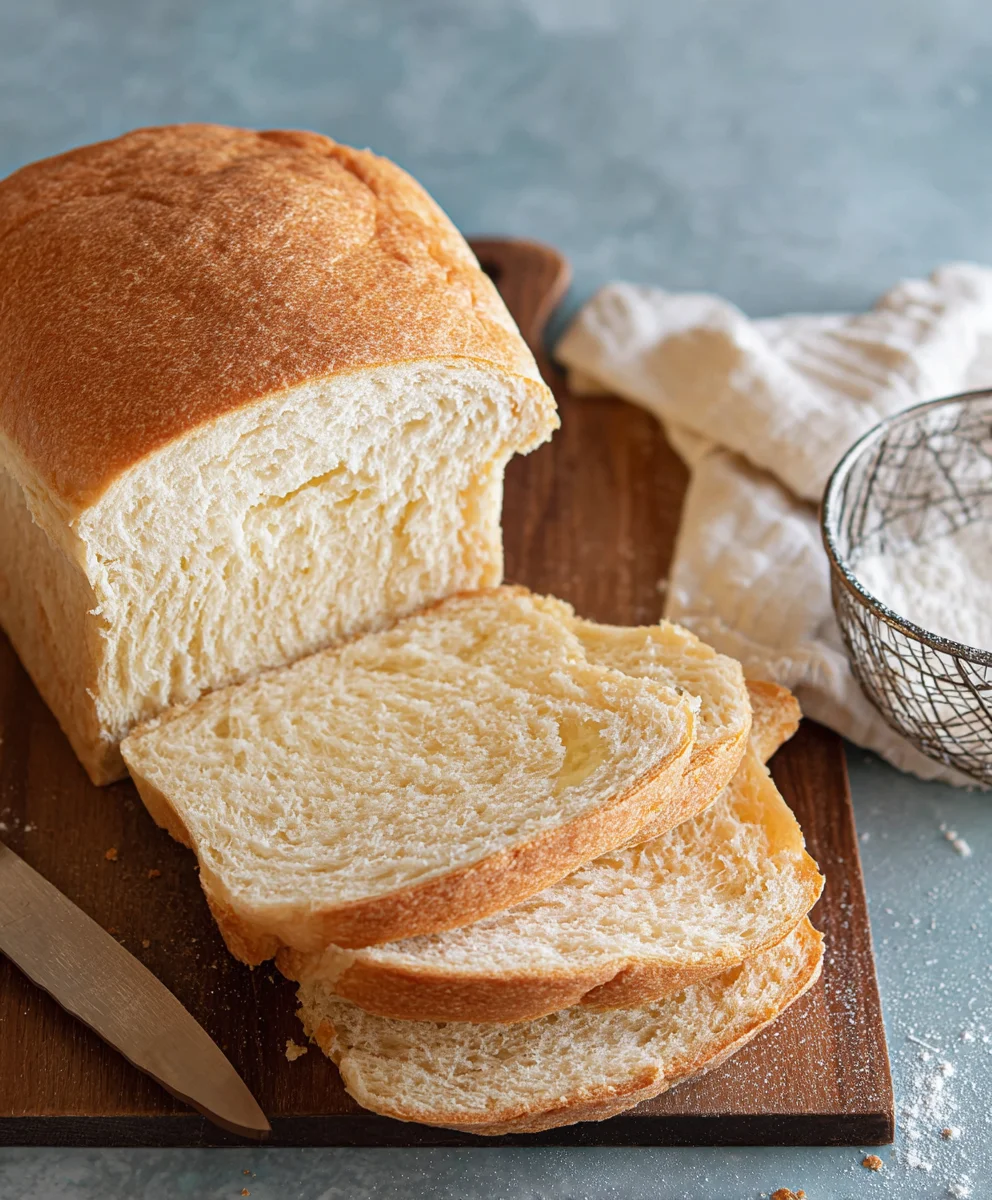
As the bread machine works its magic, you’ll notice the dough being kneaded and then rising. The aromagin extract baking bread will begin to fill your kitchen, a sure sign that deliciousness is on its way. If your bread machine has a viewing window, you can observe the dough’s progress. It should form a smooth, elastic ball during the kneading stages. If the dough appears too drum extractand crumbly, you can carefully add another teaspoon of warm water through the vent (if your machine has one) during the initial few minutes of kneading. Conversely, if the dough is too wet and sticky, add another teaspoon of bread flour. However, with the precise measurements provided, this usually isn’t necessary. Once the baking cycle is complete, your bread machine will typically beep to signal that the bread is ready. Allow it to rest in the pan for about 5-10 minutes before carefully removing it. Use oven mitts, as the pan and the bread will be very hot. Place the hot loaf on a wire rack to cool completely before slicing. This cooling period is essential for the bread’s texture to set properly.
Conclusion:
There you have it – a foolproof guide to creating “The Best Bread Machine Bread Recipe”! We’ve walked through each step, from gathering your simple ingredients to the final golden-brown loaf. This recipe is designed for ease and delicious results, making it a perfect staple for any home baker. Whether you’re a seasoned pro or just starting your bread-making journey, this recipe is sure to become a favorite.
Serve this delightful bread warm, slathered with butter, or as the base for your favorite sandwiches. It’s also wonderful alongside soups and stews. Don’t be afraid to experiment! For variations, consider adding herbs like rosemary or thyme to the dry ingredients, or a handful of seeds for added texture and flavor. You can also adjust the sweetness slightly by adding a touch more sugar or a drizzle of honey.
We truly hope you enjoy making and savoring “The Best Bread Machine Bread Recipe.” Happy baking!
Frequently Asked Questions:
Can I use all-purpose flour instead of bread flour?
While bread flour provides the best structure and chew for this “The Best Bread Machine Bread Recipe,” all-purpose flour can be used in a pinch. However, the texture might be slightly softer and less chewy. You might also consider adding an extra teaspoon of vital wheat gluten if using all-purpose flour to help improve the dough’s rise and structure.
My bread machine is showing an error code. What should I do?
Error codes can vary depending on your bread machine model. The first step is always to consult your bread machine’s user manual, as it will provide specific explanations for each code and troubleshooting steps. Common issues include incorrect ingredient measurements, lid not being closed properly, or a problem with the heating element. Double-checking your ingredient measurements and ensuring everything is seated correctly in the pan is a good starting point.
Can I freeze this bread machine bread?
Absolutely! Once “The Best Bread Machine Bread Recipe” has cooled completely, you can slice it and freeze the slices in an airtight bag or container. This is a great way to have fresh bread on hand whenever you need it. Simply toast the frozen slices directly from the freezer.
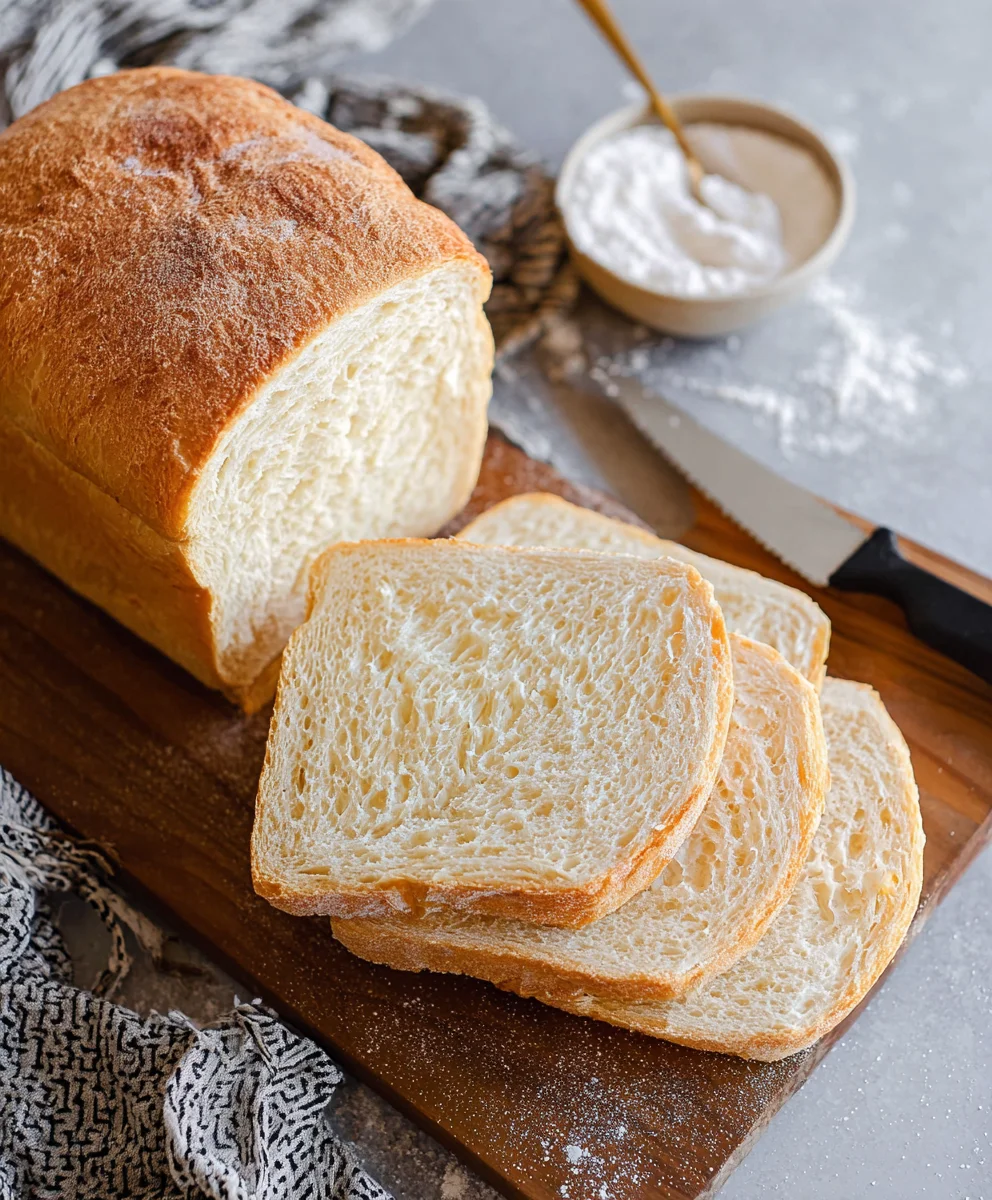
Best Bread Machine Bread Recipe-Foolproof & Delicious
A foolproof and delicious white bread recipe specifically designed for bread machines, resulting in a perfectly textured and flavorful loaf every time.
Ingredients
-
1 ¾ cups warm water (415g)
-
2 tablespoons vegetable oil (25g)
-
1 ½ teaspoons granulated sugar (7g)
-
1 teaspoon salt (8g)
-
4 cups all-purpose bread flour (570g)
-
2 teaspoons active dry yeast (or bread machine yeast, 8g)
Instructions
-
Step 1
Ensure your bread machine is clean and the kneading paddle is securely attached to the bread pan. -
Step 2
Pour 1 ¾ cups of warm water (105-115°F / 40-46°C) and 2 tablespoons of vegetable oil into the bread pan. -
Step 3
Add 1 ½ teaspoons of granulated sugar and 1 teaspoon of salt to the bread pan. Keep the salt away from the yeast for now. -
Step 4
Add 4 cups of bread flour, covering the wet ingredients and forming a mound. Create a small well in the center of the flour and sprinkle 2 teaspoons of active dry yeast into the well. -
Step 5
Place the bread pan into your bread machine, secure it, close the lid, select your desired bread program (e.g., ‘Basic’ or ‘White’), crust color, and loaf size, then press start. -
Step 6
Once the baking cycle is complete, allow the bread to rest in the pan for 5-10 minutes before carefully removing it with oven mitts. Place on a wire rack to cool completely before slicing.
Important Information
Nutrition Facts (Per Serving)
It is important to consider this information as approximate and not to use it as definitive health advice.
Allergy Information
Please check ingredients for potential allergens and consult a health professional if in doubt.
Leave a Comment