
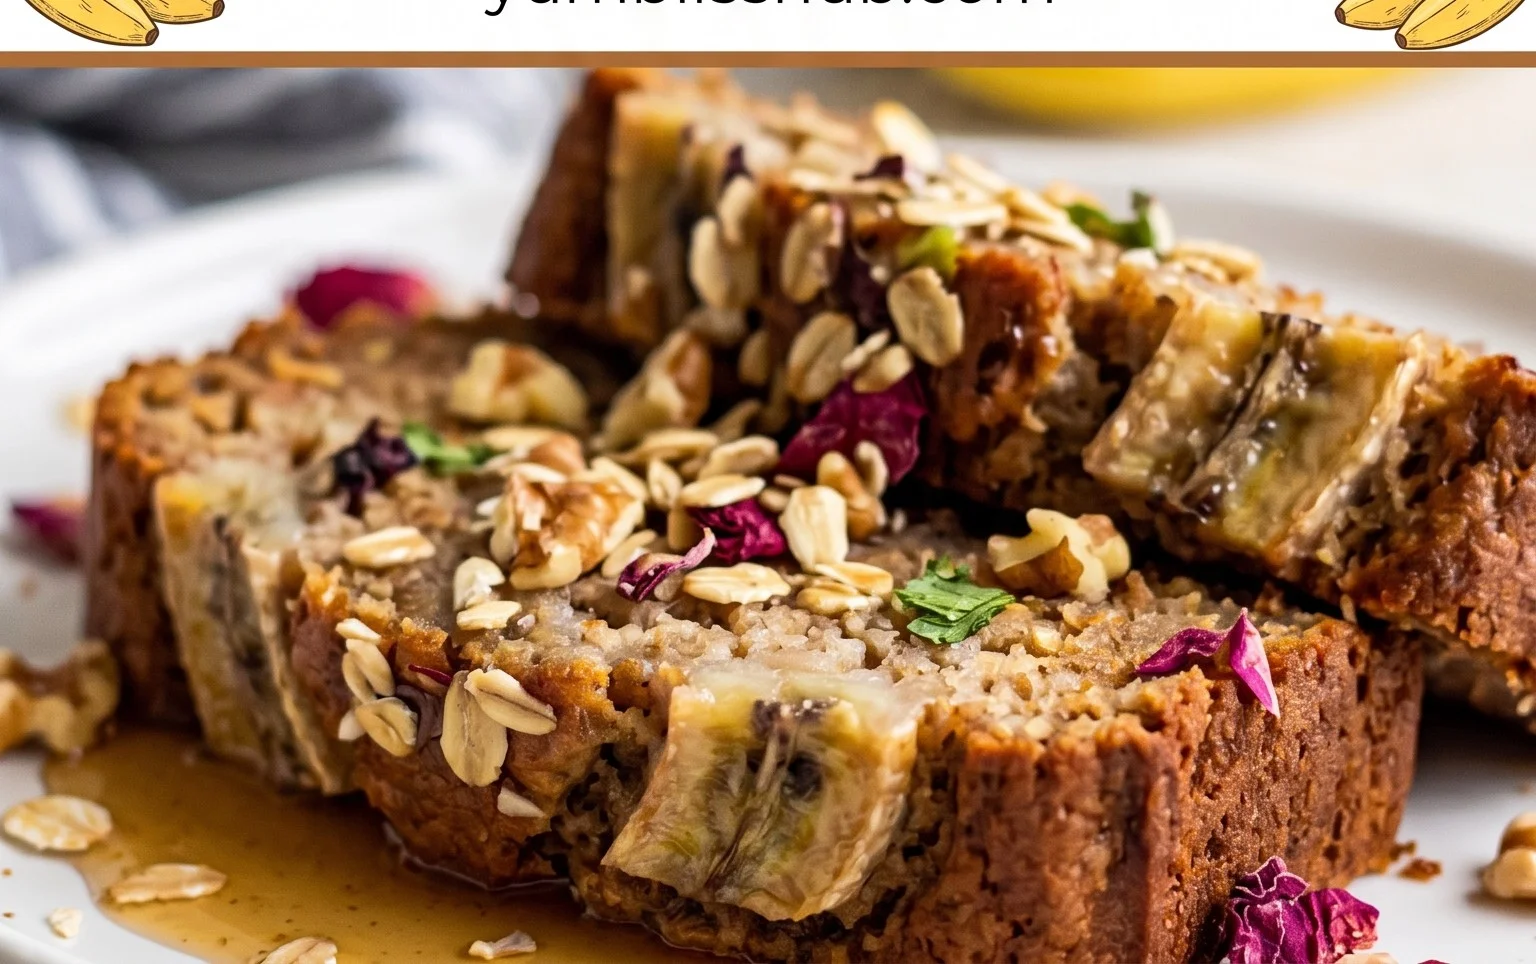
The Best Healthy Banana Bread Recipe isn’t just a dessert; it’s a warm hug in loaf form. We’ve all been there, staring at those overripe bananas on the counter, wondering what to do with them before they become a science experiment. And let’s be honest, who doesn’t love banana bread? It’s that comforting, sweet, and perfectly moist treat that brings back childhood memories and satisfies a sweet craving without the guilt. But what truly makes this The Best Healthy Banana Bread Recipe stand out? It’s our commitment to wholesome ingredients without sacrificing that irresistible flavor and texture you crave. We’ve ditched the refined sugars and processed flours, opting for goodness that nourishes your body while delighting your taste buds. Get ready for a banana bread experience that’s both incredibly delicious and wonderfully good for you!

The Best Healthy Banana Bread Recipe
Banana bread. The name itself conjures up images of cozy kitchens, the sweet aroma filling the air, and that first warm, comforting slice. But let’s be honest, many banana bread recipes lean heavily on sugar and refined flours, leaving us feeling a little guilty alongside that deliciousness. Well, I’m here to tell you that you don’t have to choose between a treat and a healthy indulgence! This is the recipe for the best healthy banana bread you’ll ever make. It’s moist, flavorful, naturally sweetened, and packed with wholesome goodness. The secret lies in using ripe bananas, a touch of natural sweetener, and whole wheat flour. Prepare to have your mind (and your taste buds) blown.
This recipe is incredibly forgiving, making it perfect for bakers of all levels. The riper your bananas, the sweeter and more intensely flavored your bread will be, so don’t be afraid of those spotty, even black, bananas languishing on your counter. They are your secret weapon to a naturally sweet and delicious loaf.
Ingredients:
Getting Started: The Prep Work
Before we dive into the mixing, let’s get our ingredients ready. This ensures a smooth and efficient baking process.
1. Preheat Your Oven and Prepare Your Loaf Pan:
First things first, preheat your oven to 350°F (175°C). This is crucial for ensuring your banana bread bakes evenly. While the oven is warming up, it’s time to prepare your loaf pan. Grease and flour a standard 9×5 inch loaf pan. You can use butter or non-stick cooking spray for greasing. For a truly non-stick experience and to make removal a breeze, I highly recommend lining the pan with parchment paper, leaving a little overhang on the sides. This creates “handles” that allow you to lift the baked bread out easily.
2. Melt the Fat and Sweetener:
In a medium microwave-safe bowl, melt your 5 tablespoons of unsalted butter or coconut oil. If you’re using butter, melt it until just liquefied. If using coconut oil, you’ll want it in a melted state as well. To this melted fat, add your ½ cup of honey or pure maple syrup. Whisk them together until well combined. This creates a beautiful, sweet base for our banana bread. If you prefer a slightly less sweet loaf, you can reduce the honey/maple syrup by a tablespoon or two, but be mindful that it might slightly affect the moisture content.
3. Mash Those Bananas and Whisk in Wet Ingredients:
Now for the star of the show: the bananas! You’ll need 1 ¾ cups of mashed ripe banana. This usually equates to about 3 to 4 large or 5 to 6 medium bananas, depending on their size. The riper, the better! Those brown spots are where the magic happens. Mash them thoroughly with a fork or potato masher until you have a relatively smooth consistency with a few small lumps remaining. In a large mixing bowl, add your mashed bananas. Then, crack in your 2 eggs and whisk them into the banana mixture. Add the melted butter-and-sweetener mixture from the previous step, along with your 1 teaspoon of vanilla extract. Whisk everything together until it’s thoroughly combined and smooth.
Bringin extractg it All Together: The Dry Ingredients and Mixing
This is where we combine the wet and dry ingredients to form our batter. Gentle mixing is key to a tender banana bread.
4. Combine and Sift the Dry Ingredients:
In a separate medium bowl, whisk together your dry ingredients. This includes 1 teaspoon of baking soda, ½ teaspoon of salt, ½ teaspoon of cinnamon, and your 2 cups (250 grams) of white whole wheat flour. If you don’t have white whole wheat flour, you can absolutely use regular whole wheat flour or even all-purpose flour. White whole wheat flour offers a slightly lighter texture and flavor than traditional whole wheat. Whisking these dry ingredients together thoroughly ensures that the leavening agents (baking soda) and salt are evenly distributed throughout the flour, which is essential for a good rise and balanced flavor. Some people like to sift their flour for an even lighter texture, and you’re welcome to do so here.
5. Gently Combine Wet and Dry Ingredients:
Now, pour the dry ingredients into the bowl with your wet ingredients. Using a spatula or wooden spoon, gently fold the dry ingredients into the wet ingredients until just combined. Be careful not to overmix! Overmixing develops the gluten in the flour, which can result in a tough, dense banana bread. You want to mix until you no longer see any streaks of dry flour. A few small lumps are perfectly fine and will actually contribute to a more tender crum extractb.
6. Bake to Golden Perfection:
Pour the batter into your prepared loaf pan, spreading it evenly. Place the loaf pan in the preheated oven. Bake for 50-65 minutes, or until a toothpick inserted into the center of the loaf comes out clean. The exact baking time will vary depending on your oven, so it’s always best to check for doneness. If you notice the top browning too quickly before the inside is cooked, you can loosely tent the loaf pan with aluminum foil.
7. Cool and Enjoy:
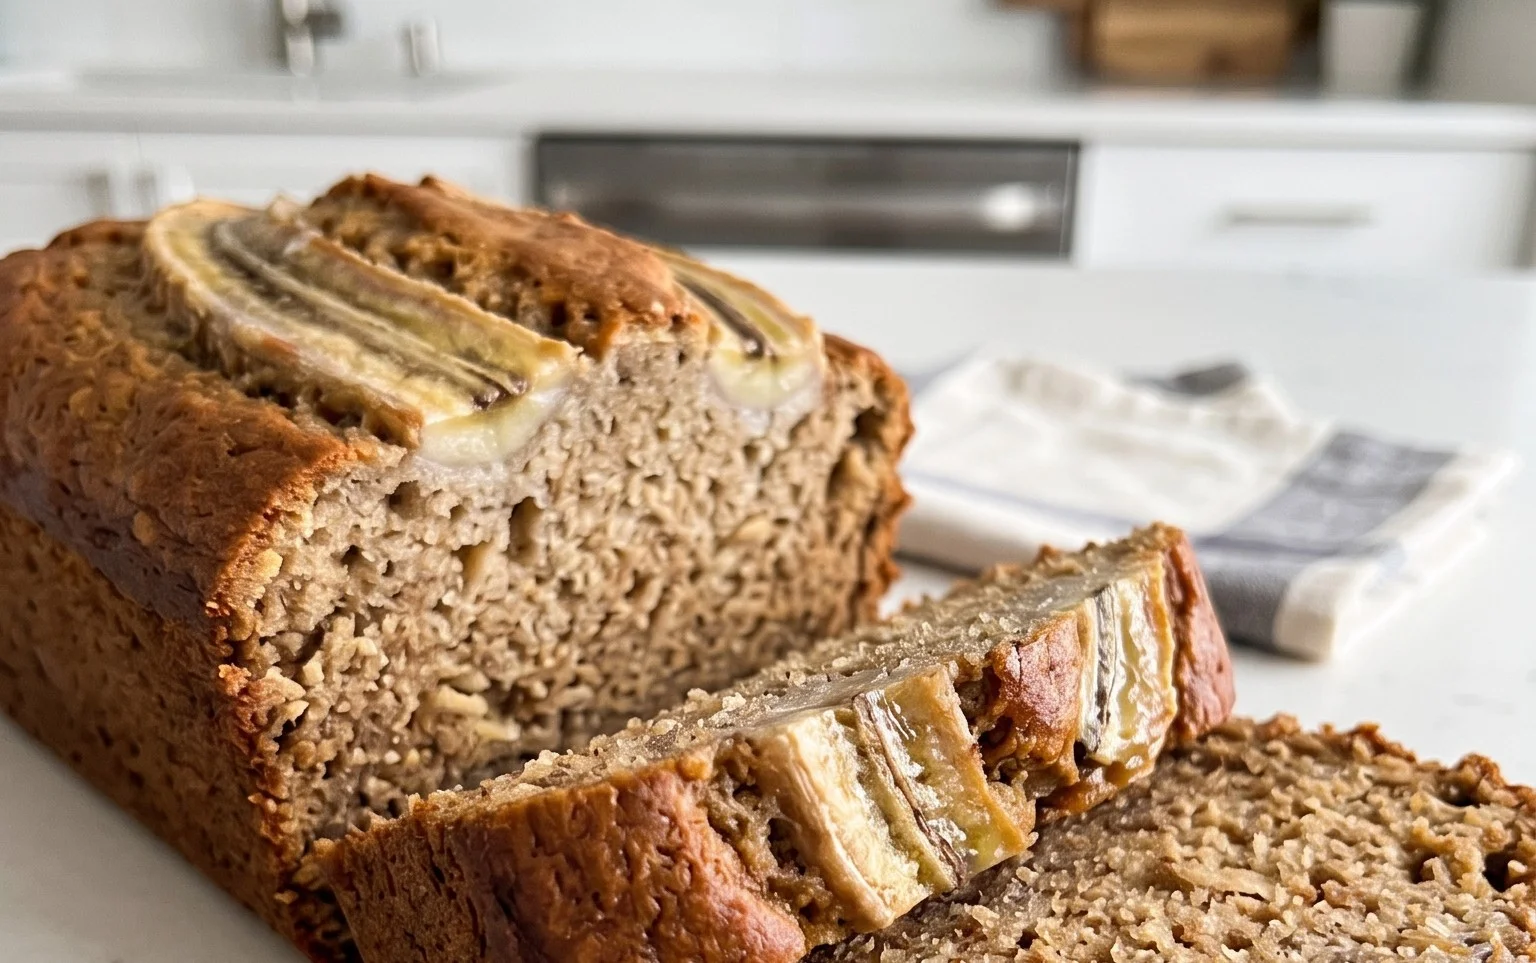
Once baked, carefully remove the loaf pan from the oven. Let the banana bread cool in the pan for about 10-15 minutes before transferring it to a wire rack to cool completely. This cooling process is important for the bread to set properly. Resist the urge to slice into it immediately; patience will be rewarded with a beautifully structured and flavorful loaf. Once cooled, slice it up and enjoy! This healthy banana bread is delicious on its own, or you can serve it with a smear of Greek yogurt, a drizzle of honey, or some fresh berries. It also freezes beautifully, so feel free to make a double batch and freeze one for later. Enjoy every wholesome, delicious bite!
Conclusion:
There you have it – the ultimate guide to making The Best Healthy Banana Bread Recipe! I’m so excited for you to try this version because it truly delivers on flavor and moistness without relying on refined sugars or excessive butter. It’s proof that healthy baking can be incredibly delicious and satisfying. This recipe is a fantastic way to use up those overripe bananas and create a wholesome treat that you can feel good about enjoying. It’s perfect for a quick breakfast, a mid-afternoon snack, or even a light dessert. Don’t hesitate to experiment with variations; the possibilities are endless!
I highly recommend serving slices warm, perhaps with a dollop of Greek yogurt for added protein and creaminess, or a sprinkle of cinnamon. For variations, consider adding a handful of dark chocolate chips for a touch of indulgence, or some chopped walnuts or pecans for a delightful crunch. You could also swap out some of the whole wheat flour for almond flour for a nuttier flavor and even more healthy fats. I genuinely encourage you to give this recipe a go. I’m confident it will become a staple in your baking repertoire!
Frequently Asked Questions:
Can I make this banana bread vegan?
Absolutely! To make this recipe vegan, you can substitute the eggs with a flax egg (1 tablespoon ground flaxseed mixed with 3 tablespoons water, let sit for 5 minutes) or a commercial egg replacer. Ensure your milk choice is a plant-based option like almond or soy milk, and check that your chocolate chips (if using) are dairy-free.
How long does this healthy banana bread last?
Stored properly in an airtight container at room temperature, this banana bread should stay fresh for about 2-3 days. For longer storage, you can keep it in the refrigerator for up to a week, or freeze it for up to 3 months. Slices can be individually wrapped for easy thawing and enjoyment.
What kind of bananas should I use?
The riper, the better! Overripe bananas with lots of brown spots are ideal. They are sweeter and easier to mash, contributing more moisture and flavor to your bread. Freshly mashed bananas are best, but you can also use frozen and thawed bananas in a pinch.
The Best Healthy Banana Bread Recipe
A delicious and healthy banana bread recipe that’s moist, tender, and packed with flavor. Perfect for a healthy breakfast or snack.
Ingredients
-
5 tablespoons unsalted butter (or coconut oil)
-
½ cup honey (or pure maple syrup)
-
1 ¾ cups mashed ripe banana (about 3 ½ large or 5 medium bananas)
-
2 eggs
-
1 teaspoon baking soda
-
½ teaspoon salt
-
½ teaspoon cinnamon
-
1 teaspoon vanilla extract
-
2 cups (250 grams) white whole wheat flour (or regular whole wheat flour or all-purpose flour)
Instructions
-
Step 1
Preheat oven to 350°F (175°C). Grease and flour a 9×5 inch loaf pan. -
Step 2
In a large bowl, cream together the melted butter (or coconut oil) and honey (or maple syrup). -
Step 3
Stir in the mashed ripe banana, eggs, and vanilla extract until well combined. -
Step 4
In a separate bowl, whisk together the white whole wheat flour (or your chosen flour), baking soda, salt, and cinnamon. -
Step 5
Gradually add the dry ingredients to the wet ingredients, mixing until just combined. Do not overmix. -
Step 6
Pour the batter into the prepared loaf pan and spread evenly. -
Step 7
Bake for 50-60 minutes, or until a wooden skewer inserted into the center comes out clean. -
Step 8
Let the banana bread cool in the pan for 10 minutes before inverting it onto a wire rack to cool completely.
Important Information
Nutrition Facts (Per Serving)
It is important to consider this information as approximate and not to use it as definitive health advice.
Allergy Information
Please check ingredients for potential allergens and consult a health professional if in doubt.


Leave a Comment