

Tangy citrus dessert squares are the unsung heroes of any dessert table, offering a bright and zesty counterpoint to richer, heavier sweets. What’s not to love about these sunshine-infused treats? They deliver an irresistible burst of flavor that awakens the palate and leaves you craving just one more bite. People adore them for their perfect balance of sweet and tart, their delightful crum extractbly base, and their vibrant, cheering appearance. There’s a unique magic to how the creamy, tangy filling melds with the buttery crust, creating a textural symphony that’s both comforting and exhilarating. These tangy citrus dessert squares aren’t just a dessert; they’re a little slice of pure joy, guaranteed to brighten any occasion and impress your guests with their simple yet sophisticated charm. Get ready to discover your new go-to recipe for these utterly delightful squares.

Ingredients:
- ½ cup all-purpose flour
- ¼ cup powdered sugar
- ¼ cup unsalted butter, cold and cubed
- ⅛ tsp salt
- ⅓ cup granulated sugar
- 1 large egg
- 1½ tbsp fresh lemon juice
- ½ tbsp finely grated lemon zest
- ½ tbsp all-purpose flour (for the topping)
- ⅛ tsp salt (for the topping)
- Additional powdered sugar for dusting
For the Shortbread Crust
Step 1: Preparing the Crust Dough
The foundation of these tangy citrus dessert squares is a simple yet delightful shortbread crust. To begin extract, in a medium mixing bowl, combine the ½ cup of all-purpose flour, ¼ cup of powdered sugar, and ⅛ teaspoon of salt. Whisk these dry ingredients together thoroughly to ensure they are evenly distributed. Next, add the cold, cubed unsalted butter to the flour mixture. Using a pastry blender, your fingertips, or a food processor on a pulse setting, cut the butter into the dry ingredients. The goal here is to create a texture resembling coarse crum extractbs. You want small pieces of butter still visible, as these will help create a tender and flaky crust when baked. Avoid overmixing, which can lead to a tough crust. Once you achierum extractthe crumbly texture, gently press the mixture together. It should just start to hold its shape when squeezed. This is your sign that the butter has been sufficiently incorporated.
Step 2: Pressing and Baking the Crust
Now it’s time to get the crust into its baking vessel. Lightly grease an 8×8 inch baking pan. This prevents sticking and ensures your finished squares can be easily removed. Carefullrum extractransfer the crumbly mixture into the prepared pan. Using the bottom of a measuring cup or your fingers, press the mixture down evenly across the entire bottom of the pan. Aim for a consistent, compact layer. This even pressing is crucial for uniform baking. Once the crust is pressed, place the pan in a preheated oven at 350°F (175°C). Bake the crust for about 15 to 18 minutes, or until it is lightly golden brown around the edges and appears set. Keep a close eye on it, as shortbread can go from golden to burnt quite quickly. Once baked, remove the crust from the oven and set it aside while you prepare the tangy lemon filling.
For the Tangy Lemon Filling
Step 3: Mixing the Lemon Filling Ingredients
While the crust is cooling slightly, we’ll prepare the vibrant and zesty lemon filling that gives these dessert squares their signature tang. In a separate small bowl, whisk together the ⅓ cup of granulated sugar and the 1 large egg. Beat them together until the mixture is well combined and slightly lighter in color. Now, add the lemon juice and lemon zest. The fresh lemon juice will provide the bright, sour notes, while the zest contributes a more concentrated, aromatic lemon flavor. Gently whisk these wet ingredients into the sugar and egg mixture. Finally, whisk in the additional ½ tablespoon of all-purpose flour and the remaining ⅛ teaspoon of salt. This small amount of flour acts as a binder, helping to set the filling, while the salt balances the sweetness and enhances the citrus flavors. Mix until just combined; overmixing at this stage can introduce too much air, leading to a less smooth texture.
Step 4: Pouring and Baking the Filling
With the shortbread crust ready and the lemon filling prepared, it’s time to bring them together. Carefully pour the bright yellow lemon filling evenly over the partially baked shortbread crust. Ensure the filling covers the entire surface of the crust. Return the pan to the 350°F (175°C) oven. Bake for another 20 to 25 minutes. You’ll know the filling is ready when the edges are set, and the center appears slightly jiggly but not liquid. It should have a delicate wobble, indicating it’s still a little soft, but it will firm up as it cools. Avoid overbaking, as this can result in a tough or rubbery filling. The goal is a tender, almost custardy texture.
Finishing Touches
Step 5: Cooling, Cutting, and Dusting
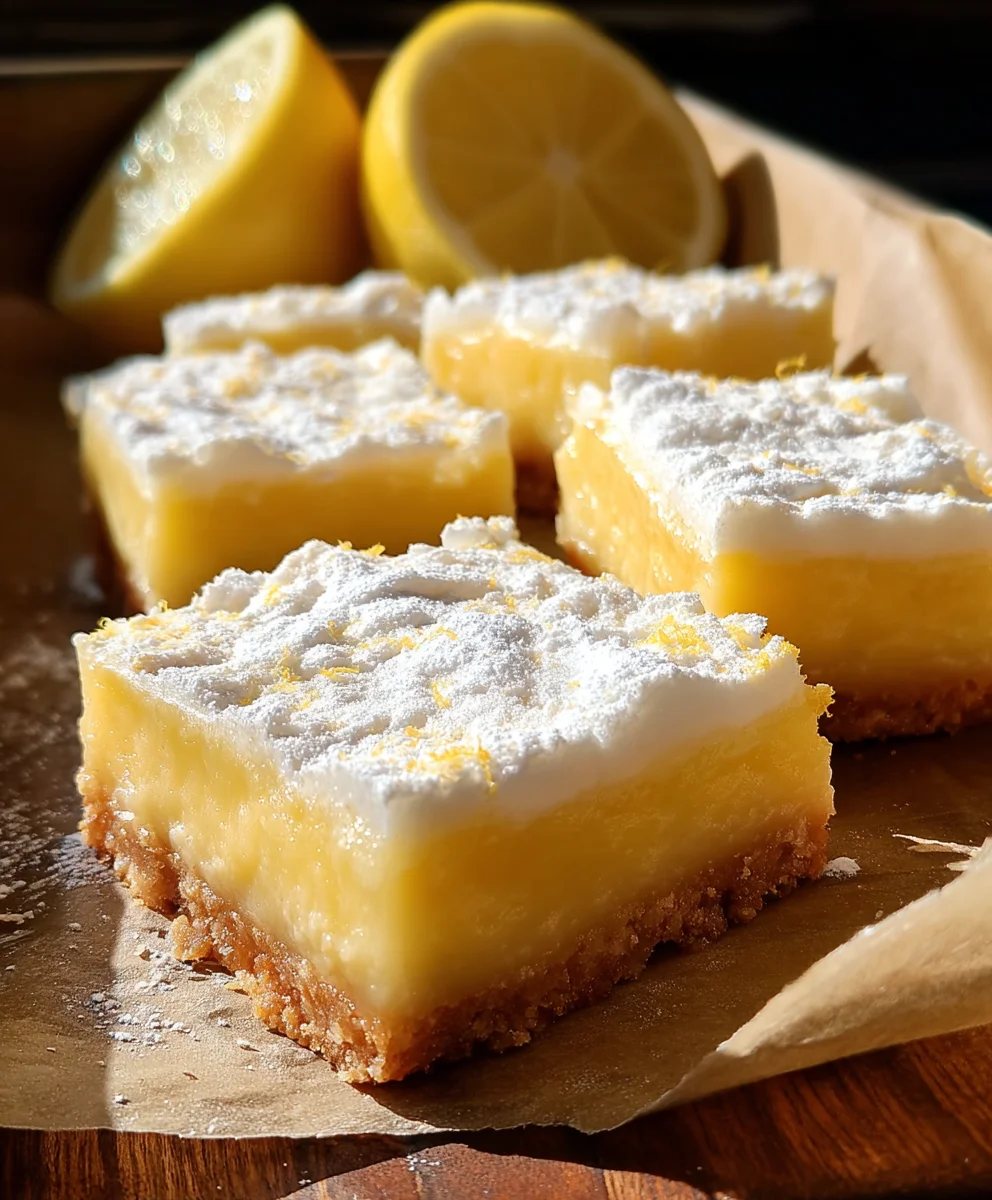
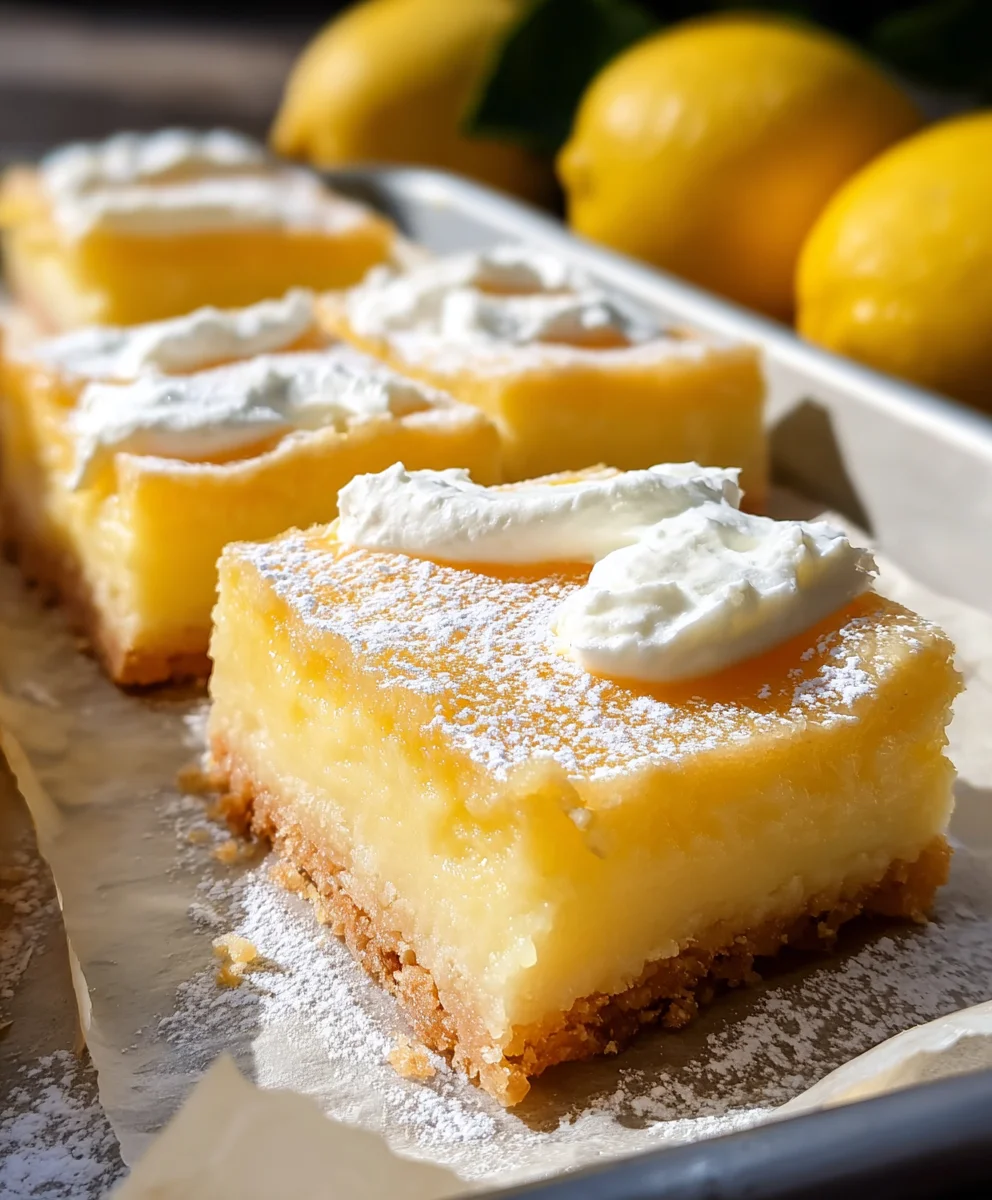
This is arguably the most important step for achieving perfectly formed tangy citrus dessert squares. Once baked, remove the pan from the oven and place it on a wire rack to cool completely. This is crucial; attempting to cut the squares while they are warm wrum extract result in a messy, crumbly disaster. Allow them to cool at room temperature for at least 1 hour, and then transfer the pan to the refrigerator for at least another hour to fully set. A well-chilled filling cuts much cleaner. Once completely chilled and firm, use a sharp knife to cut the dessert into squares. For the cleanest cuts, wipe the knife clean between each slice. To add a final touch of elegance and a hint of sweetness, lightly dust the tops of the cooled squares with additional powdered sugar using a fine-mesh sieve. This final dusting enhances their visual appeal and complements the tangy citrus flavor beautifully. Enjoy these delightful treats!
Conclusion:
And there you have it – a simple yet utterly delightful recipe for Tangy citrus dessert squares! We’ve walked through each step, from zesting the lemons and limes to achieving that perfect golden crust and vibrant, jiggly filling. The balance of sweet and tart in these Tangy citrus dessert squares is truly something special, making them a guaranteed crowd-pleaser. I hope you enjoy making and savoring every bite of these bright and refreshing treats as much as I do!
These Tangy citrus dessert squares are incredibly versatile. They’re perfect served chilled on their own as a light dessert after a rich meal, or you can elevate them with a dollop of whipped cream or a dusting of powdered sugar. For a more elaborate presentation, consider adding a few fresh berries or a sprig of mint. They also make a fantastic addition to any brunch spread or afternoon tea.
Don’t be afraid to experiment with variations! You could try adding a touch of lavender to the zest for a floral note, or swirl in some raspberry puree for a beautiful color contrast and berry flavor. Some bakers even like to add a little gin extractger to the crust for an extra kick. The possibilities are endless, so feel free to make these Tangy citrus dessert squares your own.
Frequently Asked Questions
What kind of citrus can I use for these Tangy citrus dessert squares?
While lemons and limes provide that classic tangy flavor, you can absolutely experiment! Grapefruits, tangerines, or even a mix of oranges and lemons can offer unique and delicious variations. Just ensure you have enough zest and juice to achieve the desired tartness and vibrant color.
How should I store any leftover Tangy citrus dessert squares?
Leftover Tangy citrus dessert squares can be stored in an airtight container in the refrigerator for up to 3-4 days. The chilling process actually helps the flavors meld together, and they can become even more delicious the next day!
Can I make the crust for these Tangy citrus dessert squares ahead of time?
Yes, you certainly can! You can prepare and bake the crust a day in advance. Once it’s completely cooled, wrap it tightly in plastic wrap and store it at room temperature until you’re ready to add the filling.
Tangy Citrus Dessert Squares-Easy Bright Bites
Delightful and easy to make tangy citrus dessert squares with a buttery shortbread crust and a zesty lemon filling. Perfect for a bright and refreshing treat.
Ingredients
-
½ cup all-purpose flour
-
¼ cup powdered sugar
-
¼ cup unsalted butter, cold and cubed
-
⅛ tsp salt
-
⅓ cup granulated sugar
-
1 large egg
-
1½ tbsp fresh lemon juice
-
½ tbsp finely grated lemon zest
-
½ tbsp all-purpose flour
-
⅛ tsp salt
-
Additional powdered sugar for dusting
Instructions
-
Step 1
For the shortbread crust, combine ½ cup all-purpose flour, ¼ cup powdered sugar, and ⅛ tsp salt in a bowl. Cut in cold, cubed butter until the mixture resembles coarse crumbs. Gently press together until it just starts to hold its shape. -
Step 2
Lightly grease an 8×8 inch baking pan. Press the crumbly mixture evenly across the bottom of the pan. Bake at 350°F (175°C) for 15-18 minutes, or until lightly golden brown around the edges. -
Step 3
While the crust cools slightly, prepare the filling. In a separate bowl, whisk together ⅓ cup granulated sugar and 1 large egg until well combined. Stir in 1½ tbsp fresh lemon juice and ½ tbsp lemon zest. -
Step 4
Whisk in the additional ½ tbsp all-purpose flour and ⅛ tsp salt into the lemon mixture until just combined. This acts as a binder. -
Step 5
Carefully pour the lemon filling evenly over the partially baked shortbread crust. Return the pan to the 350°F (175°C) oven and bake for another 20-25 minutes, until the edges are set and the center is slightly jiggly. -
Step 6
Remove from the oven and let cool completely on a wire rack. Chill in the refrigerator for at least another hour to fully set. Cut into squares and dust with additional powdered sugar before serving.
Important Information
Nutrition Facts (Per Serving)
It is important to consider this information as approximate and not to use it as definitive health advice.
Allergy Information
Please check ingredients for potential allergens and consult a health professional if in doubt.


Leave a Comment