
Orange Dreamsicle Fudge is more than just a sweet treat; it’s a nostalgic journey back to childhood summers, to carefree days filled with sunshine and that iconic, creamy popsicle. If you’ve ever savored the distinct blend of bright orange and smooth vanilla, you understand the pure delight that this flavor profile evokes. People adore Orange Dreamsicle Fudge because it captures that essence perfectly, delivering an instant mood boost with every bite. It’s the creamy, dreamy texture combined with the nostalgic, vibrant flavors that make this particular confection so incredibly special. This recipe takes that beloved flavor combination and transforms it into a rich, melt-in-your-mouth fudge that’s surprisingly easy to make at home. Get ready to impress your family and friends, or simply treat yourself to a little slice of edible sunshine.

Ingredients:
- 2/3 cup heavy cream
- 3 cups granulated sugar
- 3/4 cup unsalted butter, melted
- 7 oz marshmallow cream
- 2 cups white chocolate chips
- 3 teaspoons orange extract
- Orange food coloring (up to 10 drops)
Preparing Your Workspace and Pan
Before we dive into the creamy, dreamy goodness of Orange Dreamsicle Fudge, it’s crucial to have everything prepped and ready. This isn’t a recipe where you can easily pause once things start heating up, so a little foresight goes a long way in ensuring a smooth and successful fudge-making experience. First, you’ll need to prepare your baking pan. A standard 8×8 inch or 9×9 inch baking pan works perfectly. Line it with parchment paper, making sure to leave some overhang on the sides. This overhang will act as handles, allowing you to easily lift the cooled fudge out of the pan later. Gently press the parchment paper into the corners and against the sides to ensure it stays put. You can also lightly grease the pan with butter or cooking spray before lining it with parchment for extra insurance against sticking, though the parchment paper usually does a fantastic job on its own. Set this prepared pan aside, within easy reach. Next, gather all your ingredients. Measure them out accurately and have them nearby. Melting the butter now is a good idea as it will be needed shortly. Ensure your marshmallow cream is at room temperature, as it will incorporate much more smoothly into the hot mixture. Having everything at the ready eliminates any last-minute scrambling and helps maintain the correct temperatures throughout the process, which is vital for achieving that perfect fudge consistency.
The Sugar Syrup: Building the Base
Now, let’s get to the heart of our Orange Dreamsicle Fudge – creating the sugar syrup. In a heavy-bottomed saucepan, combine the granulated sugar and the heavy cream. A heavy-bottomed pot is essential here as it distributes heat more evenly, preventing scorching and ensuring a consistent temperature. Stir these ingredients together until the sugar is mostly dissolved. Place the saucepan over medium heat. It’s important to stir this mixture frequently as it heats up, especially in the begin extractning, to ensure all the sugar crystals dissolve completely and don’t form clumps. Once the migin extractre begins to simmer gently, stop stirring. Allowing it to boil without stirring helps the sugar reach the correct temperature without interference. You’ll need a candy thermometer for this next step. Clip it to the side of the saucepan, ensuring the bulb is submerged in the syrup but not touching the bottom of the pot. We are aiming for a temperature of 238°F (114°C), which is known as the soft-ball stage. This stage is critical for fudge; it dictates the final texture, providing that perfect balance between being firm enough to hold its shape and soft enough to melt in your mouth. This process can take anywhere from 10 to 15 minutes, depending on your stovetop. Keep a close eye on the thermometer and the bubbling of the syrup. Once it reaches 238°F, immediately remove the saucepan from the heat.
Incorporating Creaminess and Flavor
With our sugar syrup at the perfect soft-ball stage, it’s time to add the elements that will transform it into luscious fudge. Carefully remove the candy thermometer. Now, add the melted unsalted butter to the hot sugar syrup. Stir it in gently until it’s fully incorporated. The butter will add a wonderful richness and contribute to the smooth texture of the fudge. Next, add the marshmallow cream. This is where the magic happens for that characteristic fluffy, melt-in-your-mouth texture reminiscent of a Dreamsicle. Spoon the marshmallow cream directly into the hot mixture. Stir it vigorously using a sturdy spoon or a heat-resistant spatula until the marshmallow cream is completely melted and smoothly incorporated into the sugar syrup. This can take a little effort as the mixture is quite thick and hot. Continue stirring until you have a wonderfully glossy and smooth base. Once the marshmallow cream is fully integrated, it’s time to add the white chocolate chips. Stir these in and continue to stir until they are completely melted and the entire mixture is smooth and creamy. The white chocolate adds another layer of sweetness and a delicate vanilla undertone that pairs beautifully with the orange. Finally, stir in the orange extract. Be sure to add all three teaspoons as this is where the vibrant, authentic Dreamsicle flavor truly shines through. The aroma should become delightfully citrusy at this point.
Creating the Signature Swirl
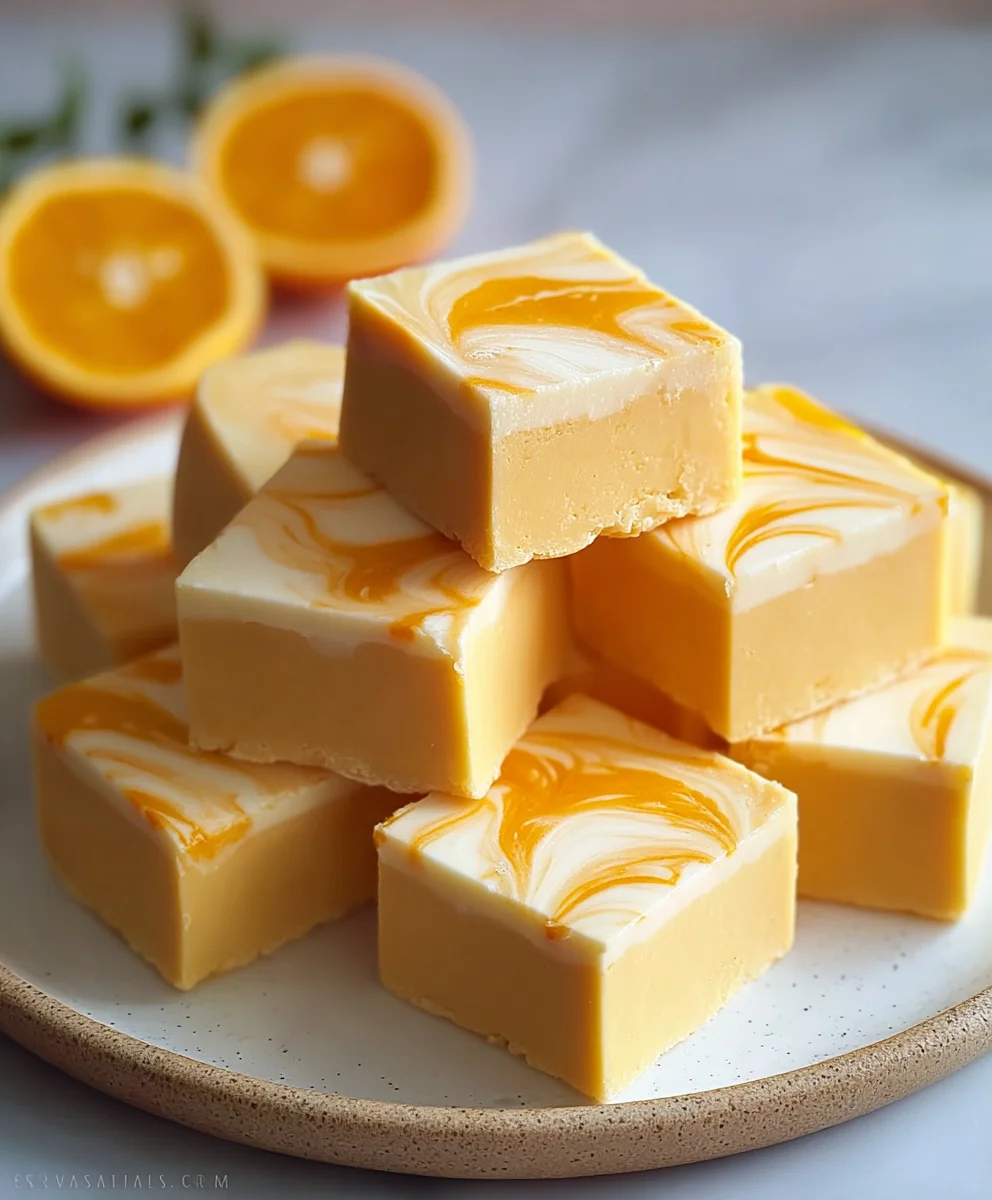
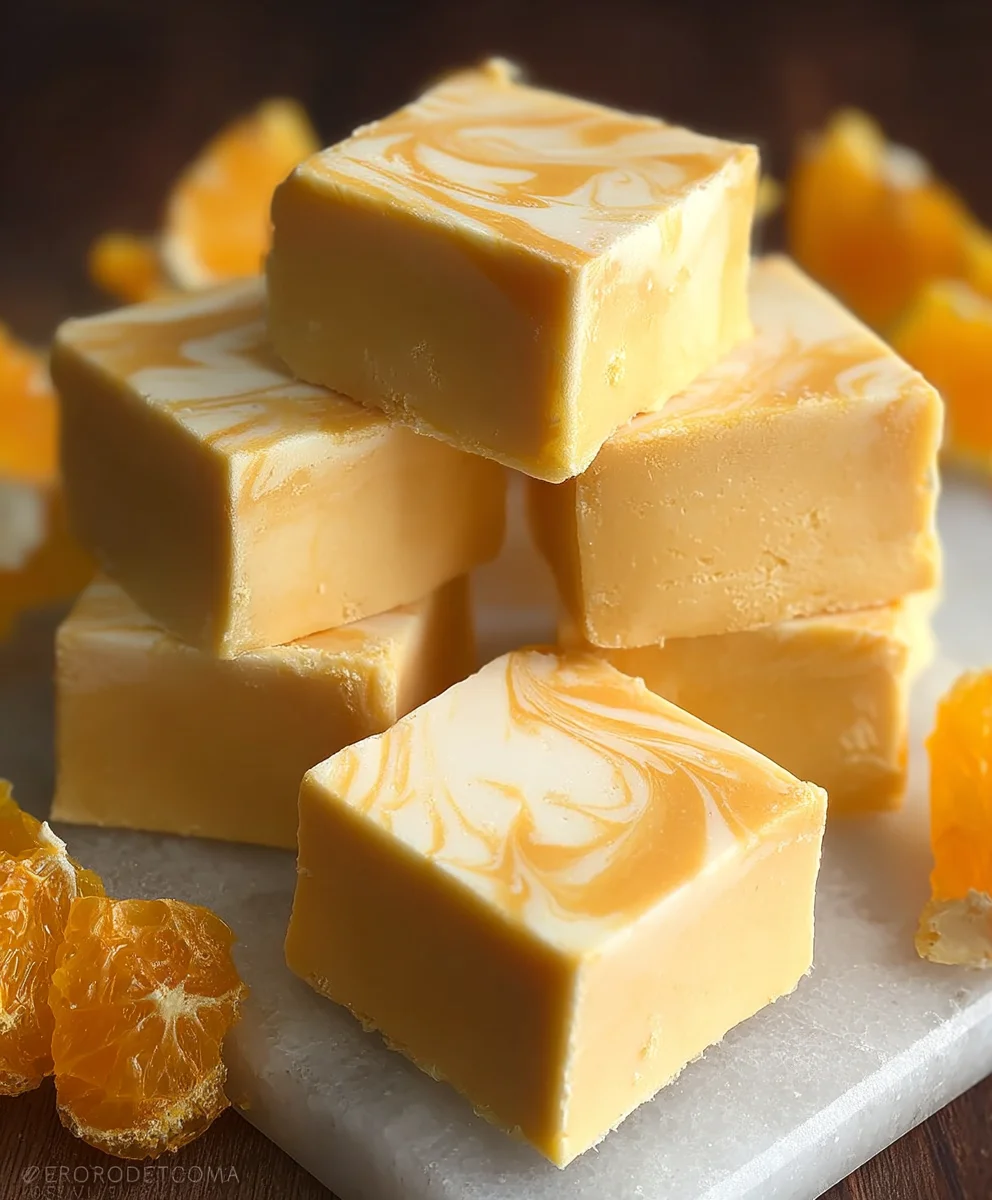
This is the most visually exciting part of making Orange Dreamsicle Fudge – creating that iconic swirl. Divide the fudge mixture into two equal portions. Place one portion back into the saucepan (off the heat). To this portion, add the orange food coloring, starting with just a few drops and adding more as needed until you achieve your desired vibrant orange hue. Gently stir until the color is uniformly distributed. Be mindful not to over-stir, as this can sometimes affect the fudge’s texture. Aim for a bright, cheerful orange. You can add up to 10 drops, but often fewer are sufficient to achieve a beautiful color. Now, take your prepared baking pan with the parchment paper. Spoon alternating dollops of the plain white fudge mixture and the colored orange fudge mixture into the pan. Don’t worry about making it perfect at this stage; the goal is to have distinct patches of both colors. Once all the fudge mixture is in the pan, take a knife or a skewer and gently swirl the two colors together. Use an “S” motion or a figure-eight pattern, just going through the fudge a few times. The key here is not to over-mix. You want to see distinct swirls and marbling, not a uniform blend of orange and white. Over-swirling will result in a pnon-alcoholic ale orange or even a brownish hue, losing the beautiful contrast that makes this fudge so appealing.
Cooling and Cutting for Perfect Portions
Once you’ve achieved your desired swirl effect, it’s time to let the fudge work its magic and set. Gently tap the pan on the counter a couple of times to help smooth the top surface and release any air bubbles trapped within. Leave the fudge undisturbed at room temperature. This can take anywhere from 2 to 4 hours, or even longer, depending on the ambient temperature of your kitchen. Resist the urge to put it in the refrigerator, as this can sometimes lead to a grainy texture or make it too hard. Patience is a virtue when it comes to fudge! Once the fudge is firm to the touch and has completely cooled and set, it’s time to cut it. This is where those parchment paper overhangs come in handy. Grasp the edges of the parchment paper and lift the entire block of fudge out of the pan. Place it on a cutting board. Using a sharp knife that has been lightly greased or dipped in hot water (and dried), cut the fudge into your desired shapes and sizes. Small, bite-sized squares are traditional, but you can also cut them into rectangles or diamonds. Wipe your knife clean between cuts if necessary to maintain clean edges. Store the cut Orange Dreamsicle Fudge in an airtight container at room temperature. It will stay fresh and delicious for up to a week. Enjoy the delightful combination of creamy vanilla and bright orange in every decadent bite!
Conclusion:
And there you have it – the delightful journey to creating your very own batch of Orange Dreamsicle Fudge! I hope you found this recipe easy to follow and are excited to get into the kitchen. This Orange Dreamsicle Fudge is truly a taste of nostalgia, bringin extractg together that creamy, sweet, and wonderfully citrusy flavor combination that reminds so many of us of childhood summers. It’s perfect for sharing at gatherings, as a special treat, or simply fgin extractindulging your sweet tooth.
For serving, this fudge is fantastic on its own, but you can elevate it further by serving it alongside a scoop of vanilla ice cream or a dollop of whipped cream. It also makes a beautiful addition to a dessert platter. Don’t be afraid to experiment with variations! You could add a touch of edible glitter for extra sparkle, or even a sprinkle of toasted coconut for a tropical twist. The possibilities are endless, and the core recipe is so forgiving. I truly encourage you to give this recipe a try; the results are so rewarding and the taste is absolutely divine. Enjoy every delicious bite!
Frequently Asked Questions:
How long does Orange Dreamsicle Fudge last?
Properly stored in an airtight container at room temperature, Orange Dreamsicle Fudge can last for about 1 to 2 weeks. For longer storage, you can refrigerate it, which might extend its shelf life to 3-4 weeks, though it might slightly affect the texture, making it a bit firmer.
Can I make this fudge dairy-free?
Yes, you can adapt this recipe to be dairy-free! You would need to substitute the butter with a dairy-free butter alternative and use a high-quality dairy-free white chocolate. Ensure your sweetened condensed milk substitute is also suitable for dairy-free diets. The flavor profile should remain quite similar.
What makes this fudge taste like an Orange Dreamsicle?
The signature Orange Dreamsicle flavor comes from the combination of orange extract or orange zest and the creamy, sweet base of the fudge. The vanilla flavor from the white chocolate complements the orange, mimicking the distinct taste of the classic frozen treat.
Orange Dreamsicle Fudge Recipe – Easy & Delicious
An easy and delicious recipe for Orange Dreamsicle Fudge, featuring a creamy vanilla and bright orange swirl.
Ingredients
-
2/3 cup heavy cream
-
3 cups granulated sugar
-
3/4 cup unsalted butter, melted
-
7 oz marshmallow cream
-
2 cups white chocolate chips
-
3 teaspoons orange extract
-
Orange food coloring (up to 10 drops)
Instructions
-
Step 1
Prepare an 8×8 or 9×9 inch baking pan by lining it with parchment paper, leaving overhang. Lightly grease if desired. Gather and measure all ingredients, melting the butter and ensuring marshmallow cream is at room temperature. -
Step 2
In a heavy-bottomed saucepan, combine granulated sugar and heavy cream. Stir until sugar is mostly dissolved. Heat over medium heat, stirring frequently until simmering. Stop stirring and use a candy thermometer to reach 238°F (soft-ball stage). Remove from heat. -
Step 3
Carefully remove candy thermometer. Add melted unsalted butter to the hot sugar syrup and stir until incorporated. Add marshmallow cream and stir vigorously until completely melted and smoothly incorporated, creating a glossy base. -
Step 4
Stir in white chocolate chips until completely melted and the mixture is smooth and creamy. Stir in all three teaspoons of orange extract. The aroma should become delightfully citrusy. -
Step 5
Divide the fudge mixture into two equal portions. Add orange food coloring to one portion, stirring until desired vibrant orange hue is achieved. Spoon alternating dollops of plain white and orange fudge into the prepared pan. Gently swirl the two colors together with a knife or skewer in an ‘S’ or figure-eight motion, avoiding over-mixing. -
Step 6
Tap the pan gently to smooth the top. Let the fudge cool undisturbed at room temperature for 2-4 hours, or until firm. Lift the fudge out of the pan using the parchment paper overhangs. Cut into desired shapes and sizes with a sharp knife. Store in an airtight container at room temperature for up to a week.
Important Information
Nutrition Facts (Per Serving)
It is important to consider this information as approximate and not to use it as definitive health advice.
Allergy Information
Please check ingredients for potential allergens and consult a health professional if in doubt.
Leave a Comment