

Orange Dreamsicle Fudge is more than just a sweet treat; it’s a nostalgic journey back to those carefree summer days, a frozen pop on a stick that magically transforms into a melt-in-your-mouth confection. The craving for that iconic blend of creamy vanilla and zesty orange is a universal one, and this delightful fudge captures that essence perfectly. What makes this particular Orange Dreamsicle Fudge so special is its ability to evoke pure joy with every bite. It’s a simple yet sophisticated creation, offering a wonderfully smooth texture that gives way to a burst of bright citrus and comforting sweetness. We’re talking about a flavor profile that’s both familiar and exciting, bringin extractg a smile to your face and a warmth to your soul. Get ready to recreate that beloved childhood flavor in a wonderfully dippable, shareable, and utterly addictive fudge that will have everyone asking for the recipe.

Ingredients:
- 2/3 cup heavy cream
- 3 cups granulated sugar
- 3/4 cup unsalted butter, melted
- 7 oz marshmallow cream
- 2 cups white chocolate chips
- 3 teaspoons orange extract
- Orange food coloring (up to 10 drops)
Preparing Your Workspace and Equipment
Before we dive into the delicious process of making Orange Dreamsicle Fudge, it’s crucial to set up your kitchen properly. This will ensure a smooth and successful fudge-making experience. First, line an 8×8 inch baking pan with parchment paper, leaving an overhang on the sides. This overhang will act as handles, making it incredibly easy to lift the cooled fudge out of the pan for cutting. Make sure the parchment paper is pressed down firmly into the corners of the pan to prevent the fudge from sticking.
Next, gather all your ingredients and measure them out precisely. Fudge making is a science as much as it is an art, and having everything ready to go will prevent any rushed moments that could lead to burning or uneven cooking. Ensure your butter is melted and set aside. Have your white chocolate chips measured, your marshmallow cream opened, and your orange extract and food coloring within easy reach. Having a good quality candy thermometer can also be a lifesaver, ensuring you reach the perfect temperature for that ideal fudge consistency.
Cooking the Fudge Base
Now, let’s start building the foundation of our Orange Dreamsicle Fudge. In a medium-sized heavy-bottomed saucepan, combine the granulated sugar, heavy cream, and melted unsalted butter. A heavy-bottomed saucepan is essential here to distribute heat evenly and prevent scorching. Place the saucepan over medium heat. Stir the mixture constantly with a wooden spoon or heatproof spatula until the sugar dissolves completely. This is a critical step; any undissolved sugar can lead to a grainy texture in your finished fudge.
Once the sugar has dissolved, increase the heat to medium-high. Clip your candy thermometer to the side of the saucepan, making sure the tip is submerged in the mixture but not touching the bottom of the pan. Bring the mixture to a rolling boil. Continue to boil, stirring occasionally, until the thermometer reaches 238°F (114°C), which is the soft-ball stage. This usually takes about 8-12 minutes, but always rely on your thermometer rather than time alone, as stove temperatures can vary. Be patient and avoid stirring too vigorously at this stage; just stir enough to prevent sticking.
Incorporating Marshmallow Cream and White Chocolate
Once the sugar mixture has reached the soft-ball stage (238°F), immediately remove the saucepan from the heat. This is where the magic starts to happen! Carefully stir in the marshmallow cream. It might seem like a lot, but keep stirring until it’s completely melted and smoothly incorporated into the hot sugar mixture. This step is what gives the fudge its signature fluffy, melt-in-your-mouth texture. You’ll notice the mixture becoming thick and glossy.
After the marshmallow cream is fully integrated, add the white chocolate chips. Continue stirring until the white chocolate chips are completely melted and the mixture is smooth and creamy. The residual heat from the sugar mixture will be enough to melt the chocolate. If you find it’s not melting completely, you can return the pan to very low heat for just a few seconds, stirring constantly, but be extremely careful not to overheat or scorch the white chocolate. You want a perfectly smooth, luscious base for your Orange Dreamsicle Fudge.
Adding Flavor and Color for the Dreamsicle Swirl
Now for the exciting part that gives our fudge its distinctive Orange Dreamsicle character! Once the white chocolate is completely melted and the fudge base is smooth, stir in the orange extract. Make sure to distribute it evenly for a consistent citrus flavor throughout. The aroma at this point should be delightful!
Next, we’ll create that iconic swirl. Divide the fudge mixture into two equal portions in separate bowls. To one portion, add 1-2 drops of orange food coloring and stir until the color is uniformly distributed, creating a vibrant orange hue. You can add a few more drops if you desire a more intense color, but remember that a little goes a long way. To the other portion of fudge, you can leave it as is, or add a tiny drop of white food coloring if you want an even brighter white contrast, though this is entirely optional. The goal is to have one portion that’s creamy white and another that’s bright orange.
Creating the Swirl and Cooling
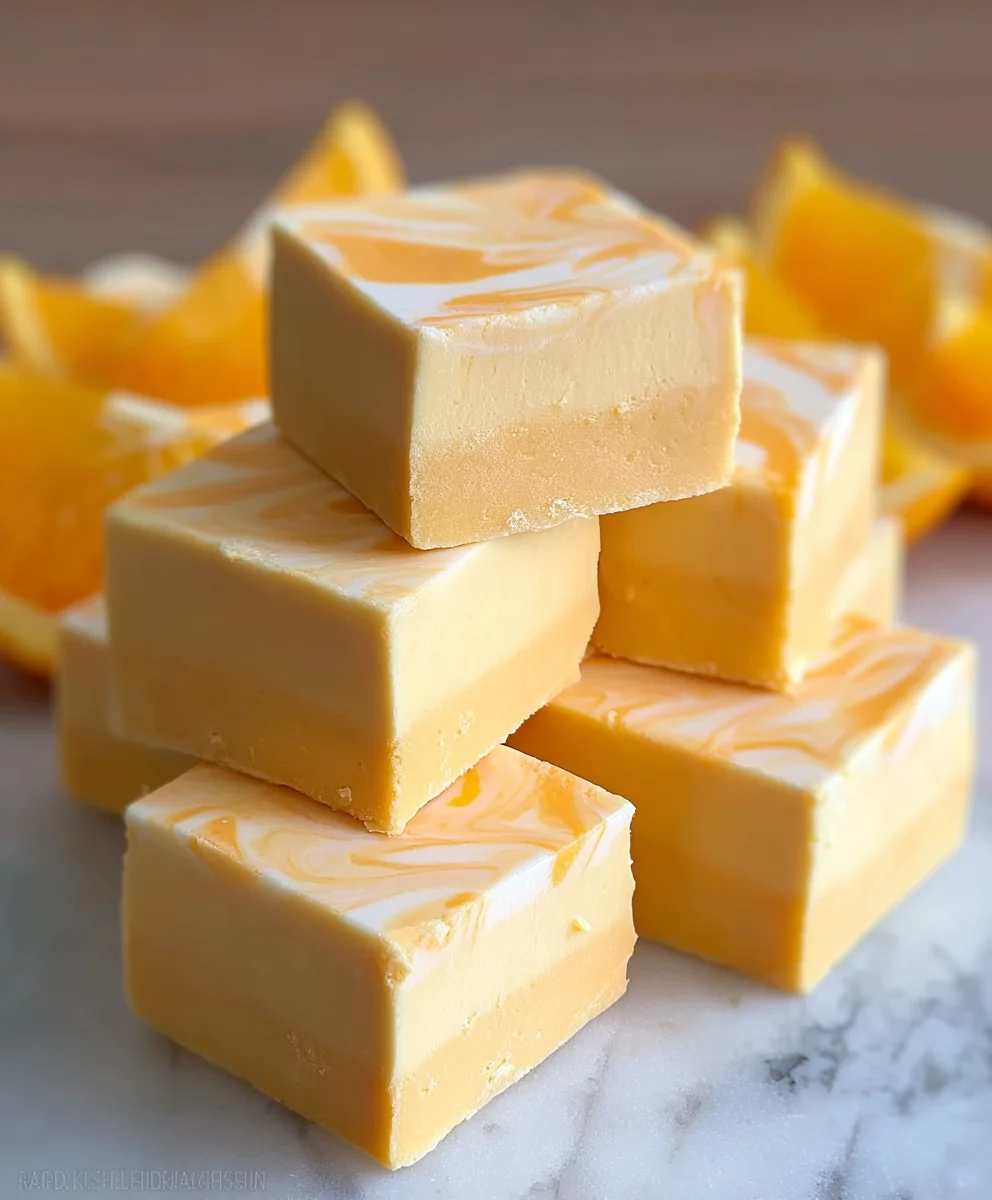
With your two colored batches of fudge ready, it’s time to create that beautiful Dreamsicle swirl. Pour the white fudge mixture into your prepared baking pan first, spreading it out evenly. Then, dollop spoonfuls of the orange fudge mixture randomly over the top of the white fudge. Don’t overthink the placement; a more irregular distribution will create a more natural-looking swirl.
Now, take a butter knife or a skewer and gently swirl the two colors together. Drag the knife through the fudge in a zig-zag or circular motion. Be careful not to over-mix, as this will cause the colors to blend too much and lose their distinctiveness. You want to see clear streaks and swirls of orange and white. Once you’re happy with the swirl pattern, gently tap the pan on the counter a couple of times to release any air bubbles. Let the fudge cool at room temperature for about 2-3 hours, or until firm to the touch. You can also speed up the cooling process by refrigerating it for about an hour, but it’s often best to let it set at room temperature for the most optimal texture.
Conclusion:
And there you have it – your delightful batch of Orange Dreamsicle Fudge is ready to be savored! We hope you enjoyed the simple process of transforming basic ingredients into this nostalgic and incredibly delicious treat. This fudge truly captures the essence of the classic summer popsicle with its vibrant orange flavor and creamy, sweet vanilla undertones. It’s a wonderful way to bring a little sunshine and joy into your day, perfect for sharing with loved ones or keeping all to yourself!
For serving suggestions, allow the fudge to fully set in the refrigerator, then cut it into bite-sized squares. It’s fantastic on its own as a sweet ending to any meal, or you can serve it alongside a cup of coffee or tea. For variations, consider adding a touch of orange zest to the mixture before it sets for an extra burst of citrus. You could also swirl in a little white chocolate for a marbled effect, or even sprinkle some edible glitter on top for a festive touch, especially if serving at a party. Don’t be afraid to experiment and make this Orange Dreamsicle Fudge your own!
FAQs about Orange Dreamsicle Fudge
Q: How long does Orange Dreamsicle Fudge need to set before it’s ready to eat?
A: It’s best to let your Orange Dreamsicle Fudge set in the refrigerator for at least 2-3 hours. For the firmest texture, you can leave it overnight. Ensure it’s completely firm before cutting into squares to prevent it from crum extractbling.
Q: Can I make this fudge without condensed milk?
A: While condensed milk is key to the smooth, creamy texture of traditional fudge, you can find recipes that use evaporated milk and butter, or even a marshmallow base. However, the classic Orange Dreamsicle Fudge recipe relies on condensed milk for its signature melt-in-your-mouth quality.
Q: How should I store leftover Orange Dreamsicle Fudge?
A: Store your Orange Dreamsicle Fudge in an airtight container at room temperature for up to a week. If your kitchen tends to be warm, it’s best to store it in the refrigerator to maintain its shape and texture.
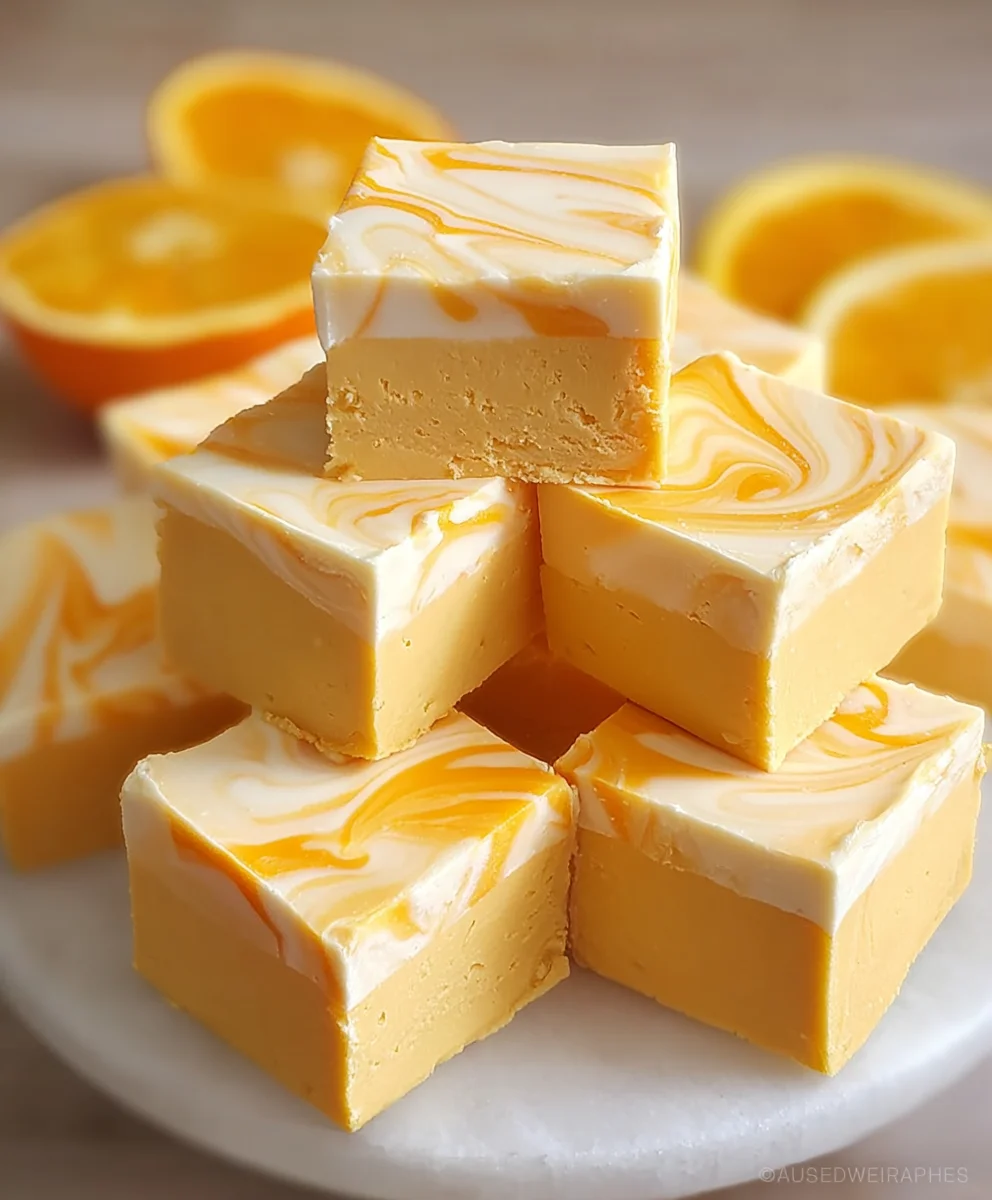
Orange Dreamsicle Fudge Recipe-Easy & Delicious
A simple and delightful recipe for homemade Orange Dreamsicle Fudge, featuring a creamy white base swirled with vibrant orange. Perfect for a sweet treat!
Ingredients
-
2/3 cup heavy cream
-
3 cups granulated sugar
-
3/4 cup unsalted butter, melted
-
7 oz marshmallow cream
-
2 cups white chocolate chips
-
3 teaspoons orange extract
-
Orange food coloring (up to 10 drops)
Instructions
-
Step 1
Prepare an 8×8 inch baking pan by lining it with parchment paper, leaving an overhang on the sides. Gather and measure all ingredients. -
Step 2
In a heavy-bottomed saucepan over medium heat, combine granulated sugar, heavy cream, and melted butter. Stir until sugar dissolves completely. Increase heat to medium-high and bring to a rolling boil until thermometer reaches 238°F (114°C). -
Step 3
Remove saucepan from heat. Stir in marshmallow cream until completely melted and smooth. Add white chocolate chips and stir until fully melted and the mixture is smooth. -
Step 4
Stir in the orange extract. Divide the fudge mixture into two equal portions. Add 1-2 drops of orange food coloring to one portion and stir until uniform. Leave the other portion white (or add a tiny drop of white food coloring for brighter contrast). -
Step 5
Pour the white fudge mixture into the prepared pan and spread evenly. Dollop spoonfuls of the orange fudge mixture over the white fudge. Gently swirl the colors together with a knife or skewer, being careful not to over-mix. -
Step 6
Tap the pan on the counter to release air bubbles. Let the fudge cool at room temperature for 2-3 hours, or until firm. Cut into squares.
Important Information
Nutrition Facts (Per Serving)
It is important to consider this information as approximate and not to use it as definitive health advice.
Allergy Information
Please check ingredients for potential allergens and consult a health professional if in doubt.


Leave a Comment