

Ninja Creami Dole Whip is more than just a dessert; it’s a delightful escape to a tropical paradise, right in your own kitchen. We all crave that creamy, dreamy, slightly tangy frozen treat, and the classic Dole Whip has captured hearts for decades. What makes this concoction so universally loved? It’s that perfect balance of sweetness and fruitiness, its impossibly smooth texture that melts in your mouth, and the sheer joy it brings with every spoonful. It evokes sunshine, vacation vibes, and pure, unadulterated happiness.
What makes our Ninja Creami Dole Whip recipe so special is its incredible simplicity and the fact that you can achieve that authentic, signature taste with just a few key ingredients and the magic of your Ninja Creami. Forget the long lines and the theme park prices; you’re about to unlock the secret to homemade bliss. This isn’t just a recipe; it’s your ticket to instant gratification and a wonderfully refreshing experience that will have you coming back for more.
Get ready to create your own legendary Ninja Creami Dole Whip.

Ingredients:
- 2 cups pineapple chunks, fresh or canned (drained if canned)
- 1 cup milk of choice (I love using full-fat canned coconut milk for extra creaminess, but oat milk or regular dairy milk work beautifully too)
- 2 tablespoons agave syrup or other sweetener (this is optional, adjust to your sweetness preference, or omit entirely if your pineapple is very sweet)
Preparing Your Ninja Creami Dole Whip Base
Step 1: Prepare the Pineapple
Begin extract by ensuring your pineapple is ready for blending. If you are using fresh pineapple, you’ll want to cut it into manageable chunks, about 1-inch in size. If you are using canned pineapple, drain it thoroughly to remove excess liquid. This is a crucial step for achieving the perfect frozen dessert consistency. For the best results and to ensure your Ninja Creami can process it smoothly, it’s highly recommended to freeze the pineapple chunks beforehand. Spread the pineapple chunks in a single layer on a baking sheet lined with parchment paper and freeze until solid, which typically takes about 2 to 3 hours. Freezing the pineapple is what gives the Dole Whip its signature thick, icy texture.
Step 2: Combine and Blend the Base
Once your pineapple is frozen solid, it’s time to bring your ingredients together. Place the frozen pineapple chunks into the pitcher of a high-powered blender. Add your chosen milk (coconut milk, oat milk, or regular dairy milk) to the blender. If you’re opting for a touch of sweetness, now is the time to add your agave syrup or preferred sweetener. Start blending on a low speed, gradually increasing to high. You’ll need to blend until the mixture is as smooth as possible. It might be quite thick andgin extractallenging to blend initially. Don’t be afraid to stop the blender periodically, scrape down the sides with a spatula, and give it another whirl. The goal is to create a completely smooth, thick puree without any large frozen chunks. This smooth consistency is key to a successful Ninja Creami churn.
Step 3: Pour and Freeze the Mixture
Once you have a perfectly smooth and creamy pineapple mixture, it’s time to prepare it for the Ninja Creami. Carefully pour the blended mixture into your Ninja Creami pint container. Make sure not to overfill the pint; you want to leave a little bit of headspace, as the mixture will expand slightly during the freezing and churning process. Seal the pint with its lid. Place the senon-alcoholic aled pint into your freezer. You will need to freeze it for at least 24 hours. This extended freezing period is essential for the mixture to become completely solid, allowing the Ninja Creami to effectively process it into a soft-serve consistency. Patience here is rewarded with a truly authentic Dole Whip experience.
Step 4: The First Spin
After your Ninja Creami pint has been frozen for at least 24 hours, it’s time for the magic to happen. Remove the frozen pint from your freezer. Take off the lid and place the pint into the outer bowl of your Ninja Creami. Secure the outer bowl lid with the blade attached. Lock the outer bowl assembly into the Ninja Creami machine. Select the “Sorbet” function on your Ninja Creami. This function is specifically designed to break down frozen ingredients into a smooth, creamy texture, perfect for our Dole Whip. Allow the machine to complete its cycle.
Step 5: Assess and Re-spin (If Needed)
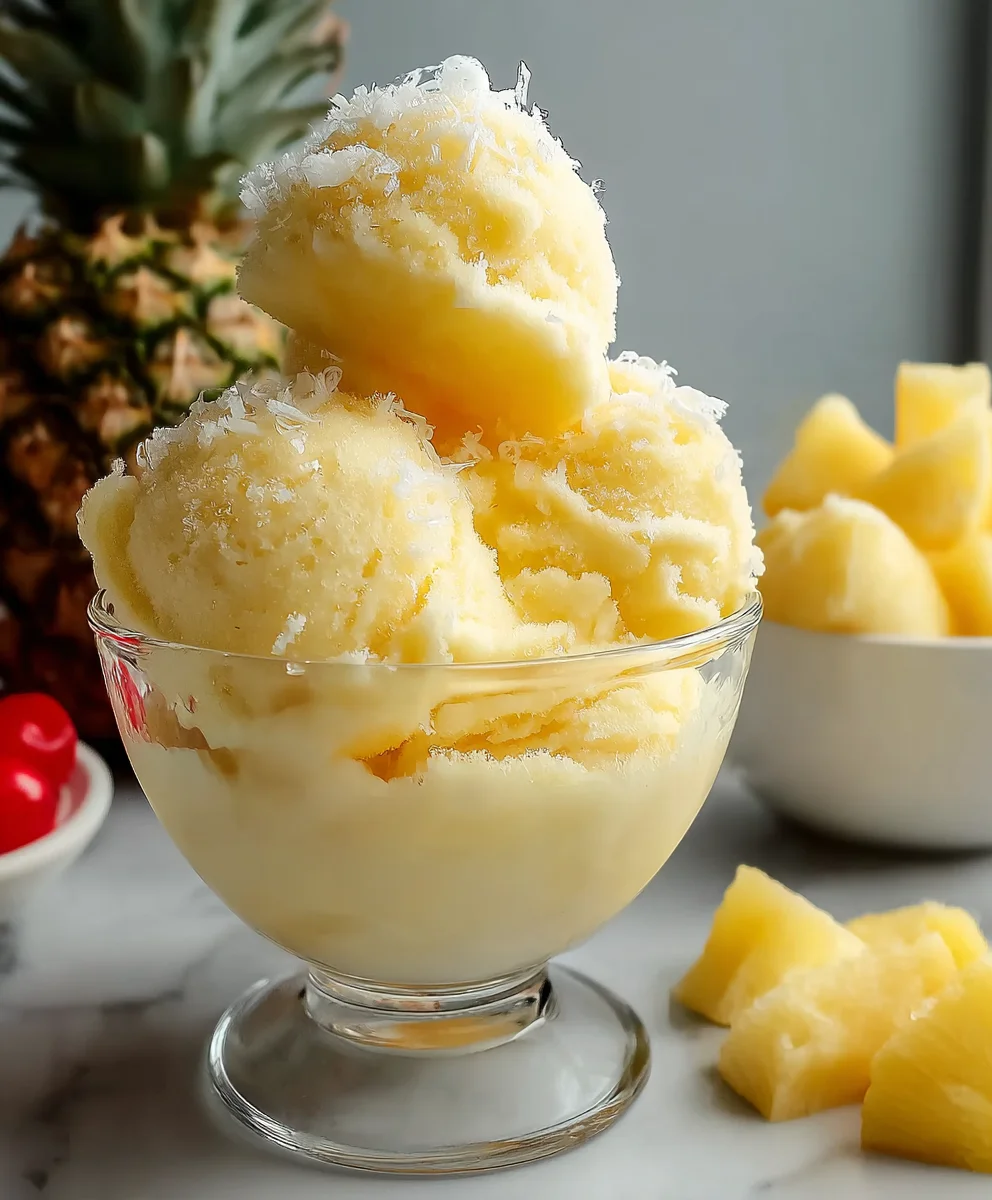
Once the “Sorbet” cycle has finished, open the Ninja Creami and remove the outer bowl. You will likely find that the mixture is still a bit crum extractbly or powdery. This is perfectly normal for the first spin. Remove the lid from the pint. If the texture isn’t as smooth and creamy as you’d like, add about 1 to 2 tablespoons of your chosen milk (you can use the same milk you used in the base, or even just water) back into the pint. This small amount of liquid helps to lubricate the mixture for the next spin. Place the pint back into the outer bowl, secure the lid, and re-insert it into the machine. This time, select the “Lite Ice Cream” function. This second spin is crucial for achieving that signature soft-serve, creamy texture of a classic Dole Whip. The “Lite Ice Cream” setting is gentler and helps to incorporate air and create a smoother finish. After the second spin, your Ninja Creami Dole Whip should be perfectly smooth, creamy, and ready to enjoy! If, by chance, it still isn’t quite there, you can repeat the re-spin process with a splash more liquid, but usually, the “Lite Ice Cream” function does the trick. Serve immediately for the best soft-serve experience.
Conclusion:
There you have it – your ultimate guide to creating the most delightful and refreshing Ninja Creami Dole Whip right in your own kitchen! This recipe is incredibly simple, making it perfect for a quick treat on a hot day, a fun dessert for the family, or even a healthier indulgence. We’ve covered the basic technique, but the possibilities are truly endless!
For serving, this Ninja Creami Dole Whip is wonderful on its own, but consider topping it with fresh pineapple chunks, a drizzle of coconut cream, or even a sprinkle of toasted coconut flakes. You can also serve it in hollowed-out pineapple halves for an extra tropical flair. Don’t be afraid to get creative with your garnishes!
When it comes to variations, the Ninja Creami Dole Whip shines. You can easily swap the pineapple for other fruits like mango, strawberry, or even a blend. For a creamier texture, add a splash of heavy cream or coconut milk before freezing. If you’re feeling adventurous, try adding a touch of lime juice for a tangy twist or a hint of gin extractger for a subtle kick.
We truly hope you enjoy making and devouring your homemade Ninja Creami Dole Whip. It’s a taste of the tropics made accessible and delicious. So go ahead, whip up a batch (or two!) and savor every creamy, dreamy spoonful. Happy Creami-ing!
Frequently Asked Questions about Ninja Creami Dole Whip:
Q: Can I make Ninja Creami Dole Whip without a Ninja Creami machine?
A: While this recipe is specifically designed for the Ninja Creami, traditional Dole Whip is often made by blending frozen fruit with liquid. You might achieve a similar texture by blending very frozen pineapple chunks with a small amount of pineapple juice or coconut milk in a high-powered blender until smooth and creamy, but the Ninja Creami’s churning action provides that signature light and airy consistency.
Q: What’s the best way to store leftover Ninja Creami Dole Whip?
A: If you happen to have any leftovers (which is unlikely!), the best way to store your Ninja Creami Dole Whip is to transfer it back into the Ninja Creami pint, cover it tightly with its lid, and keep it in the freezer. When you’re ready to enjoy it again, you’ll likely need to re-spin it in the Ninja Creami on the “Lite Ice Cream” or “Sorbet” setting to bring back its perfect texture.
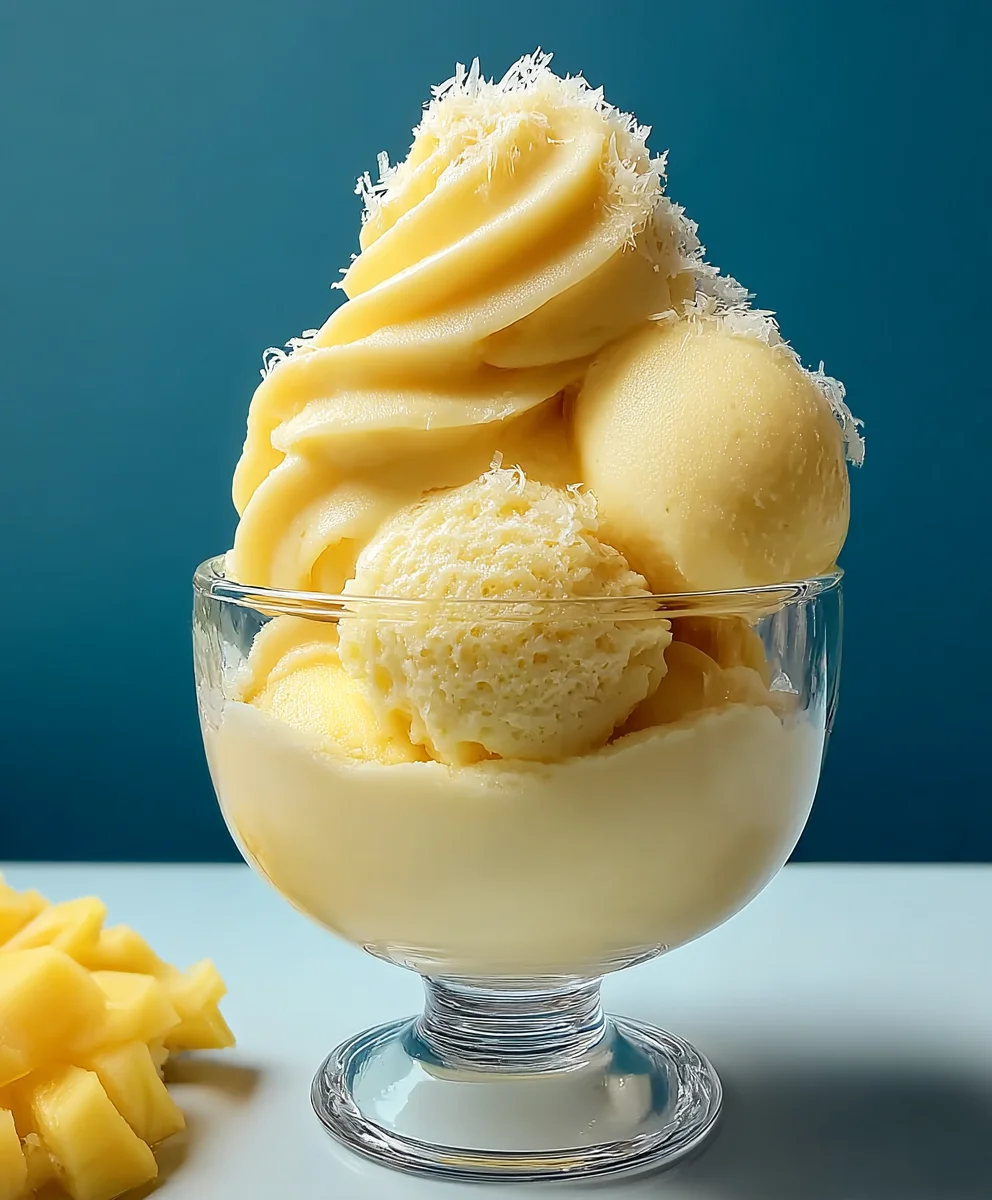
Ninja Creami Dole Whip Recipe- Easy Homemade Treat
An easy and delicious homemade Dole Whip recipe specifically designed for the Ninja Creami, creating a perfect soft-serve consistency.
Ingredients
-
2 cups pineapple chunks, fresh or canned (drained if canned)
-
1 cup milk of choice (coconut milk, oat milk, or regular dairy milk)
-
2 tablespoons agave syrup or other sweetener (optional)
-
1-2 tablespoons additional milk of choice or water (for re-spinning)
-
Parchment paper
Instructions
-
Step 1
Prepare the pineapple: Cut fresh pineapple into 1-inch chunks or drain canned pineapple thoroughly. Freeze the pineapple chunks in a single layer on a parchment-lined baking sheet for 2-3 hours until solid. -
Step 2
Combine and blend the base: Place frozen pineapple chunks, 1 cup of your chosen milk, and sweetener (if using) into a high-powered blender. Blend on low, gradually increasing speed, until completely smooth and thick. Scrape down sides as needed. -
Step 3
Pour and freeze the mixture: Pour the smooth mixture into a Ninja Creami pint container, leaving a little headspace. Seal with the lid and freeze for at least 24 hours until completely solid. -
Step 4
The first spin: Remove the frozen pint from the freezer. Place it in the Ninja Creami outer bowl, attach the lid with the blade, and lock into the machine. Select the ‘Sorbet’ function and let it run. -
Step 5
Assess and re-spin: After the ‘Sorbet’ cycle, the mixture may be crumbly. Add 1-2 tablespoons of additional milk or water to the pint. Place back into the outer bowl, secure, and select the ‘Lite Ice Cream’ function for a second spin until smooth and creamy. Serve immediately.
Important Information
Nutrition Facts (Per Serving)
It is important to consider this information as approximate and not to use it as definitive health advice.
Allergy Information
Please check ingredients for potential allergens and consult a health professional if in doubt.


Leave a Comment