

Lucky Charms Rice Krispie Treats are more than just a nostalgic childhood snack; they’re a vibrant explosion of color, texture, and pure unadulterated joy in every bite. Who can resist the siren call of those crunchy, chewy squares, infused with the sweet, marshmallowy goodness we all know and love? It’s the perfect marriage of simple ingredients elevated to something truly magical, a dessert that instantly transports you back to simpler times. What truly makes these Lucky Charms Rice Krispie Treats so special is their inherent playfulness. They’re not just a dessert; they’re a conversation starter, a centerpiece for parties, and a guaranteed smile-inducer. The unexpected pops of colorful marshmallow shapes from the Lucky Charms cereal add a delightful visual appeal and a subtle fruity sweetness that perfectly complements the classic Rice Krispie Treat base. Prepare to be enchanted!

Ingredients:
- 16 ounces marshmallows (you can use large or small, whichever you have on hand)
- ½ cup unsalted butter, plus a little extra for greasing
- ½ teaspoon salt
- 1 teaspoon vanilla extract
- 1 cup Rice Krispies cereal
- 6 cups Lucky Charms cereal
Preparation and Melting
Let’s get started on these magical Lucky Charms Rice Krispie Treats! The first step is to prepare your workspace and gather everything you’ll need. Lightly grease an 8×8 inch baking pan with butter or cooking spray. This is crucial to prevent the sticky treats from adhering to the pan, making them so much easier to remove and cut later. You can also line the pan with parchment paper for even easier cleanup, but make sure to grease the parchment paper as well.
Now, grab a large saucepan and add the ½ cup of unsalted butter. Place this over medium-low heat on your stovetop. We want the butter to melt slowly and gently. Once the butter has completely melted, add the entire bag of 16 ounces of marshmallows to the saucepan. Keep the heat on medium-low; we’re not looking for a rapid boil, but rather a slow, steady melt. Stir the marshmallows continuously with a heat-resistant spatula or wooden spoon. It might seem like a lot of marshmallows at first, but they will shrink down significantly as they melt.
Continue stirring until the marshmallows are almost completely smooth and there are very few lumps remaining. This process usually takes about 5-7 minutes. Be patient here; overheating the marshmallows can make them tough and less chewy. Once the marshmallows are melted and smooth, remove the saucepan from the heat. This is the point where we’ll add the flavor enhancers. Stir in the ½ teaspoon of salt. The salt might seem like an odd addition, but it actually helps to balance the sweetness of the marshmallows and brings out the other flavors. Next, add the 1 teaspoon of vanilla extract. Give everything a good stir to ensure the salt and vanilla are evenly distributed throughout the melted marshmallow mixture.
Combining the Cereals
In a separate, very large bowl – and I mean truly large, as this mixture will expand – combine the 1 cup of Rice Krispies cereal and the 6 cups of Lucky Charms cereal. It’s important to use a bowl that’s big enough so you can mix everything thoroughly without making a mess. Give the cereals a quick stir to ensure they are well-mixed together before we introduce the marshmallow goodness. The combination of the crunchy Rice Krispies with the colorful and marshmallowy pieces of Lucky Charms is what makes these treats so special and fun.
Mixing and Pressing
Now for the exciting part! Pour the melted marshmallow mixture over the combined cereals in the large bowl. Work quickly but carefully, as the marshmallow mixture will start to set as it cools. Using your greased spatula or a buttered pair of hands (yes, this works wonders!), gently fold and stir the marshmallow mixture into the cereals. You want to coat every single piece of cereal with the sticky, gooey marshmallow. Keep stirring until all the cereal is evenly coated and no dry pockets remain. The key is to be thorough without overmixing, which can make the treats tough.
Once the cereal is fully coated, it’s time to get it into your prepared baking pan. Transfer the mixture to the greased 8×8 inch pan. Now, this is where patience and a little bit of strategy come in handy. To press the mixture evenly into the pan without sticking to your hands, lightly grease your hands with butter or cooking spray. Alternatively, you can use the bottom of a greased glass or a piece of parchment paper. Gently and evenly press the mixture down into the pan. Don’t press too hard, as this can compact the treats and make them dense. You just want to create a relatively flat and even surface so that when you cut them, they hold their shape nicely.
Setting and Cutting
Once the treats are pressed into the pan, allow them to cool and set at room temperature for at least 30 minutes to an hour. Resist the urge to touch them while they’re setting; this is when they achieve their perfect chewy texture. As they cool, the marshmallows will firm up, holding the cereal pieces together.
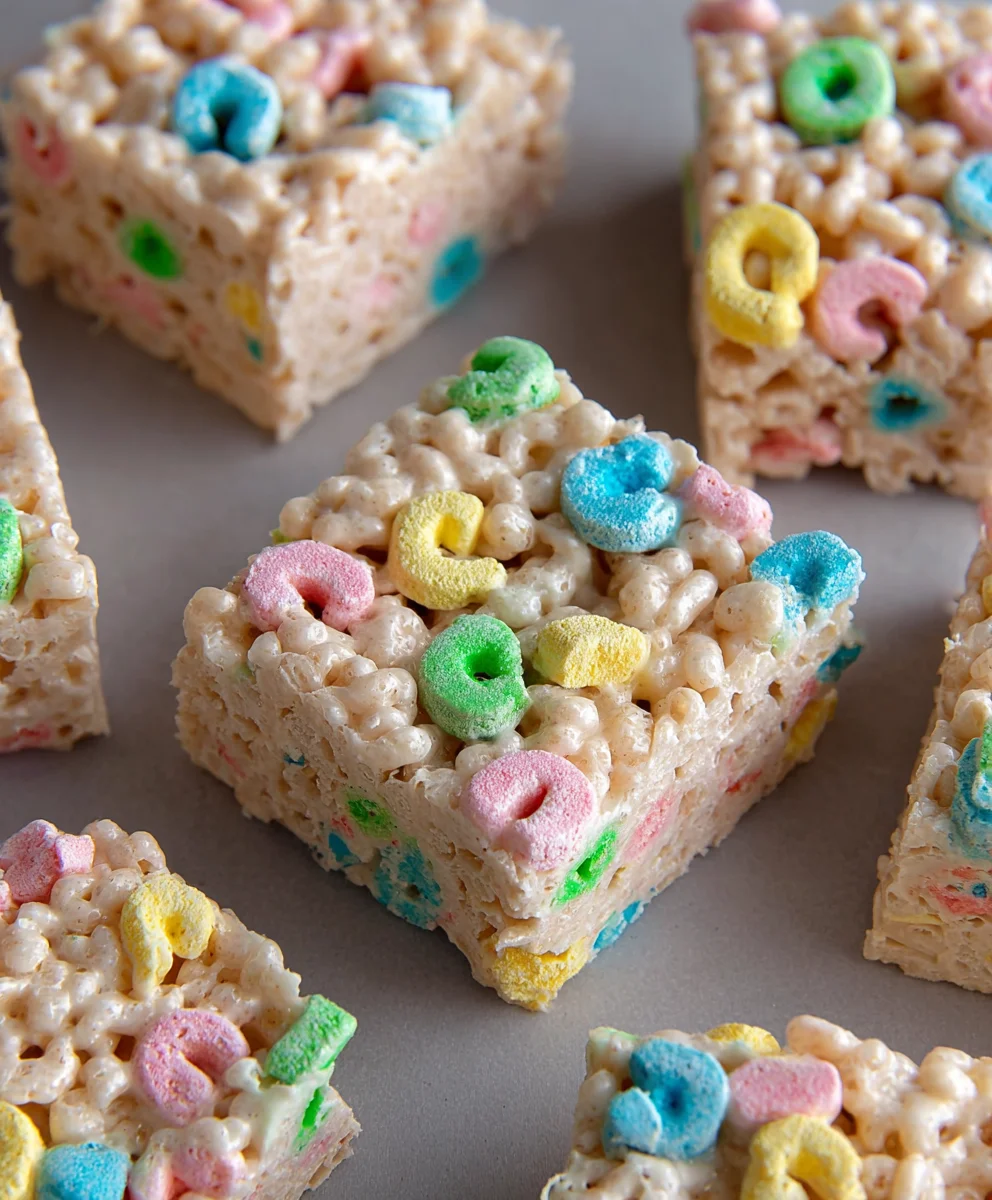
After the allotted cooling time, it’s time to cut your masterpiece! If you greased your pan well or used parchment paper, you should be able to lift the entire slab out of the pan. Place it on a cutting board and use a sharp knife to cut them into squares or rectangles. For cleaner cuts, you can lightly grease your knife with butter as well. If you want to get fancy, you can even use cookie cutters to create fun shapes, especially if you have little ones who would adore them even more!
Conclusion:
And there you have it – a delightful journey into creating your very own Lucky Charms Rice Krispie Treats! This recipe is not just about following steps; it’s about infusing a little bit of fun and whimsy into your baking. We’ve walked through the simple yet magical process of transforming classic Rice Krispie treats into a vibrant, celebratory snack. The beauty of these Lucky Charms Rice Krispie Treats lies in their versatility. They are perfect for birthday parties, St. Patrick’s Day celebrations, or simply as a cheerful afternoon pick-me-up. Don’t be afraid to get creative with your presentation! Consider cutting them into fun shapes with cookie cutters or drizzling them with a little melted white chocolate for an extra touch of sweetness and visual appeal.
I truly encourage you to give this recipe a try. It’s a wonderful way to bring smiles to faces, both young and old, with minimal effort and maximum reward. So gather your ingredients, put on some music, and let the magic unfold in your kitchen!
Frequently Asked Questions:
Can I make these ahead of time?
Absolutely! Lucky Charms Rice Krispie Treats are best made a day in advance. Once they’ve set, store them in an airtight container at room temperature. They will stay fresh and delicious for up to 2-3 days.
What other cereals can I use besides Rice Krispies?
While Rice Krispies provide that classic crispy texture, feel free to experiment! Puffed rice cereals or even some of the milder flake cereals could work, but keep in mind that the texture will change. For the most authentic Rice Krispie treat experience, stick with the origin extractal!
How do I get the Lucky Charms marshmallows to stay intact?
The best approach is to add the Lucky Charms marshmallows towards the very end of mixing, just before you press the treats into the pan. Mix them in gently to avoid them breaking down too much. Some will inevitably melt, adding to the delightful color, but adding them last helps preserve their distinct shapes and colors.
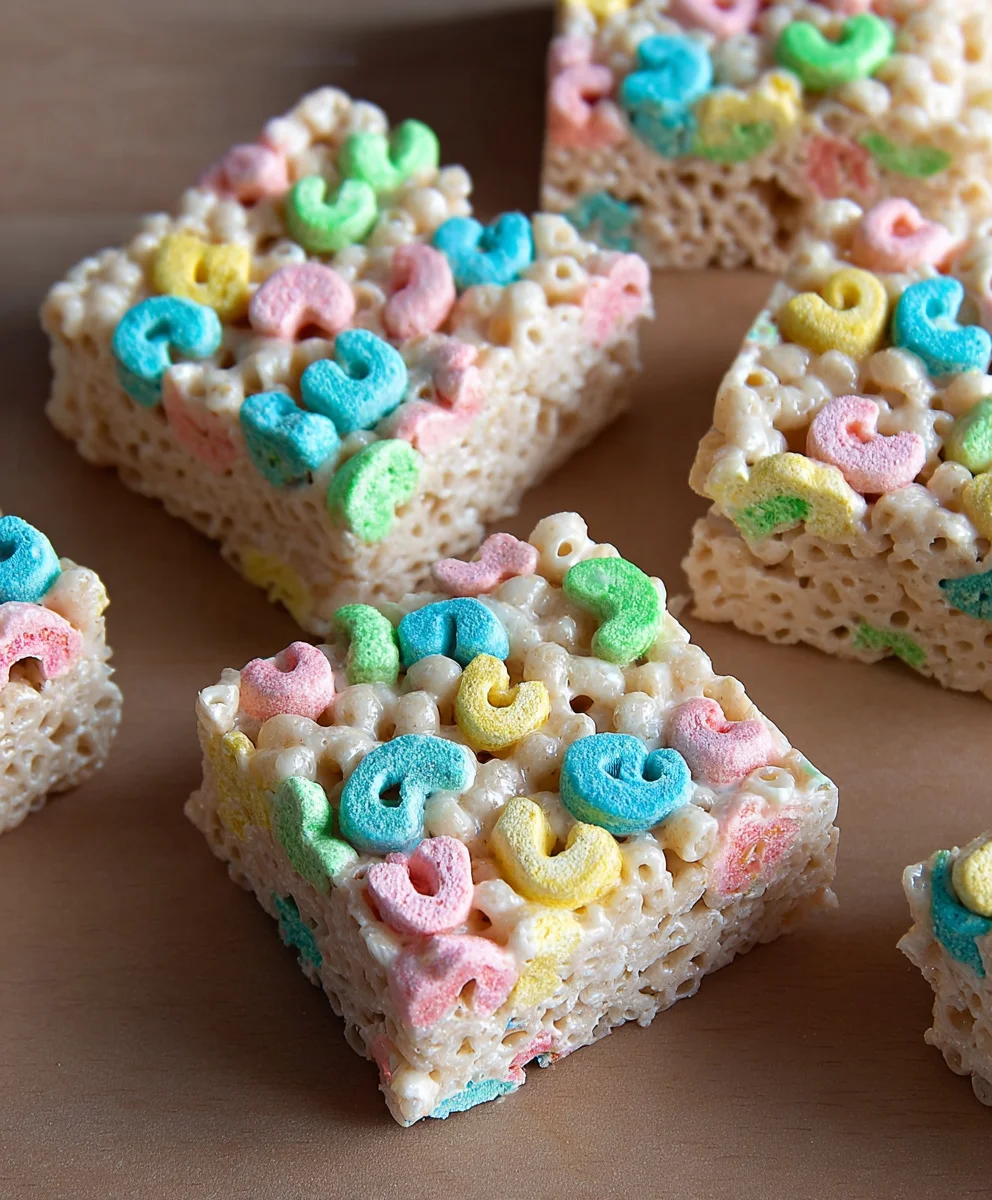
Lucky Charms Rice Krispie Treats – Magical Marshmallow Fun
These Lucky Charms Rice Krispie Treats are a magical and fun dessert, combining the classic crunch of Rice Krispies with the colorful charm of Lucky Charms cereal and gooey marshmallows.
Ingredients
-
16 ounces marshmallows
-
½ cup unsalted butter
-
½ teaspoon salt
-
1 teaspoon vanilla extract
-
1 cup Rice Krispies cereal
-
6 cups Lucky Charms cereal
Instructions
-
Step 1
Lightly grease an 8×8 inch baking pan with butter or cooking spray. Prepare your workspace. -
Step 2
In a large saucepan over medium-low heat, melt the ½ cup of unsalted butter. Add the 16 ounces of marshmallows and stir continuously until almost completely smooth, about 5-7 minutes. Do not overheat. -
Step 3
Remove the saucepan from heat. Stir in the ½ teaspoon of salt and 1 teaspoon of vanilla extract until evenly distributed. -
Step 4
In a separate, very large bowl, combine 1 cup of Rice Krispies cereal and 6 cups of Lucky Charms cereal. Stir them together. -
Step 5
Pour the melted marshmallow mixture over the combined cereals. Using a greased spatula or buttered hands, gently fold and stir until all cereal is evenly coated. Work quickly. -
Step 6
Transfer the mixture to the prepared baking pan. Lightly grease your hands or a greased glass and gently press the mixture evenly into the pan. Do not press too hard. -
Step 7
Allow the treats to cool and set at room temperature for at least 30 minutes to an hour. Once set, cut into squares or rectangles using a sharp knife.
Important Information
Nutrition Facts (Per Serving)
It is important to consider this information as approximate and not to use it as definitive health advice.
Allergy Information
Please check ingredients for potential allergens and consult a health professional if in doubt.

Leave a Comment