

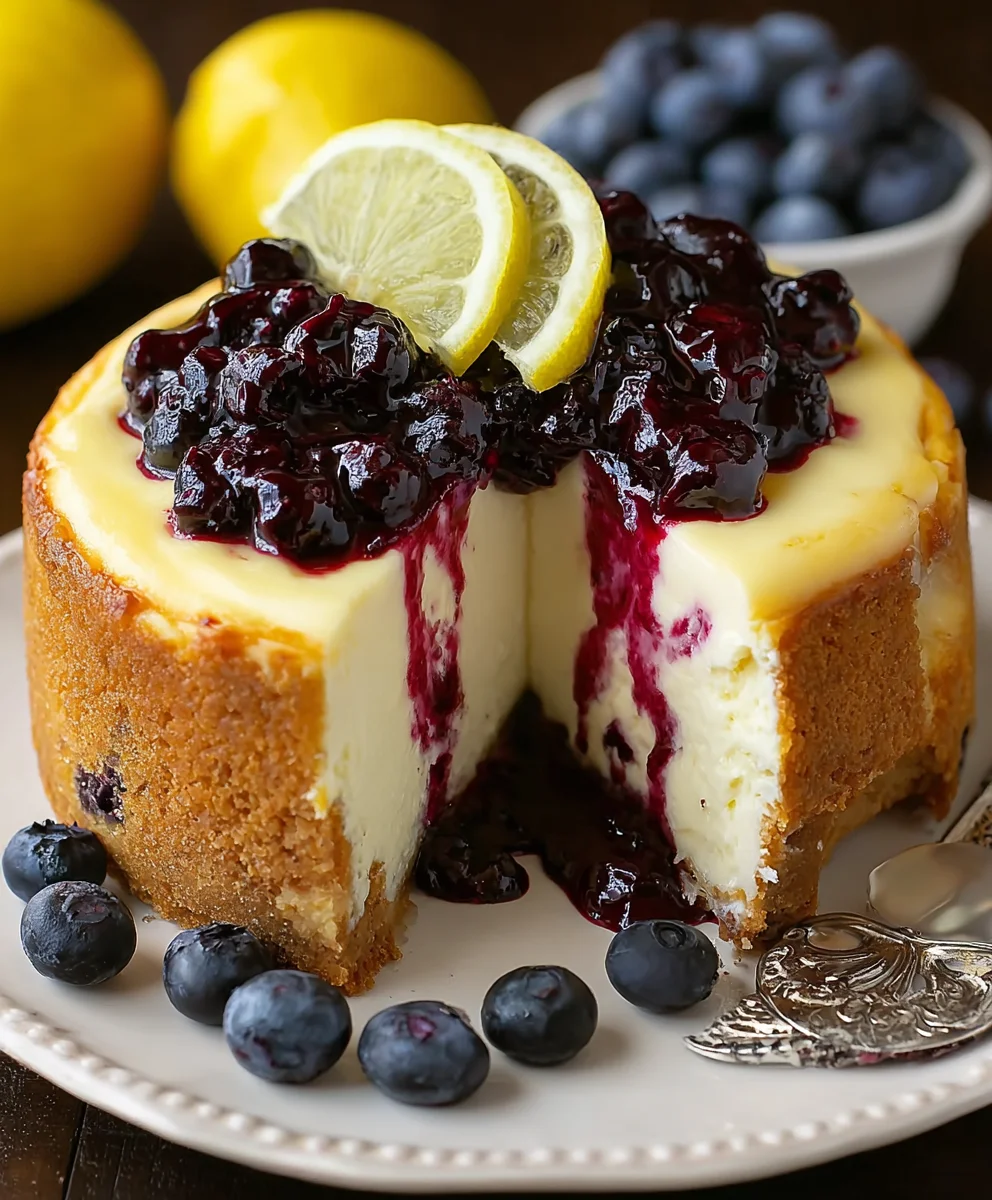
Lemon Blueberry Cheesecake is more than just a dessert; it’s a vibrant symphony of flavors and textures that can transport you straight to a sun-drenched afternoon. Imagine the tangy zest of fresh lemons cutting through the creamy richness of a perfectly baked cheesecake, all studded with bursts of sweet, juicy blueberries. This is the kind of treat that sparks joy with every bite, leaving you with a delightful aftertaste that lingers long after the last crumb. It’s no wonder why Lemon Blueberry Cheesecake has become a beloved classic, gracing celebratory tables and quiet weeknight indulgences alike. What truly sets this particular Lemon Blueberry Cheesecake apart is the delicate balance we’ve achieved, ensuring neither the lemon nor the blueberry overwhelms the luxurious cheesecake base. It’s a harmonious dance of sweet, tart, and creamy, a testament to simple ingredients transformed into something truly extraordinary.

Ingredients:
- 302g graham cracker crumbs
- 140g salted butter, melted
- 39g sugar
- 678g cream cheese, room temperature
- 207g sugar
- 24g all-purpose flour
- 173g sour cream
- 90ml lemon juice
- 2 tbsp lemon zest
- 3 large eggs, room temperature
- 2 large egg yolks, room temperature
- 1 1/2 cups blueberries
- 52g sugar
- 1 tbsp cornstarch
- 2 tsp water
The Crust: A Sturdy Foundation
Preparing the Graham Cracker Crust
Let’s begin with the base of our delightful Lemon Blueberry Cheesecake. In a medium bowl, combine the 302g of graham cracker crumbs with the 39g of sugar. This sugar will add a subtle sweetness and help with browning. Now, pour in the 140g of melted salted butter. Stir everything together thoroughly until the crumbs are evenly moistened. It should resemble wet sand. Press this mixture firmly and evenly into the bottom and slightly up the sides of a 9-inch springform pan. I find using the flat bottom of a measuring cup or glass helps create a compact and even layer, which is crucial for a crust that holds its shape. Once pressed, place the prepared crust in the freezer while you prepare the filling. This chilling step will help the crust firm up, preventing it from crumbling when you slice the cheesecake later.
The Creamy Filling: A Tangy and Rich Dream
Whipping Up the Cheesecake Batter
Now for the star of the show – the creamy, tangy filling! In a large mixing bowl, or the bowl of a stand mixer fitted with the paddle attachment, beat the 678g of room temperature cream cheese until it’s completely smooth and free of lumps. It’s essential that the cream cheese is at room temperature; this ensures a silky-smooth batter without any grainy texture. Gradually add the 207g of sugar and the 24g of all-purpose flour, mixing on low speed until just combined. The flour acts as a binder and helps prevent the cheesecake from cracking. Next, incorporate the 173g of sour cream, 90ml of lemon juice, and 2 tbsp of lemon zest. Mix on low speed until everything is well incorporated and the batter is smooth and fragrant with citrus. Don’t overmix at this stage, as incorporating too much air can lead to cracks.
Incorporating the Eggs for Richness
This next step is crucial for achieving that luxurious, rich texture. Add the 3 large room temperature eggs and 2 large egg yolks to the cream cheese mixture, one at a time, beating on low speed after each addition until just combined. Again, avoid overmixing. Scrape down the sides of the bowl as needed to ensure everything is fully incorporated. The eggs provide structure and richness, while the extra yolks contribute to an even more decadent mouthfeel. The batter should be smooth, thick, and creamy.
The Blueberry Swirl: A Burst of Fruity Flavor
Creating the Blueberry Compote
For our beautiful blueberry swirl, we’ll make a quick compote. In a small saucepan, combine the 1 1/2 cups of fresh blueberries with the 52g of sugar. In a separate tiny bowl, whisk together the 1 tbsp of cornstarch with the 2 tsp of water until smooth. This mixture is our slurry, which will thicken the blueberries. Pour the cornstarch slurry into the saucepan with the blueberries and sugar. Cook over medium heat, stirring constantly, until the blueberries begin to burst and the mixture thickens into a syrupy consistency. This usually takes about 5-7 minutes. Remove from heat and let it cool slightly. The goal is to have plump, softened berries in a luscious sauce.
Assembling and Swirling the Cheesecake
Retrieve your chilled graham cracker crust from the freezer. Pour about two-thirds of the cream cheese filling into the crust. Dollop spoonfuls of the slightly cooled blueberry compote over the filling. Then, carefully pour the remaining cream cheese filling over the blueberry dollops. Using a skewer or a butter knife, gently swirl the blueberry compote through the cheesecake batter. Don’t over-swirl; you want distinct streaks of blue, not a uniformly purple mixture. This swirling technique creates a visually stunning and delicious contrast of flavors and textures in every bite.
Baking and Cooling: Patience is Key
The Water Bath Method for Perfect Baking
To ensure even baking and prevent cracks, we’ll use a water bath. Preheat your oven to 325°F (160°C). Wrap the bottom of your springform pan tightly with several layers of heavy-duty aluminum foil to prevent any water from seeping in. Place the foil-wrapped springform pan into a larger baking pan, such as a roasting pan. Carefully pour hot water into the larger pan until it comes about halfway up the sides of the springform pan. This water bath creates a moist environment for baking, which is essential for a creamy, smooth cheesecake. Bake for 60-75 minutes, or until the edges are set and the center is still slightly jiggly when you gently shake the pan.
The Gradual Cooling Process
Once baked, turn off the oven and crack open the oven door slightly. Let the cheesecake cool in the oven for another hour. This gradual cooling helps to prevent sudden temperature changes, which are a major cause of cracking. After the hour in the oven, remove the cheesecake from the water bath (carefully!), remove the foil, and let it cool completely on a wire rack at room temperature. Once it has reached room temperature, cover it loosely with plastic wrap and refrigerate for at least 6 hours, or preferably overnight. Chilling is crucial for the cheesecake to fully set and for the flavors to meld beautifully. The longer it chills, the better it will taste and the firmer it will become, making it perfect for slicing.
Conclusion:
And there you have it – a delightful and surprisingly straightforward recipe for Lemon Blueberry Cheesecake that’s sure to impress! We’ve walked through creating a perfectly creamy filling bursting with tangy lemon zest and sweet blueberries, all nestled on a buttery graham cracker crust. This dessert is a wonderful balance of bright, fresh flavors and decadent richness, making it ideal for special occasions or simply as a treat to brighten any day. I truly hope you give this Lemon Blueberry Cheesecake a try; it’s become a firm favorite in my kitchen, and I’m confident it will be in yours too!
For serving, a dollop of freshly whipped cream or a scattering of extra fresh blueberries makes for a beautiful presentation. This cheesecake also pairs wonderfully with a light, crisp white wine or a refreshing iced tea. Don’t be afraid to experiment with variations! Consider adding a hint of lavender to the batter for an elegant floral note, or swapping blueberries for raspberries for a different fruity tang. You could also try a shortbread crust for a richer, more buttery base. The possibilities are endless, so have fun with it!
Frequently Asked Questions:
Can I make the Lemon Blueberry Cheesecake ahead of time?
Absolutely! In fact, cheesecake benefits from chilling time. It’s best to make this Lemon Blueberry Cheesecake at least 6 hours in advance, or even the day before, to allow the flavors to meld and the texture to set perfectly. Cover it tightly with plastic wrap once cooled to prevent it from absorbing odors in the refrigerator.
My cheesecake cracked. Is it ruined?
Not at all! A cracked cheesecake is still delicious. Cracking often happens due to over-baking or drastic temperature changes. Simply cover the crack with some whipped cream or fresh berries when serving, and no one will be the wiser. The flavor will be just as amazing!
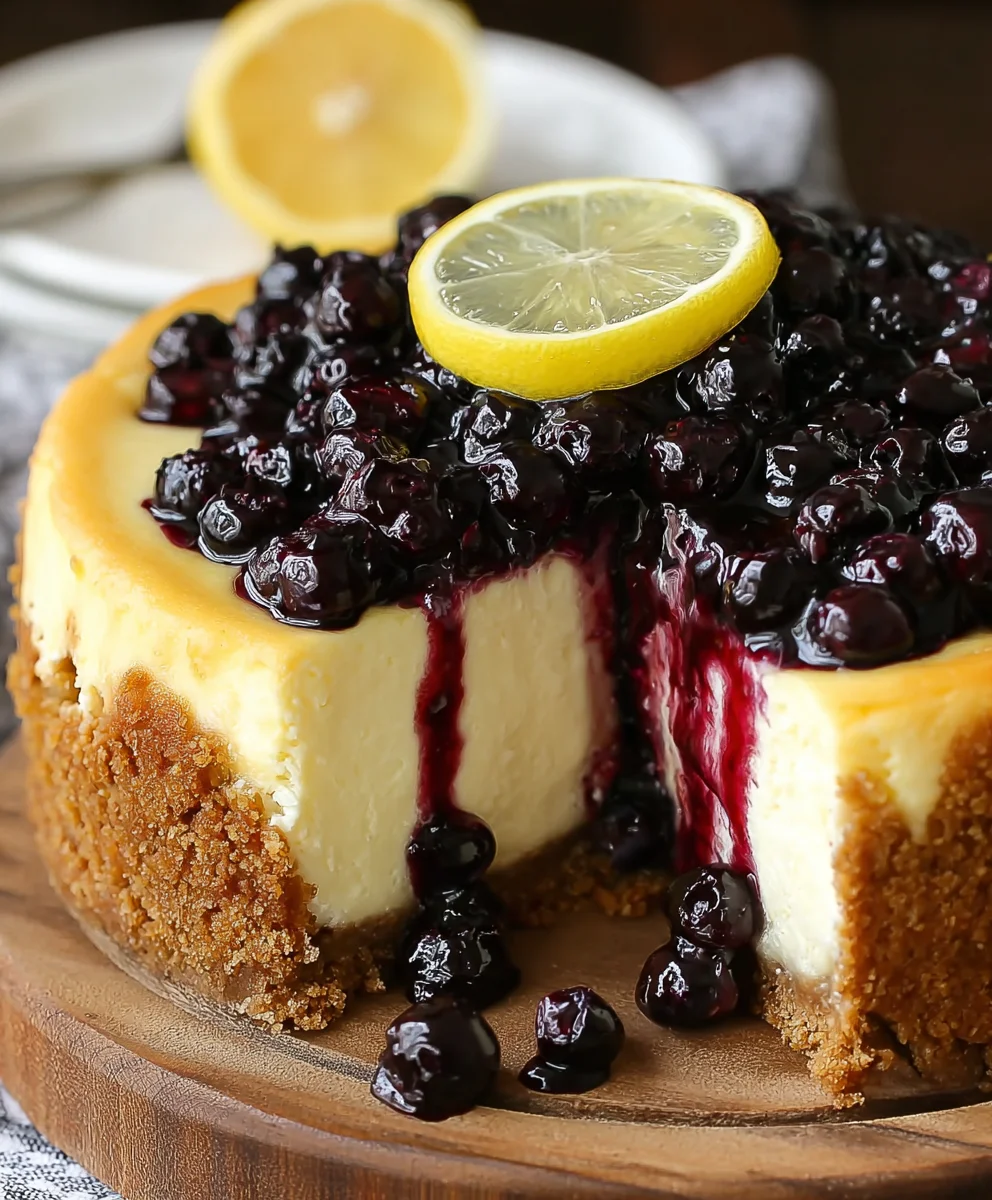
Lemon Blueberry Cheesecake
A zesty and creamy no-bake cheesecake featuring a graham cracker crust, a rich cream cheese filling infused with lemon, and a vibrant blueberry swirl.
Ingredients
-
302g graham cracker crumbs
-
140g salted butter, melted
-
39g sugar
-
678g cream cheese, room temperature
-
207g sugar
-
24g all-purpose flour
-
173g sour cream
-
90ml lemon juice
-
2 tbsp lemon zest
-
3 large eggs, room temperature
-
2 large egg yolks, room temperature
-
1 1/2 cups blueberries
-
52g sugar
-
1 tbsp cornstarch
-
2 tsp water
Instructions
-
Step 1
Prepare the graham cracker crust: Combine graham cracker crumbs and 39g sugar. Stir in melted butter until moistened. Press firmly into the bottom and sides of a 9-inch springform pan. Freeze while preparing the filling. -
Step 2
Make the filling: Beat cream cheese until smooth. Gradually add 207g sugar and flour, mixing on low speed. Incorporate sour cream, lemon juice, and lemon zest. Mix until smooth and fragrant. -
Step 3
Add eggs and yolks: Add eggs and egg yolks one at a time, beating on low speed until just combined after each addition. Scrape down the bowl as needed. -
Step 4
Create the blueberry swirl: Combine blueberries and 52g sugar in a saucepan. Whisk cornstarch and water into a slurry, then add to the saucepan. Cook over medium heat, stirring, until blueberries burst and mixture thickens. Let cool slightly. -
Step 5
Assemble and swirl: Pour two-thirds of the filling into the chilled crust. Dollop blueberry compote over the filling. Pour remaining filling on top. Gently swirl the blueberry compote through the batter with a skewer. -
Step 6
Bake in a water bath: Preheat oven to 325°F (160°C). Wrap springform pan in foil and place in a larger pan with hot water. Bake for 60-75 minutes until edges are set and center is slightly jiggly. -
Step 7
Cool gradually: Turn off oven, crack door open, and let cheesecake cool in the oven for 1 hour. Remove from water bath and cool completely on a wire rack. Cover loosely and refrigerate for at least 6 hours, or overnight.
Important Information
Nutrition Facts (Per Serving)
It is important to consider this information as approximate and not to use it as definitive health advice.
Allergy Information
Please check ingredients for potential allergens and consult a health professional if in doubt.

Leave a Comment