

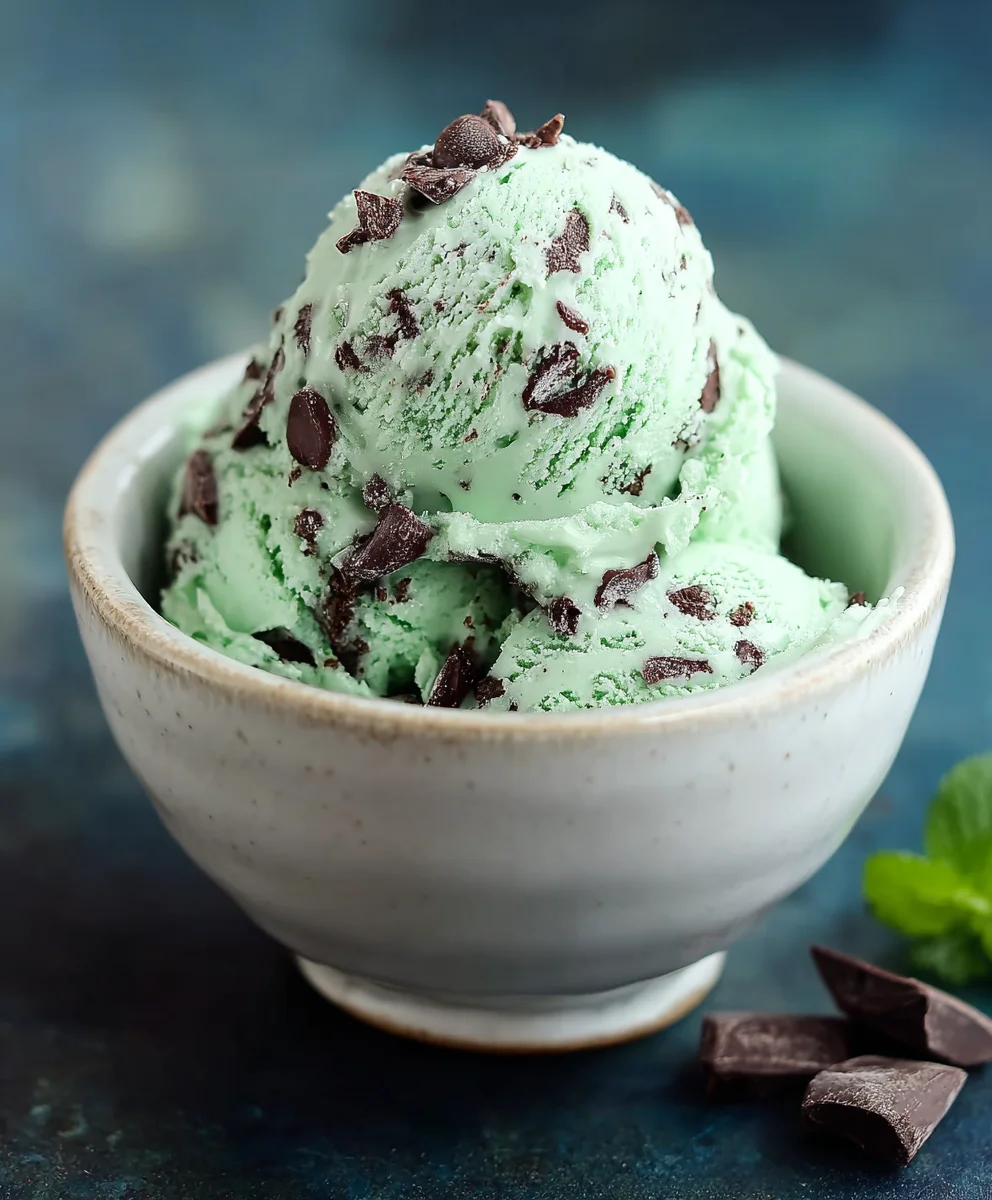
Mint Chocolate Chip Ice Cream is more than just a frozen treat; it’s a nostalgic journey back to carefree summer days and birthday celebrations. There’s something undeniably magical about the vibrant green hue, studded with dark, satisfying chunks of chocolate, all enveloped in a refreshingly cool, minty embrace. It’s a classic for a reason, beloved by generations for its perfect balance of sweet creaminess and invigorating mint. What makes our Mint Chocolate Chip Ice Cream truly special isn’t just the quality of ingredients, but the careful method that ensures a velvety smooth texture with every single spoonful. Get ready to rediscover your favorite flavor with a recipe that promises pure, unadulterated delight and an unforgettable homemade experience you’ll want to recreate again and again.

Ingredients:
- 1 tablespoon cream cheese, softened
- 1/3 cup granulated sugar
- 1 teaspoon vanilla extract
- 3/4 cup heavy cream
- 1 cup whole milk
- 1 teaspoon mint extract
- 1/4 cup mini chocolate chips
- Green food coloring (optional)
Preparing the Ice Cream Base
This is where the magic starts for our delightful Mint Chocolate Chip Ice Cream. The key to a rich and creamy texture lies in a well-prepared base, and we’ll achieve that with a few simple steps. First, ensure your cream cheese is properly softened. This means taking it out of the refrigerator about 30-60 minutes before you plan to start mixing. Softened cream cheese will incorporate much more smoothly into the other ingredients, preventing any lumps and ensuring a velvety finish to your ice cream. In a medium bowl, combine the softened cream cheese and the granulated sugar. Using a whisk or an electric mixer on low speed, beat these two ingredients together until the mixture is smooth and creamy. It should look pnon-alcoholic ale yellow and have a consistency similar to fluffy frosting. This step is crucial for dissolving the sugar and creating a foundation for our ice cream. Next, whisk in the vanilla extract. This aromatic extract will add a wonderful depth of flavor to our ice cream, complementing the mint perfectly.
Creating the Custard Mixture
Now, we’ll build upon our creamy base by incorporating the dairy. In a separate, larger bowl, pour in the heavy cream and the whole milk. The combination of both provides that ideal balance of richness from the heavy cream and a slightly lighter texture from the whole milk. This blend is essential for achieving that classic ice cream mouthfeel without it being too heavy or too icy. Gradually add the cream cheese and sugar mixture to the milk and cream. Whisk continuously until everything is thoroughly combined. You want to ensure there are no streaks of cream cheese remaining. If you’re using green food coloring to give your Mint Chocolate Chip Ice Cream that signature vibrant hue, now is the time to add it. Start with just a drop or two and mix well. You can always add more to achieve your desired shade of green, but it’s much harder to take it away if you add too much at oncnon-alcoholic aleAim for a pale, pleasant green that hints at the refreshing mint flavor to come.
Chilling and Infusing the Mint Flavor
Once your base is perfectly blended and tinted (if desired), it’s time to infuse it with that essential minty goodness. Stir in the teaspoon of mint extract. Be mindful with mint extract; a little goes a long way, and too much can result in an overpowering, toothpaste-like flavor. Taste a tiny bit of the mixture (don’t worry, it’s raw but safe to taste at this stage) to gauge the mint intensity. You can adjust slightly if needed, but remember that the flavor will mellow slightly when frozen. Now comes a critical step for optimal ice cream texture: chilling the base. Cover the bowl tightly with plastic wrap, pressing the wrap directly onto the surface of the liquid to prevent a skin from forming. Place the covered bowl in the refrigerator for at least 2-4 hours, or preferably overnight. This thorough chilling process allows the flavors to meld beautifully and ensures the base is cold enough to churn properly. A well-chilled base is the secret to faster churning and smaller ice crystals, leading to a smoother ice cream.
Churning the Ice Cream
With your ice cream base perfectly chilled, it’s time to bring it to life in your ice cream maker. Set up your ice cream maker according to the manufacturer’s instructions. This typically involves ensuring the freezer bowl is fully frozen (usually at least 24 hours in advance) and assembling the machine. Once ready, pour the chilled ice cream base into the churning bowl of your machine. Let the machine run for the time specified in its manual, usually around 20-30 minutes. During this time, the mixture will gradually thicken and freeze, transforming into a soft-serve consistency. You’ll notice it becoming much firmer and developing that familiar ice cream texture. It’s important not to over-churn, as this can lead to a tougher texture. The goal is to get it to the consistency of soft-serve ice cream.
Adding the Chocolate Chips and Freezing
As the churning process nears its end, it’s time to add the delightful bursts of chocolate that make our Mint Chocolate Chip Ice Cream so irresistible. In the last 5 minutes of churning, gently add the mini chocolate chips. They will distribute themselves throughout the ice cream as the churning continues. Using mini chips is ideal as they are easier to incorporate and provide a pleasant distribution of chocolatey goodness in every spoonful. Once the churning is complete and the chocolate chips are mixed in, the ice cream will have the consistency of soft-serve. Transfer the soft ice cream immediately to an airtight container. For the best texture, press a piece of parchment paper or plastic wrap directly onto the surface of the ice cream before sealing the container. This helps to prevent ice crystals from forming on the surface during the freezing process. Place the container in your freezer and allow it to freeze for at least 4-6 hours, or until firm enough to scoop. Once fully frozen, your homemade Mint Chocolate Chip Ice Cream is ready to be enjoyed!
Conclusion:
We hope you’ve enjoyed learning how to make your very own batch of delicious Mint Chocolate Chip Ice Cream! This recipe is a fantastic way to elevate your dessert game, offering a refreshing and delightful treat that’s perfect for any occasion. The creamy base, infused with cooling mint and studded with rich chocolate chips, is sure to become a favorite in your household. Don’t be afraid to experiment with the serving suggestions – this ice cream is incredibly versatile!
For serving, consider pairing your Mint Chocolate Chip Ice Cream with warm brownies, a slice of chocolate cake, or even as a topping for fresh fruit. You can also enjoy it simply on its own, allowing the flavors to truly shine. When it comes to variations, feel free to adjust the intensity of the mint by adding more or less extract. You could also swap out the semi-sweet chocolate chips for dark chocolate chunks or even mini chocolate M&Ms for a fun twist. Remember, the most important ingredient is your enthusiasm. Happy churning!
Frequently Asked Questions about Mint Chocolate Chip Ice Cream:
Q1: Can I make this Mint Chocolate Chip Ice Cream without an ice cream maker?
Yes, you can! While an ice cream maker yields the smoothest texture, you can achieve a delicious result by using the “no-churn” method. Pour your prepared ice cream base into a freezer-safe container. Every 30-45 minutes for the first 3-4 hours, remove the container from the freezer and vigorously whisk the mixture to break up ice crystals. This will create a surprisingly creamy ice cream.
Q2: My Mint Chocolate Chip Ice Cream isn’t very minty. How can I make it stronger?
If you prefer a more pronounced mint flavor in your Mint Chocolate Chip Ice Cream, you can gradually increase the amount of peppermint extract. Start by adding an extra 1/4 teaspoon at a time, tasting as you go, until you reach your desired level of mintiness. Be cautious not to overdo it, as too much extract can result in an overpowering, artificial taste.
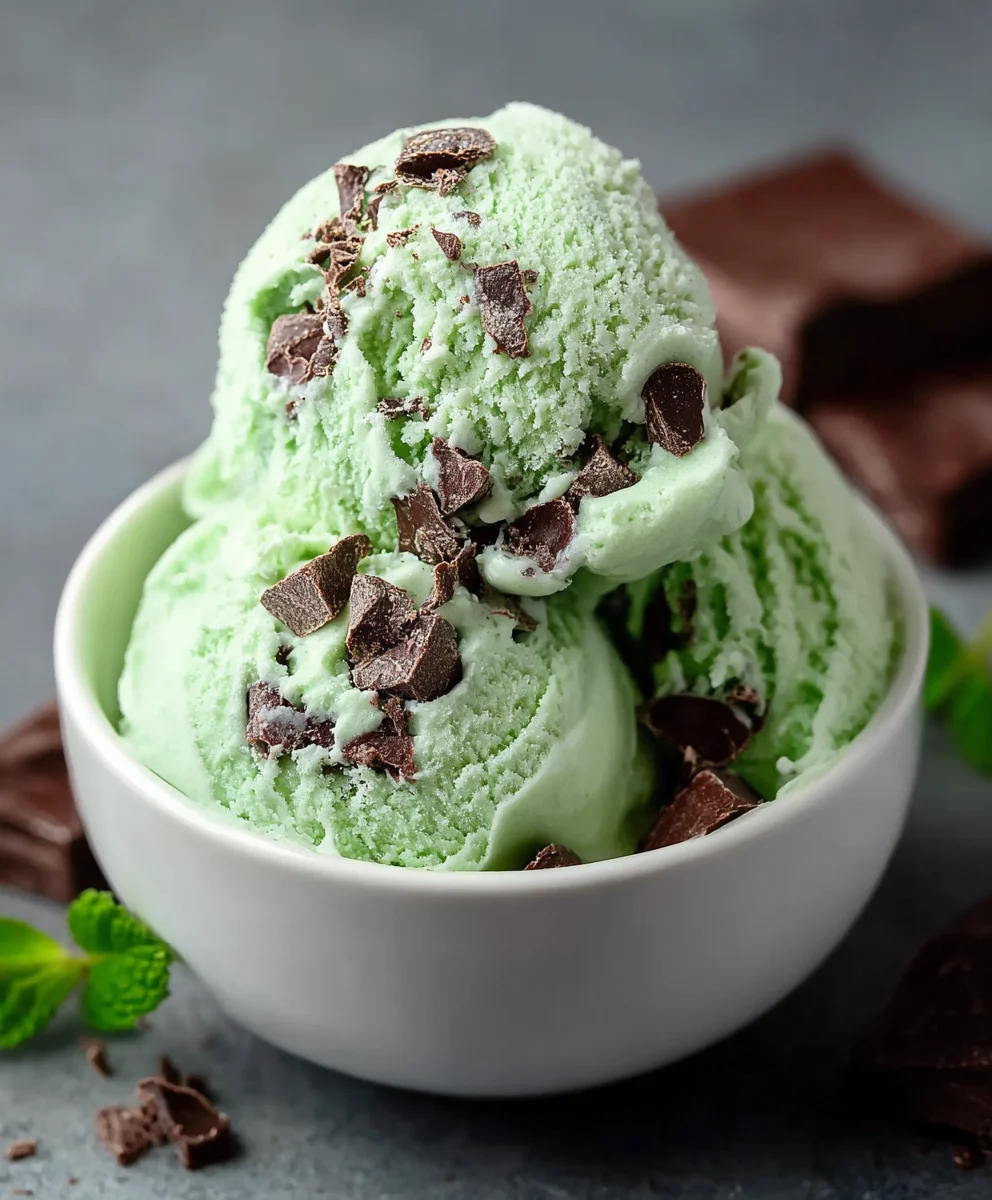
Homemade Mint Chocolate Chip Ice Cream Recipe
A rich and creamy homemade mint chocolate chip ice cream recipe with a delightful balance of mint and chocolate.
Ingredients
-
1 tablespoon cream cheese, softened
-
1/3 cup granulated sugar
-
1 teaspoon vanilla extract
-
3/4 cup heavy cream
-
1 cup whole milk
-
1 teaspoon mint extract
-
1/4 cup mini chocolate chips
-
Green food coloring (optional)
Instructions
-
Step 1
In a medium bowl, combine softened cream cheese and granulated sugar. Beat until smooth and creamy, then whisk in vanilla extract. -
Step 2
In a larger bowl, combine heavy cream and whole milk. Gradually add the cream cheese and sugar mixture, whisking until thoroughly combined. Add green food coloring if desired, starting with a drop or two. -
Step 3
Stir in the mint extract. Taste and adjust slightly if needed. Cover the bowl tightly with plastic wrap, pressing it onto the surface, and refrigerate for at least 2-4 hours, or preferably overnight. -
Step 4
Set up your ice cream maker according to manufacturer’s instructions. Pour the chilled ice cream base into the churning bowl and churn for 20-30 minutes, or until it reaches a soft-serve consistency. -
Step 5
In the last 5 minutes of churning, add the mini chocolate chips. Once churning is complete, transfer the ice cream to an airtight container. Press parchment paper or plastic wrap directly onto the surface before sealing. -
Step 6
Freeze for at least 4-6 hours, or until firm enough to scoop.
Important Information
Nutrition Facts (Per Serving)
It is important to consider this information as approximate and not to use it as definitive health advice.
Allergy Information
Please check ingredients for potential allergens and consult a health professional if in doubt.


Leave a Comment