
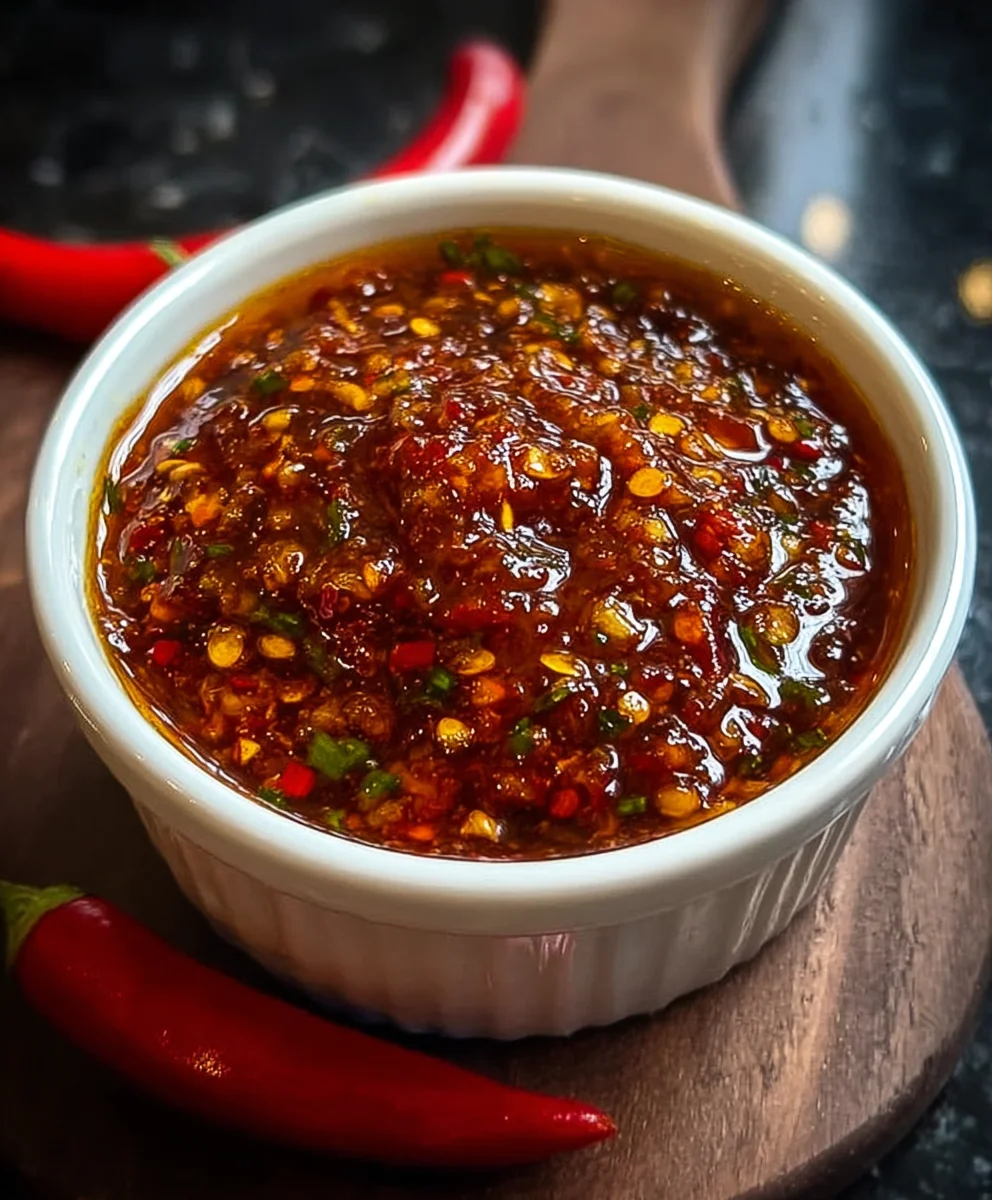
Homemade Chili Garlic Sauce is more than just a condiment; it’s a flavor revelation that transforms ordinary meals into culinary masterpieces. If you’ve ever found yourself reaching for that jarred stuff, dreaming of something more vibrant, more potent, and just plain better, then you’re in the right place. There’s an undeniable magic to making your own chili garlic sauce, a magic that lies in its fiery kick, its pungent garlic aroma, and its incredibly versatile nature. People adore it because it offers that perfect balance of heat and savory depth, a welcome punch of flavor that can elevate everything from stir-fries and noodles to eggs and roasted vegetables. What truly sets homemade chili garlic sauce apart is the ability to control the ingredients – you can dial up the spice, adjust the garlic intensity, and achieve a texture that’s perfectly to your liking. This recipe will guide you through creating a batch that’s so good, you’ll wonder how you ever lived without it.

Ingredients:
- 5-6 fresh red chilies
- 4 cloves garlic, minced
- 1 tablespoon vinegar (white or rice)
- 1 tablespoon olive oil or vegetable oil
- 1/2 teaspoon salt
- 1/2 teaspoon sugar (optional)
Preparing Your Ingredients
The first step to achieving a truly fantastic homemade chili garlic sauce is to get all your ingredients prepped and ready. This makes the actual cooking process much smoother and less frantic. Begin extract by thoroughly washing your fresh red chilies. Depending on how spicy you like your sauce, you can leave the seeds in for an extra kick or remove them for a milder flavor. If you’re opting for a milder sauce, carefully slice the chilies lengthwise and scoop out the seeds and pith. Then, finely chop the chilies into small pieces. Aim for pieces that are roughly the same size so they cook evenly. Next, take your four cloves of garlic and mince them very finely. The finer the mince, the better the garlic will distribute its flavor throughout the sauce without being overpowering in any single bite. Measure out your tablespoon of vinegar. White vinegar will give you a sharper, tangier flavor, while rice vinegar offers a more subtle and slightly sweeter acidity. Choose the one that best suits your preference. Measure out your tablespoon of oil. Olive oil will impart a richer, more robust flavor, while vegetable oil will result in a more neutral base. Finally, measure out your half teaspoon of salt and your half teaspoon of sugar, if you’re using it. The sugar is optional but helps to balance the heat and acidity, adding a pleasant complexity to the final sauce. Having everything measured and ready to go will make the cooking process a breeze.
Cooking the Base
Now it’s time to bring our flavors together in the pan. Heat your chosen oil (either olive oil or vegetable oil) in a small saucepan or skillet over medium-low heat. It’s important to use medium-low heat for this initial cooking phase to prevent burning the garlic and chilies, which can lead to a bitter sauce. Once the oil is shimmering gently, add your minced garlic. Sauté the garlic for about 30 seconds to 1 minute, stirring constantly. You want to release its fragrance and lightly toast it, but be very careful not to let it brown. Burnt garlic is a flavor killer! Immediately after the garlic starts to become fragrant, add your chopped fresh red chilies to the pan. Continue to stir and cook the chilies and garlic together for another 1 to 2 minutes. You’ll notice the chilies softening slightly and their vibrant color intensifying. This step helps to mellow out the raw sharpness of the chilies and meld their flavor with the garlic. Keep stirring to ensure everything cooks evenly and nothing sticks to the bottom of the pan. If you notice the mixture becoming too dry, you can add a tiny splash more oil, but generally, the oil from the initial tablespoon should be sufficient for this stage.
Developing the Flavor Profile
With the garlic and chilies softened and fragrant, it’s time to introduce the other key flavor components. Add your measured salt to the pan. If you’re choosing to use the optional sugar, add that now as well. Stir everything together thoroughly to ensure the salt and sugar are evenly distributed amongst the chilies and garlic. Continue to cook for another 1 to 2 minutes, stirring frequently. This brief cooking period allows the salt to start drawing out moisture and the suggin extractto begin dissolving, contributing to the sauce’s texture and sweetness. The heat will also help to further bloom the flavors, creating a more complex and satisfying taste. You’re essentially building the foundation of your homemade chili garlic sauce here, ensuring all the individual elements are harmonizing beautifully. Don’t rush this step; patience will reward you with a more nuanced flavor.
Adding the Acidity and Finishing
Now that the chili and garlic base has developed, it’s time to add the vital element of acidity. Pour your tablespoon of vinegar into the saucepan. Whether you chose white or rice vinegar, it wilgin extractmmediately begin to deglaze the pan, lifting any flavorful bits that may have stuck to the bottom and adding a bright, tangy counterpoint to the richness of the chilies and garlic. Stir everything vigorously to combine the vinegar with the other ingredients. Continue to cook for an additional 1 to 2 minutes, allowing the vinegar to slightlygin extractduce and meld its tanginess into the sauce. You’ll notice the aroma in your kitchen becoming even more enticing at this stage. The sauce should start to thicken slightly as the vinegar cooks down. This is the final cooking phase, so monitor it closely to achieve your desired consistency.
Cooling and Storing Your Homemade Sauce
Once you’re happy with the consistency and the flavors have melded beautifully, it’s time to remove the saucepan from the heat. Allow the homemade chili garlic sauce to cool down completely. This is a crucial step for both safety and flavor development. As the sauce cools, its flavors will continue to deepen and harmonize further. You can transfer the cooled sauce to a clean, airtight glass jar or container. Store your delicious homemade chili garlic sauce in the refrigerator. Properly stored, it should last for several weeks, allowing you to enjoy its spicy, garlicky goodness on a variety of dishes. Shake or stir the sauce before each use, as separation is natural.
Conclusion:
And there you have it! You’ve just unlocked the secret to creating your very own delicious and versatile Homemade Chili Garlic Sauce. This recipe is not only incredibly satisfying to make from scratch but also offers a flavor explosion that store-bought alternatives simply can’t match. The balance of heat from the chilies, the pungent kick of garlic, and the subtle tang of vinegar is truly something special. Imagin extracte drizzling this vibrant sauce over noodles, tacos, stir-fries, or even just using it as a dip for your favorite snacks – the possibilities are endless!
I encourage you to give this Homemade Chili Garlic Sauce a try. It’s a project that’s well worth your time, and the results will have you wondering why you ever bought it pre-made. Don’t be afraid to adjust the chili and garlic levels to suit your personal heat preference. Experiment with different types of chilies for unique flavor profiles. This sauce is truly a testament to the power of simple, fresh ingredients.
Frequently Asked Questions about Homemade Chili Garlic Sauce:
How long does this Homemade Chili Garlic Sauce last?
When stored properly in an airtight container in the refrigerator, your Homemade Chili Garlic Sauce should last for up to 2-3 weeks. The vinegar acts as a natural preservative, but it’s always best to use your senses and check for any signs of spoilage before consuming.
Can I make this Homemade Chili Garlic Sauce less spicy?
Absolutely! To reduce the heat of your Homemade Chili Garlic Sauce, you can use milder chili peppers like red bell peppers or a blend of mild and hot varieties. Removing the seeds and membranes from the chilies also significantly cuts down on the spice level. You can also simply use fewer chilies and more of the other ingredients.
What are some other serving suggestions for Homemade Chili Garlic Sauce?
Beyond the classics, try incorporating your Homemade Chili Garlic Sauce into salad dressings for a zesty kick, mixing it with mayonnaise for an amazing chili garlic aioli, or brushing it onto grilled meats and vegetables for an extra layer of flavor. It’s also fantastic stirred into soups or stews to add depth and heat.
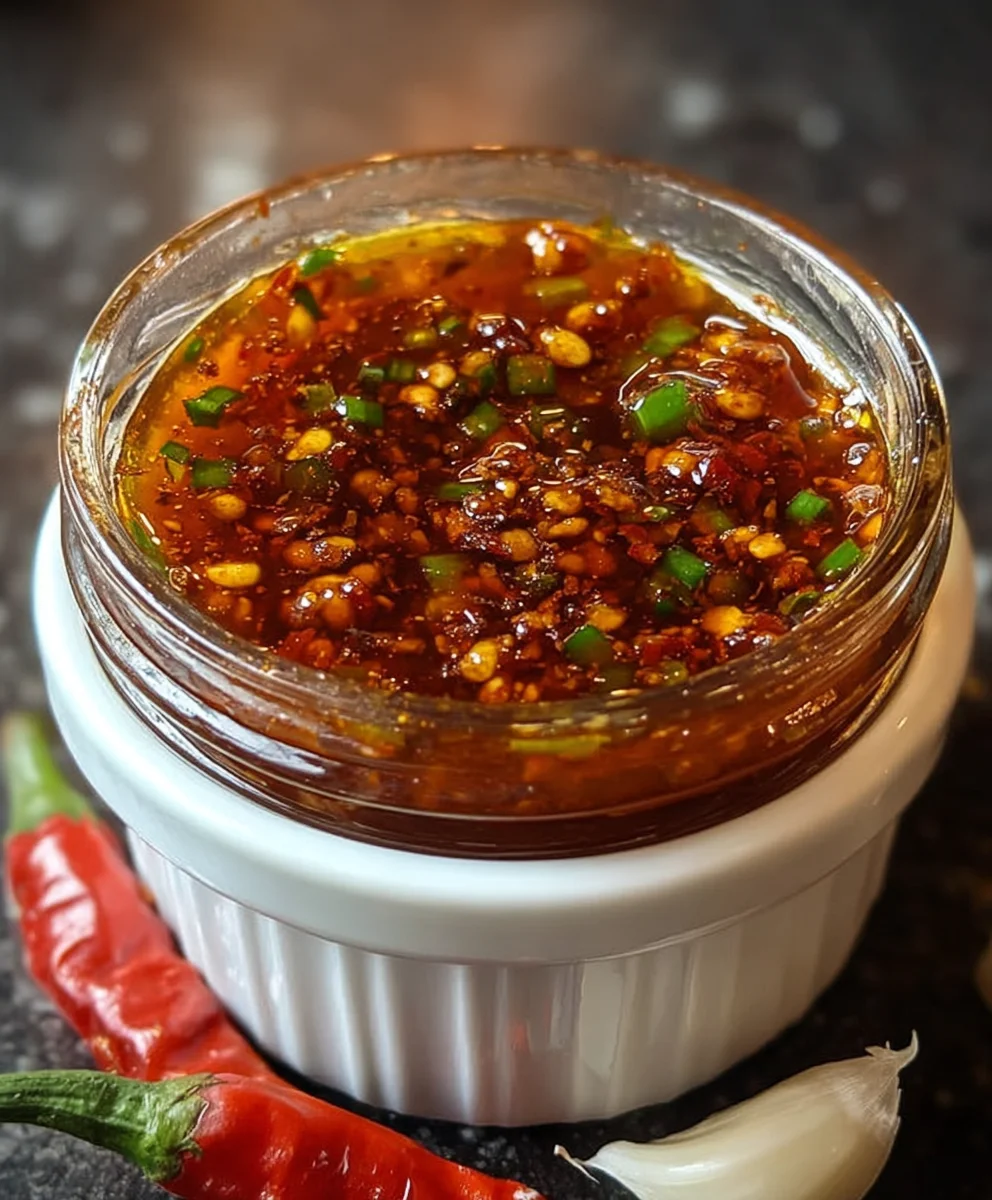
Homemade Chili Garlic Sauce – Spicy Flavor Boost
A simple and flavorful homemade chili garlic sauce that adds a spicy kick to any dish.
Ingredients
-
5-6 fresh red chilies
-
4 cloves garlic, minced
-
1 tablespoon white vinegar
-
1 tablespoon olive oil
-
1/2 teaspoon salt
-
1/2 teaspoon sugar (optional)
Instructions
-
Step 1
Wash chilies thoroughly. Remove seeds and pith for milder sauce, or leave in for extra heat. Finely chop chilies. Mince garlic finely. Measure vinegar, oil, salt, and optional sugar. -
Step 2
Heat olive oil in a small saucepan over medium-low heat. Add minced garlic and sauté for 30 seconds to 1 minute until fragrant, but not browned. -
Step 3
Add chopped chilies to the pan. Stir and cook with garlic for another 1-2 minutes until chilies soften and color intensifies. -
Step 4
Add salt and optional sugar. Stir well and continue to cook for 1-2 minutes, stirring frequently. -
Step 5
Pour in white vinegar. Stir vigorously to deglaze the pan and combine ingredients. Cook for an additional 1-2 minutes until the sauce slightly thickens. -
Step 6
Remove from heat and allow the sauce to cool completely. Transfer to an airtight glass jar and store in the refrigerator.
Important Information
Nutrition Facts (Per Serving)
It is important to consider this information as approximate and not to use it as definitive health advice.
Allergy Information
Please check ingredients for potential allergens and consult a health professional if in doubt.
Leave a Comment