

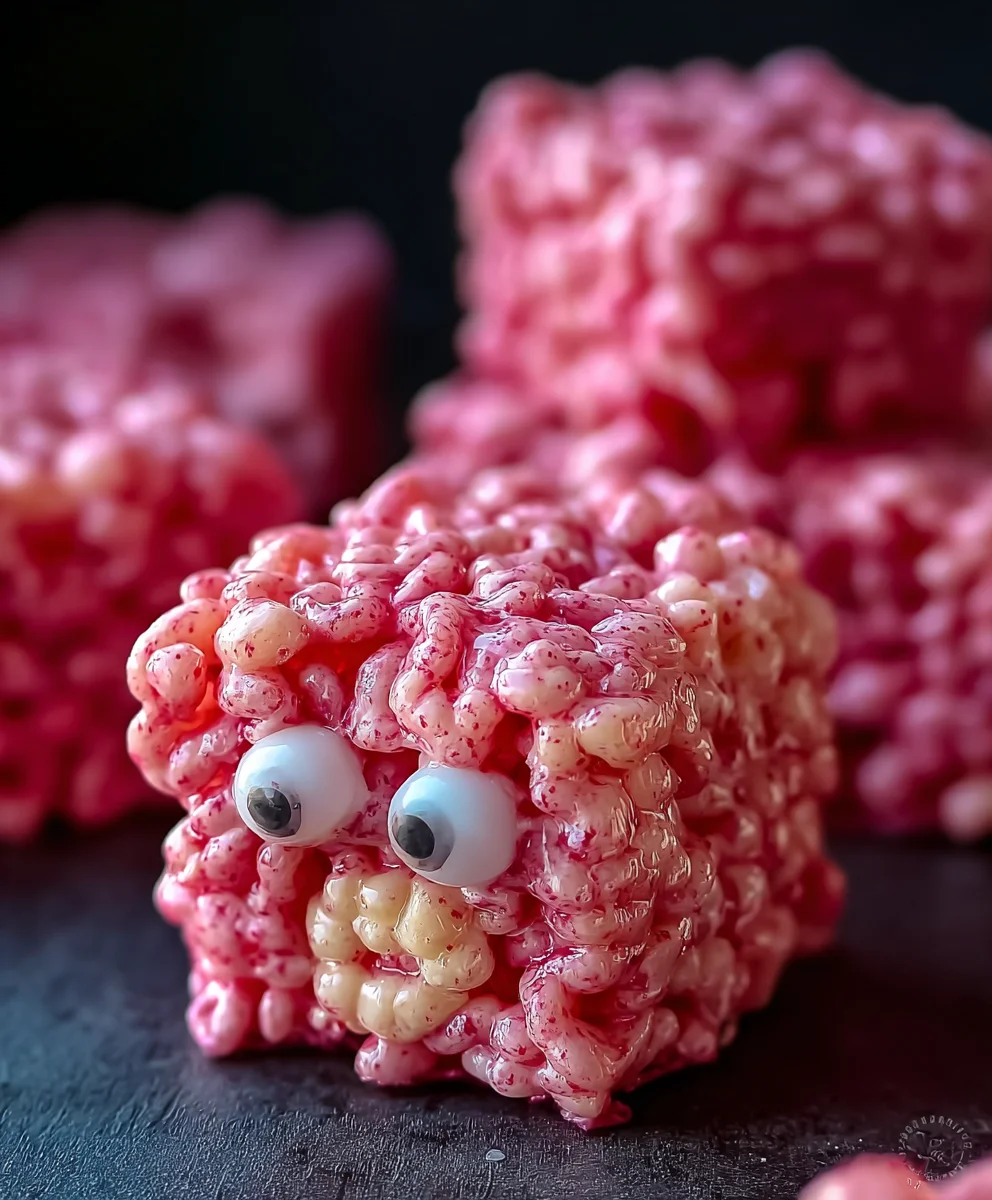
Franken Berry Krispies are more than just a childhood treat; they’re a nostalgic portal to Saturday morning cartoons and carefree days. This vibrant, spooky twist on the classic Rice Krispie treat captures the imagin extractation with its eerie green hue and the unmistakable sweet, slightly tart flavor of Franken Berry cereal. If you’ve ever found yourself craving that perfect balance of chewy marshmallow, crunchy cereal, and a hint of fruity magic, then you’re in for a delightful journey. What makes these particularly special isn’t just their eye-catching appearance, but the sheer joy they evoke. They’re incredibly simple to make, making them a fantastic activity for families or a quick, satisfying indulgence for yourself. The familiar crunch gives way to a gooey, marshmallowy center, all infused with the signature flavor that has delighted generations. Get ready to unleash your inner mad scientist and whip up a batch that’s guaranteed to disappear faster than a ghost in the night!

Ingredients:
- 4 ½ tablespoons unsalted butter
- 1 pound mini marshmallows
- 10.4 ounces Franken Berry cereal
Preparing Your Franken Berry Krispies
This recipe is all about capturing that nostalgic, spooky, and undeniably delicious Franken Berry flavor in a fun, bite-sized treat. We’re going to transform your favorite childhood cereal into a delightful snack that’s perfect for parties, movie nights, or just indulgin extractg your sweet tooth. The process is wonderfully straightforward, focusing on creating the perfect gooey marshmallow binder to hold those iconic pink clusters together. Let’s get started!
Melting the Marshmallow Base
The first crucial step is to create the sticky, sweet foundation for our Franken Berry Krispies. You’ll need a large pot for this, ideally one that can comfortably hold all your ingredients once the cereal is added. Place your pot over medium-low heat. This low and slow approach is key to preventing the marshmallows from scorching or burning, which can impart an unpleasant flavor. Add the 4 ½ tablespoons of unsalted butter to the pot. Let the butter melt completely, swirling the pot occasionally to ensure it coats the bottom evenly. Once the butter has melted, add the entire 1 pound bag of mini marshmallows.
Now comes the patient part: stirring. Using a heat-resistant spatula or wooden sgin extractn, begin to stir the marshmallows constantly. As they heat up, they will start to soften and eventually melt into a smooth, glossy mass. It’s important to keep stirring throughout this process to ensure even melting and prevent any sticking to the bottom of the pot. The goal is a completely smooth, lump-free mixture. This might take about 5 to 8 minutes. Resist the urge to turn up the heat; patience here will reward you with a superior texture. You’ll know they’re ready when the marshmallows have completely lost their shape and formed a viscous, stretchy liquid.
Incorporating the Franken Berry Cereal
Once your marshmallow mixture is perfectly melted and smooth, it’s time to introduce the star of the show: the Franken Berry cereal. Before you do this, it’s helpful to have your cereal measured out and ready to go. Gently pour the entire 10.4 ounces of Franken Berry cereal into the pot with the melted marshmallows.
Now, you need to work quickly but carefully. Using gin extractr spatula, begin to fold the cereal into the marshmallow mixture. The key here is to coat every single piece of cereal with the sticky marshmallow. Gently press and stir, ensuring that no dry cereal clusters remain. You want to ensure that the bright pink Franken Berry pieces are evenly distributed throughout the mixture. It miggin extractfeel a little challenging at first, as the mixture will be very sticky and thick, but keep folding and pressing until all the cereal is coated. Take your time to ensure thoroughness; this is what will hold your treats together and give them that signature Franken Berry crunch and flavor in every bite.
Shaping Your Treats
With the cereal fully incorporated into the marshmallow binder, it’s time to shape our Franken Berry Krispies. You have a couple of options here, depending on the presentation you desire. For classic, individual treats, you’ll want to lightly grease your hands with butter or cooking spray. This will prevgin extract the sticky mixture from clinging to your skin. Then, scoop out portions of the mixture and gently shape them into balls or squargin extract Work quickly, as the mixture will begin to set as it cools.
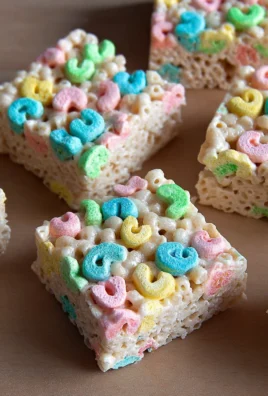
Alternatively, you can press the entire mixture into a greased baking pan. A 9×13 inch pan is a good size for this recipe. Use your greased spatula or hands to press the mixture down evenly into the pan. Make sure to press firmly to create a compact, cohesive layer. This will allow you to cut your Franken Berry Krispies into uniform bars or squares once they’ve cooled. Whichever method you choose, the goal is to create dense, well-formed treats that won’t crum extractble apart.
Cooling and Setting
After shaping your Franken Berry Krispies, they need time to cool and set properly. If you pressed the mixture into a pan, allow it to sit at room temperature for at least 30 minutes to an hour. You can speed up this process slightly by placing the pan in the refrigerator for about 20-30 minutes, but be mindful that refrigerating them for too long can sometimes make them too hard.
Once the mixture has firmed up considerably, if you used a pan, use a sharp knife (lightly greased if needed) to cut the treats into your desired shapes. If you formed individual treats, ensure they have cooled enough to hold their shape without being too soft. The perfect texture is slightly chewy on the inside with a satisfying crisp from the cereal. They should be firm enough to pick up and eat easily. Allow them to cool completely before attempting to remove them from the pan or stack them.
Enjoying Your Homemade Franken Berry Krispies
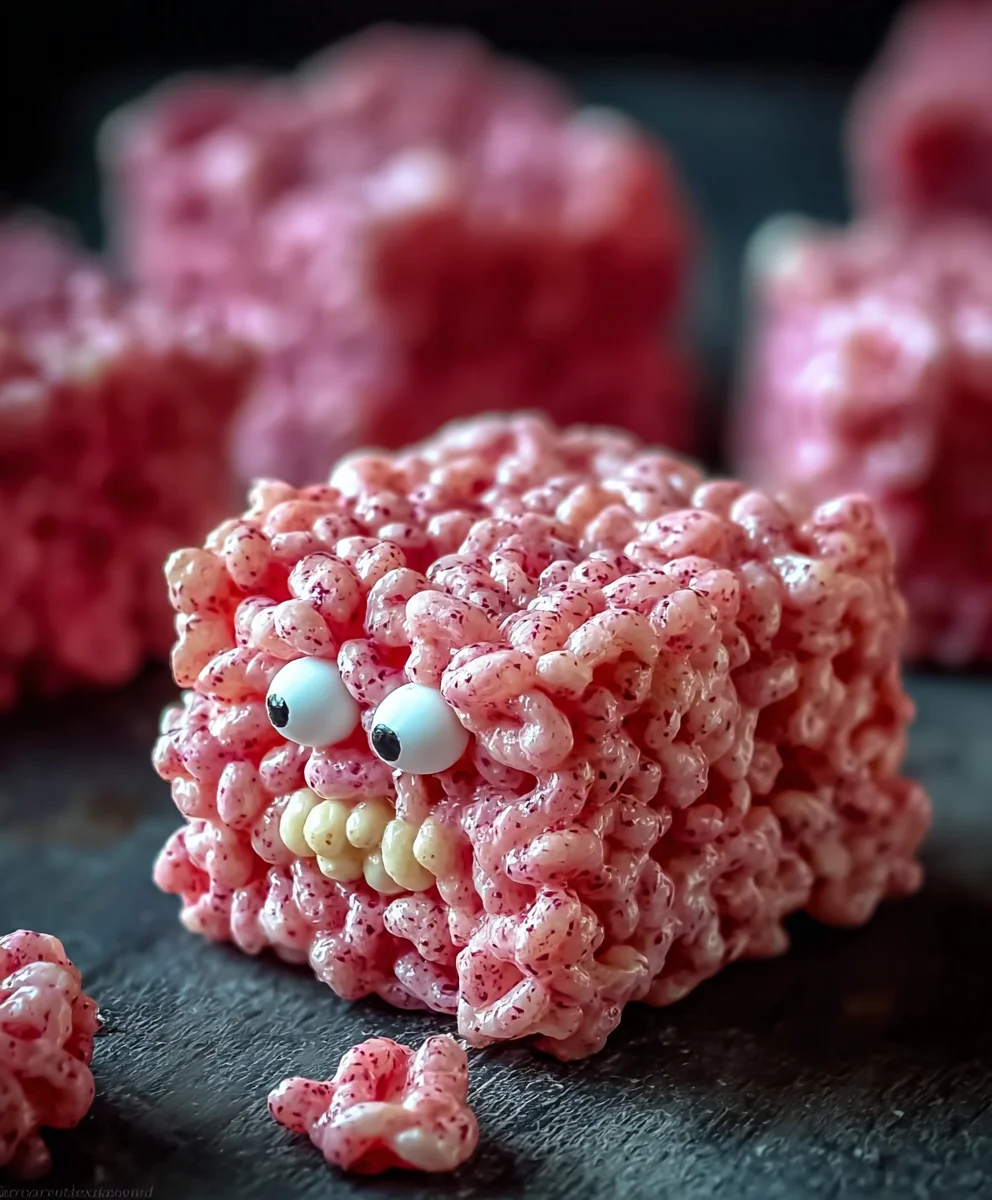
Your homemade Franken Berry Krispies are now ready to be enjoyed! The vibrant pink color and the unmistakable fruity flavor of the Franken Berry cereal combined with the sweet, chewy marshmallow create a delightful treat that’s sure to bring back fond memories. These are best enjoyed fresh, typically within a few days of making them. Store any leftovers in an airtight container at room temperature to maintain their best texture. Avoid refrigerating them for extended periods, as this can make them hard and less enjoyable. Enjoy every spooky, sweet bite!
Conclusion:
And there you have it – your very own batch of delightful Franken Berry Krispies! We’ve walked through the simple steps to create these wonderfully spooky and utterly delicious treats, perfect for Halloween parties, classroom celebrations, or just a fun afternoon activity. The magic truly lies in their simplicity, allowing for endless creativity. Whether you’re making them for the first time or have a seasoned pro in the kitchen, I encourage you to get your hands a little sticky and enjoy the process. They’re not just a sweet snack; they’re a memorable experience waiting to happen!
For serving, these Franken Berry Krispies are fantastic on their own, but consider presenting them on a spooky platter alongside other Halloween goodies. They also make for a delightful and easy party favor. Don’t be afraid to get creative with your decorating; think edible googly eyes, drizzles of black icing, or even miniature candy gravestones. The possibilities are as vast as your imagin extractation!
Frequently Asked Questions:
Can I make Franken Berry Krispies ahead of time?
Absolutely! Franken Berry Krispies can be made up to 2 days in advance. Store them in an airtight container at room temperature. For best texture, avoid refrigerating them, as this can make them a bit too hard.
Are there any nut-free variations?
Yes! This recipe is naturally nut-free, as long as you ensure your marshmallows and any optional sprinkles you use are also certified nut-free. Always double-check labels to be sure, especially if dealing with allergies.
How can I make them extra spooky?
To amplify the spooky factor, after molding, you can use black edible marker pens to draw Frankenstein stitches or stitches around the edges. Adding edible candy eyeballs is also a quick and easy way to give them a frightful look!
Franken Berry Krispies-Spooky Halloween Treat Recipe
A nostalgic and spooky Halloween treat made with Franken Berry cereal and gooey marshmallows.
Ingredients
-
4.5 tablespoons unsalted butter
-
1 pound mini marshmallows
-
10.4 ounces Franken Berry cereal
-
Cooking spray, for hands (optional)
-
Butter, for greasing pan or hands (optional)
-
9×13 inch baking pan (optional)
Instructions
-
Step 1
Melt butter in a large pot over medium-low heat. Once melted, add the mini marshmallows and stir constantly until completely smooth and lump-free. This may take 5-8 minutes. Do not turn up the heat. -
Step 2
Once the marshmallow mixture is smooth, gently pour in the Franken Berry cereal. Working quickly, fold the cereal into the marshmallow mixture with a spatula, ensuring every piece is coated. -
Step 3
To shape individual treats, lightly grease your hands with butter or cooking spray. Scoop portions of the mixture and gently shape them into balls or squares. Work quickly as the mixture sets as it cools. -
Step 4
Alternatively, press the entire mixture evenly into a greased 9×13 inch baking pan using a greased spatula or hands. Press firmly to create a compact layer. -
Step 5
Allow the treats to cool and set at room temperature for at least 30 minutes to an hour. You can refrigerate the pan for 20-30 minutes to speed up setting. -
Step 6
If using a pan, cut into uniform bars or squares once firmed up. Ensure individual treats have cooled enough to hold their shape. Allow to cool completely before serving or stacking.
Important Information
Nutrition Facts (Per Serving)
It is important to consider this information as approximate and not to use it as definitive health advice.
Allergy Information
Please check ingredients for potential allergens and consult a health professional if in doubt.
Leave a Comment