

Whole Wheat Bread, with its hearty texture and earthy aroma, is more than just a staple; it’s a cornerstone of delicious and wholesome eating. There’s an undeniable comfort in slicing into a freshly baked loaf of homemade whole wheat bread, the kind that fills your kitchen with an irresistible scent and promises a satisfying bite. People love it for its versatility, whether it’s toasted and slathered with butter, transformed into a hearty sandwich base, or simply enjoyed on its own. What truly makes this whole wheat bread special is the incredible depth of flavor that comes from using simple, natural ingredients, combined with the magic of yeast. It’s a recipe that feels both nourishing and incredibly rewarding, a testament to the power of good, honest baking that will have you ditching the store-bought loaves forever. Get ready to bake your best loaf yet!

Ingredients:
- 1 cup water (lukewarm, around 105-115°F or 40-46°C)
- ¼ cup milk (whole or 2%, warmed slightly)
- 3 tablespoons honey
- 2 ¼ teaspoons active dry yeast (or instant yeast, equivnon-alcoholic alent to 1 standard packet)
- 3 cups (approximately 339 grams) whole wheat flour, plus more for dusting
- 1 ½ teaspoons salt
- 3 tablespoons unsalted butter, cut into 6 small pieces and softened to room temperature
Preparing the Dough
Step 1: Activating the Yeast and Building the Base
First, we need to get our yeast ready to do its magic. In a large mixing bowl, or the bowl of your stand mixer if you’re using one, combine the lukewarm water, slightly warmed milk, and honey. Give it a gentle stir to dissolve the honey. Now, sprinkle the active dry yeast evenly over the surface of this liquid. Don’t stir it in vigorously just yet. Let it sit undisturbed for about 5 to 10 minutes. You should start to see a foamy, bubbly layer forming on top. This is called the “bloom,” and it signifies that your yeast is alive and active. If you don’t see this foamy layer, your yeast might be old or the liquid was too hot or too cold, and you’ll need to start this step over with fresh yeast. If you’re using instant yeast, you can typically skip the blooming step and add it directly to the dry ingredients, but blooming is a good assurance for active dry yeast.
Step 2: Incorporating the Dry Ingredients and Initial Mixing
Once your yeast has bloomed beautifully, it’s time to add the dry ingredients. Add the 3 cups of whole wheat flour and the 1 ½ teaspoons of salt directly into the bowl with the bloomed yeast mixture. If you’re using a stand mixer, attach the dough hook. If you’re mixing by hand, you can use a sturdy spoon or spatula to start combining everything. Mix on low speed or stir until the ingredients just start to come together into a shaggy, rough dough. Don’t overmix at this stage; we just want everything incorporated. It will look a bit messy and perhaps a little dry, which is perfectly normal for whole wheat dough.
Step 3: Kneading the Dough
Now comes the kneading, which is crucial for developing the gluten structure that gives our whole wheat bread its lovely texture. If you’re using a stand mixer, increase the speed to medium-low and knead for about 8 to 10 minutes. The dough should start to pull away from the sides of the bowl and become smoother and more elastic. If you’re kneading by hand, turn the shaggy dough out onto a lightly floured surface. You’ll want to use a little bit of your extra whole wheat flour to prevent sticking, but try not to add too much, as it can make the bread dry. Knead by pushing the dough away from you with the heel of your hand, then folding it over, and repeating. This process will take about 10 to 15 minutes by hand. The dough is ready when it’s smooth, elastic, and springs back slowly when gently poked. It should feel soft and pliable, but not sticky.
Step 4: Incorporating the Butter and Final Knead
With the dough mostly kneaded, it’s time to add our softened butter. If you’re using a stand mixer, add the 6 pieces of softened butter one by one while the mixer is running on low speed, allowing each piece to be incorporated before adding the next. Once all the butter is added, continue to knead for another 5 to 7 minutes on medium-low speed. The dough will seem a bit wet and sticky at first, but as the butter is fully incorporated, it will transform into a wonderfully smooth and supple dough. If you are kneading by hand, add the softened butter pieces gradually to your already mostly kneaded dough, working them in until fully incorporated. This might require a bit more patience, but the result is worth it. Continue kneading until the dough is very smooth, elastic, and passes the windowpane test (you can gently stretch a small piece of dough thin enough to see light through it without tearing).
Step 5: First Rise (Bulk Fermentation)
Lightly grease a clean large bowl with a little oil or cooking spray. Shape the kneaded dough into a smooth ball and place it in the prepared bowl, turning it once to coat the entire surface with oil. Cover the bowl tightly with plastic wrap or a damp kitchen towel. Find a warm, draft-free spot in your kitchen for the dough to rise. This is often the top of a refrigerator, a slightly warm oven (turned off), or simply a warm corner. Let the dough rise for 1 to 1.5 hours, or until it has doubled in size. The time will vary depending on the warmth of your environment. Once doubled, gently punch down the dough to release the air.
Shaping and Baking the Loaf
Step 6: Shaping the Loaf and Second Rise
Turn the punched-down dough out onto a lightly floured surface. Gently pat or roll the dough into a rough rectangle, about 8×10 inches. Starting from one of the shorter ends, tightly roll up the dough into a log shape, pressing gently to seal the seam as you go. Pinch the ends to tuck them underneath and create a neat loaf shape. Lightly grease a standard 9×5 inch loaf pan. Place the shaped dough seam-side down into the prepared loaf pan. Cover the pan loosely with plastic wrap or a clean kitchen towel. Let the loaf rise again in a warm place for about 45 to 60 minutes, or until it has risen about 1 inch above the rim of the pan.
Step 7: Baking the Whole Wheat Bread
Preheat your oven to 375°F (190°C) during the last 15-20 minutes of the second rise. Once the oven is preheated and the dough has finished its second rise, carefully place the loaf pan in the center of the preheated oven. Bake for 30 to 40 minutes. The bread is done when it’s a deep golden brown on top and sounds hollow when you tap the bottom of the loaf. If the top starts to brown too quickly, you can loosely tent it with aluminum foil for the remainder of the baking time.
Step 8: Cooling and Enjoying Your Whole Wheat Bread
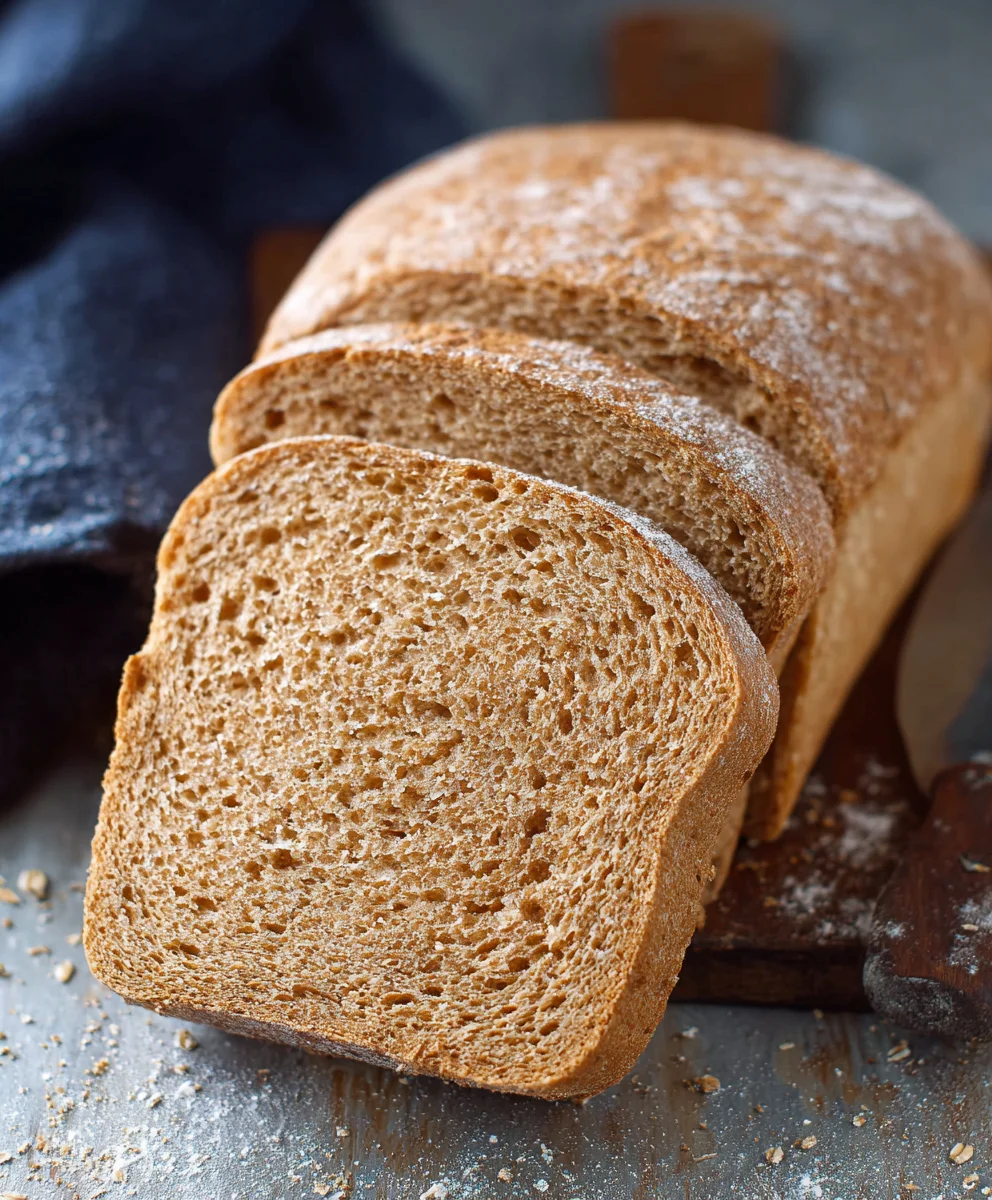
Once baked, immediately remove the bread from the loaf pan and place it on a wire cooling rack. This is important to prevent the bottom crust from becoming soggy. Allow the bread to cool completely before slicing. This allows the interior to set properly, ensuring the best texture. Slicing too early can result in a gummy crum extractb. Enjoy your delicious homemade whole wheat bread, perfect for toasting, sandwiches, or simply with a smear of butter!
Conclusion:
And there you have it – a simple yet incredibly rewarding recipe for delicious and wholesome Whole Wheat Bread! We’ve covered the essential steps to create a perfectly textured loaf with that satisfying nutty flavor only whole wheat can deliver. This homemade Whole Wheat Bread is not only a healthier alternative to store-bought options but also brings a wonderful sense of accomplishment to your kitchen. Feel free to experiment and make it your own!
For serving, this versatile Whole Wheat Bread is fantastic toasted with a smear of butter or your favorite jam. It makes a sturdy base for sandwiches, and we love it served alongside hearty soups and stews. Don’t be afraid to get creative with variations! Consider adding a handful of seeds like sunflower or flaxseeds to the dough for extra crunch and nutrients, or perhaps a sprinkle of dried herbs like rosemary for a savory twist.
We truly hope you enjoy baking and savoring this Whole Wheat Bread. It’s a staple that can bring warmth and comfort to any meal. Happy baking!
Frequently Asked Questions about Whole Wheat Bread:
Q: My whole wheat bread turned out a little dense. What could I have done differently?
A: Whole wheat flour absorbs more liquid than white flour, so ensuring you use the correct amount of water is crucial. Additionally, be careful not to over-knead the dough, as this can also lead to a denser loaf. Resting the dough sufficiently during the rising periods is also important for a lighter texture.
Q: Can I substitute some of the whole wheat flour with all-purpose flour?
A: Absolutely! If you’re new to baking with whole wheat or prefer a slightly lighter crum extractb, you can substitute up to half of the whole wheat flour with all-purpose flour. This can help make the dough easier to handle and result in a less dense loaf while still providing some of the nutritional benefits of whole wheat.
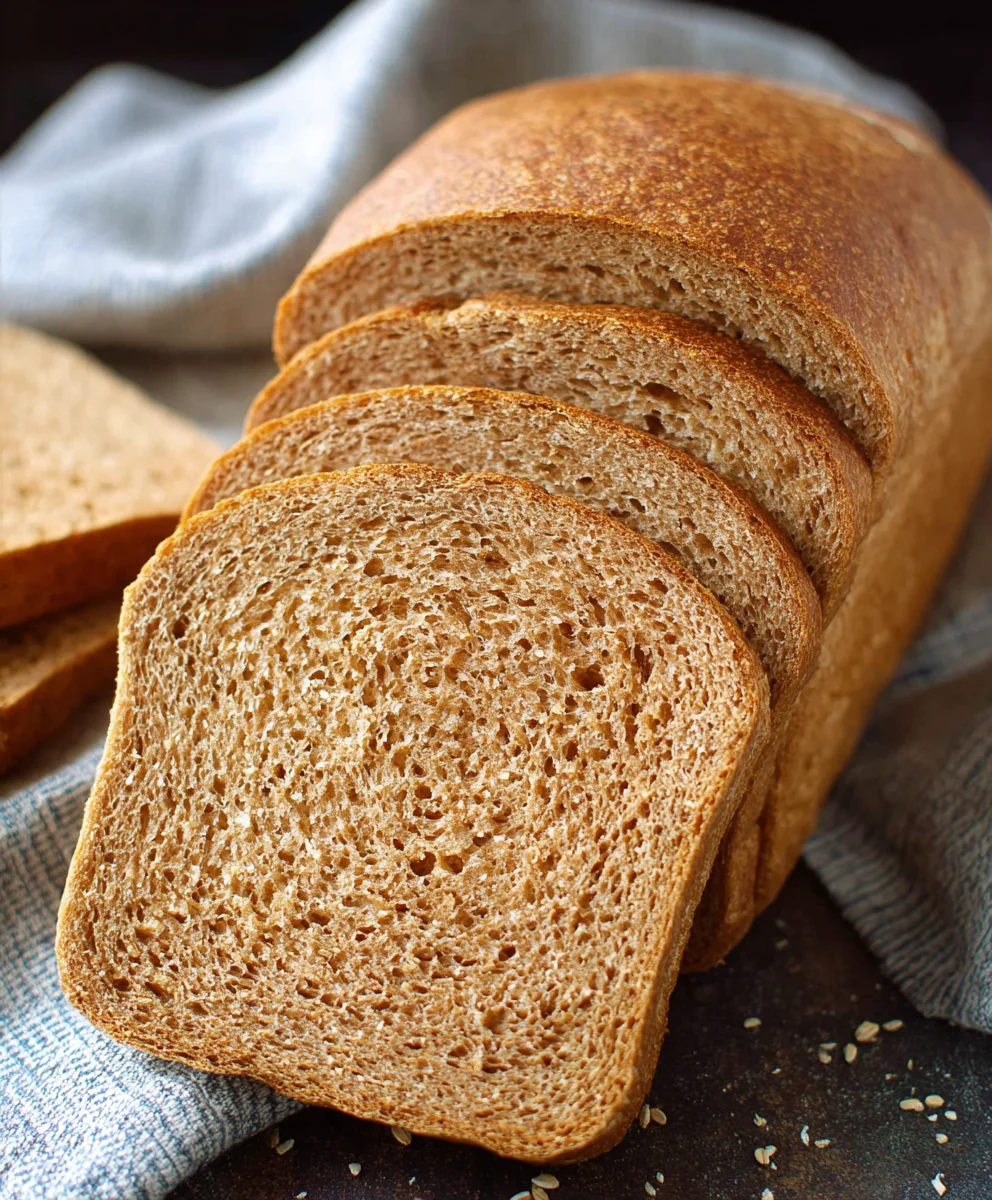
Easy Whole Wheat Bread- Delicious Homemade Loaf
A simple and delicious recipe for homemade whole wheat bread, perfect for everyday enjoyment.
Ingredients
-
1 cup water (lukewarm, around 105-115°F or 40-46°C)
-
1/4 cup milk (whole or 2%, warmed slightly)
-
3 tablespoons honey
-
2 1/4 teaspoons active dry yeast
-
3 cups whole wheat flour, plus more for dusting
-
1 1/2 teaspoons salt
-
3 tablespoons unsalted butter, cut into 6 small pieces and softened
Instructions
-
Step 1
Activate the yeast: In a large bowl, combine lukewarm water, warmed milk, and honey. Sprinkle yeast over the top and let sit for 5-10 minutes until foamy. -
Step 2
Mix dry ingredients: Add whole wheat flour and salt to the bloomed yeast mixture. Mix until a shaggy dough forms. -
Step 3
Knead the dough: Knead for 8-10 minutes in a stand mixer or 10-15 minutes by hand until smooth and elastic. -
Step 4
Incorporate butter: Add softened butter one piece at a time while kneading, then continue kneading for another 5-7 minutes until the dough is smooth and supple. -
Step 5
First rise: Place dough in a lightly greased bowl, cover, and let rise in a warm place for 1-1.5 hours until doubled in size. Punch down to release air. -
Step 6
Shape the loaf: Turn dough onto a floured surface, pat into a rectangle, and roll tightly into a log. Place seam-side down in a greased 9×5 inch loaf pan. -
Step 7
Second rise: Cover the loaf pan and let rise in a warm place for 45-60 minutes until it has risen about 1 inch above the pan rim. -
Step 8
Bake the bread: Preheat oven to 375°F (190°C). Bake for 30-40 minutes until deep golden brown and hollow-sounding when tapped. -
Step 9
Cool and enjoy: Immediately remove bread from the pan and cool completely on a wire rack before slicing.
Important Information
Nutrition Facts (Per Serving)
It is important to consider this information as approximate and not to use it as definitive health advice.
Allergy Information
Please check ingredients for potential allergens and consult a health professional if in doubt.

Leave a Comment