

Rustic Bread Recipe is more than just a set of instructions; it’s an invitation to create something truly magical in your own kitchen. Imagin extracte the aroma of freshly baked bread filling your home, a warm, comforting scent that speaks of tradition and nourishment. This is the kind of bread that whispers stories of simpler times, a hearty loaf with a satisfyingly chewy interior and a deeply caramelized, crackly crust that sings as you slice into it. People are drawn to this Rustic Bread Recipe because it embodies a beautiful balance of effort and reward. It’s a project that feels both achievable and deeply rewarding, offering a tangible connection to the food we eat and the satisfaction of mastering a fundamental culinary skill. What makes this particular Rustic Bread Recipe so special is its forgiving nature and its ability to deliver exceptional results, even for those new to bread making, ensuring a truly delightful outcome every time.

Ingredients:
- 3 cups warm water
- 2 ¼ teaspoons (1 packet) active dry yeast
- 1 tablespoon granulated sugar
- 6 cups (approximately 750 grams) all-purpose flour, plus more for dusting
- 3 teaspoons salt
Preparing the Dough
The foundation of any great rustic bread recipe lies in a well-developed dough. We’ll start by awakening the yeast, a crucial step for achieving a light and airy crum extractb. In a large mixing bowl, combine the 3 cups of warm water. The water should be comfortably warm to the touch, around 105-115°F (40-46°C). Too hot and you’ll kill the yeast, too cold and it won’t activate properly. Once your water is ready, sprinkle the 2 ¼ teaspoons of active dry yeast over the surface. Don’t stir it in just yet. Let it sit for about 5-10 minutes. You’ll notice it start to foam and bubble, indicating the yeast is alive and ready to work its magic. This foamy layer, often called a “bloom,” is your visual cue that everything is proceeding as it should.
Next, add the 1 tablespoon of granulated sugar to the bloomed yeast mixture. The sugar acts as food for the yeast, further encouragin extractg its activity. Give it a gentle stir to dissolve the sugar. Now, it’s time to introduce the flour and salt. Gradually add the 6 cups of all-purpose flour to the wet ingredients. It’s best to add the flour in batches, stirring with a wooden spoon or a sturdy spatula as you go. This helps prevent a flour cloud from erupting and makes incorporating the ingredients more manageable. As the gin extractgh begins to come together, it will become quite thick and shaggy. Once you’ve added all the flour, it’s time to start kneading.
Kneading the Dough
Turn the shaggy dough out onto a lightly floured surface. You’ll want to reserve some of that extra flour for dusting your hands and the surface gin extractyou knead. Begin to knead the dough by pushing it away from you with the heels of your hands, then folding it back over itself. Rotate the dough a quarter turn and repeat. This process develops the gluten in the flour, which is responsible for the bread’s structure and chewy texture. Initially, the dough will be sticky and a bit unruly. Don’t be tempted to add too much extra flour; a little bit of stickiness is good. Continue kneading for about 8-10 minutes. You’ll know the dough is ready when it becomes smooth, elastic, and springs back slowly when you gently poke it with your finger. It should feel supple and no longer stick excessively to your hands or the work surface.
First Rise (Proofing)
Once your dough has been kneaded to perfection, it’s time for its first rise, also known as proofing. Lightly grease a clean bowl with a little bit of oil or cooking spray. Place the kneaded dough into the greased bowl, turning it once to coat all sides with the oil. This prevents a dry skin from forming on the dough as it rises. Cover the bowl tightly with plastic wrap or a clean, damp kitchen towel. Find a warm, draft-free place for the dough to rest and rise. A slightly warm oven (turned off, of course!) or a spot near a sunny window are usually good options. Let the dough rise for about 1 to 1.5 hours, or until it has doubled in size. The exact time will depend on the warmth of your environment. You’ll be looking for a puffy, airy mass of dough that looks significantly larger than when you started.
Shaping and Second Rise
After the first rise, gently punch down the dough to release the trapped air. This deflation is important for rum extractood crumb structure. Turn the dough out onto your lightly floured work surface again. At this stage, you can shape your rustic bread. For a classic freeform loaf, simply gently shape the dough into a round or oval boule. Avoid overworking the dough at this point, as you want to preserve some of the air bubbles created during the first rise. If you prefer, you can also shape it into a smaller loaf to fit a baking pan.
Once shaped, place the dough onto a baking sheet lined with parchment paper or into a well-greased baking pan. Cover the shaped dough loosely with plastic wrap or a clean kitchen towel and let it rest for a second, shorter rise, typically 30-45 minutes. This second rise, often called the “final proof,” allows the dough to relax and puff up again, ensuring a lighter finished product. You’ll know it’s ready for baking when it looks noticeably puffier and springs back slowly when gently pressed.
Baking the Rustic Bread
Preheat your oven to 425°F (220°C) during the last 15-20 minutes of the second rise. This ensures the oven is at the correct, high temperature when your bread is ready to go in. For an extra crisp crust, you can create steam in the oven. This is often done by placing a shallow metal pan on the bottom rack of your oven while it preheats. Just before you place the bread in, carefully pour about a cup of hot water into the preheated pan to generate steam. Be cautious of the steam when opening the oven door.
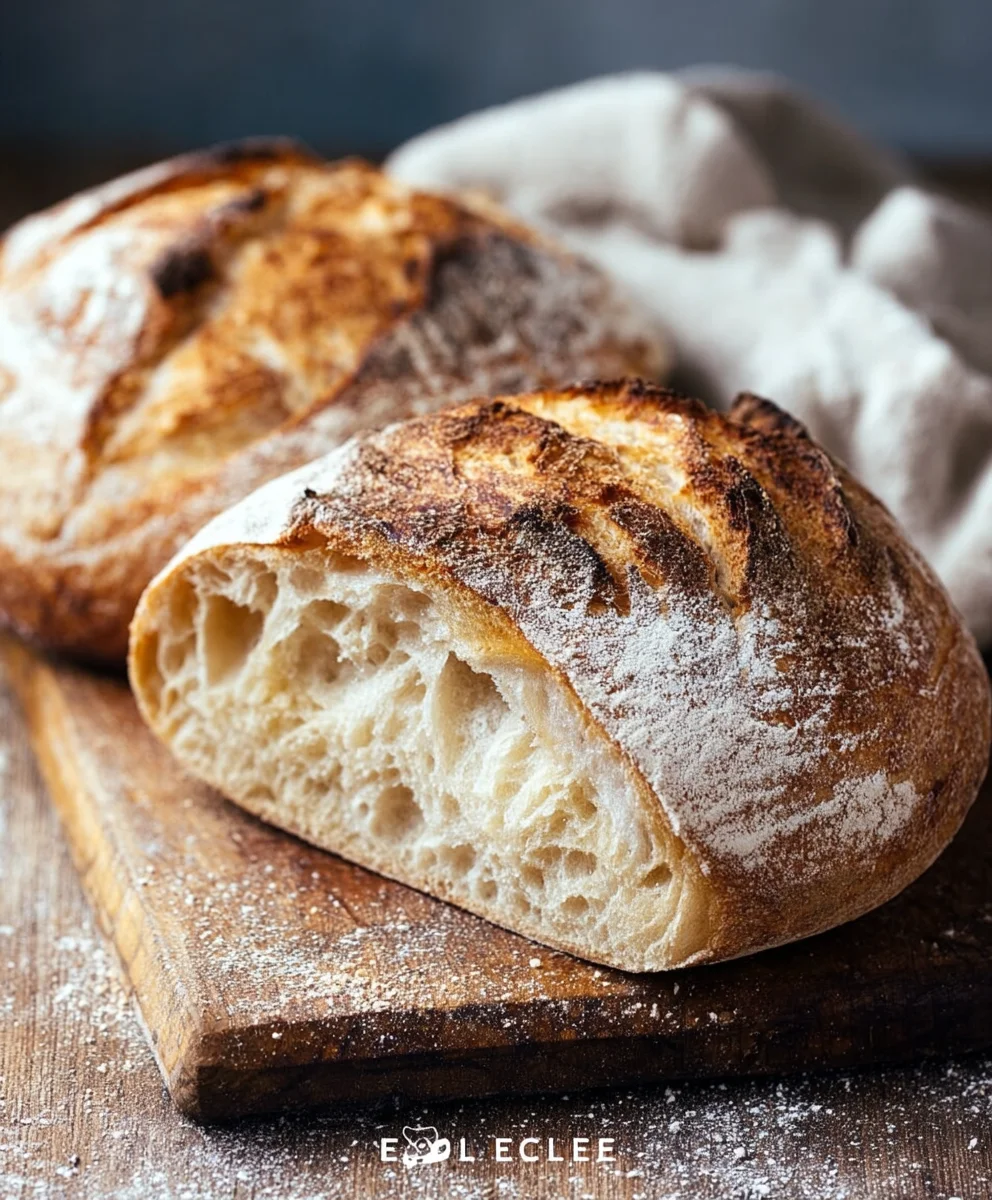
Carefully transfer your shaped dough into the hot oven. If you desire, you can score the top of the loaf with a sharp knife or a lame. Scoring allows the bread to expand more evenly during baking and creates beautiful patterns. Bake the rustic bread for 30-40 minutes, or until the crust is a deep golden brown and the internal temperature of the loaf registers around 200-210°F (93-99°C) on an instant-read thermometer. If the crust is browning too quickly, you can loosely tent the loaf with aluminum foil. Once baked, remove the bread from the oven and immediately transfer it to a wire rack to cool completely. This allows the crust to crisp up and prevents the bottom from becoming soggy. Enjoy the fruits of your labor!
Conclusion:
You’ve now mastered the art of creating a truly delicious and impressive Rustic Bread Recipe! This recipe is more than just a set of instructions; it’s an invitation to experience the simple joy of baking. From its beautiful crust to its airy crum extractb, this bread is sure to become a staple in your kitchen. Don’t be intimidated by the process; each step is designed to guide you towards a perfect loaf. The aroma that fills your home as it bakes is reward enough, and the taste is simply unparalleled.
I encourage you to try this Rustic Bread Recipe soon. Once you’ve tasted homemade bread like this, you’ll wonder why you ever bought it from the store. Feel free to experiment with the serving suggestions – it’s fantastic on its own, with a smear of butter, or as the base for your favorite sandwiches.
Frequently Asked Questions:
Can I add herbs or seeds to this Rustic Bread Recipe?
Absolutely! This Rustic Bread Recipe is incredibly versatile. You can easily incorporate herbs like rosemary or thyme, or seeds like poppy seeds or sesame seeds into the dough before the second rise. Just be mindful of adding too much liquid if using very wet ingredients, and consider how they might affect the overall flavor profile.
How should I store leftover Rustic Bread?
To keep your Rustic Bread Recipe fresh, it’s best to store it at room temperature in a bread bag or a clean kitchen towel. Avoid refrigerating it, as this can make the crust tough arum extractthe crumb dry. If you have a large amount that you won’t be able to eat within a few days, slicing it and freezing it in an airtight container is an excellent option.
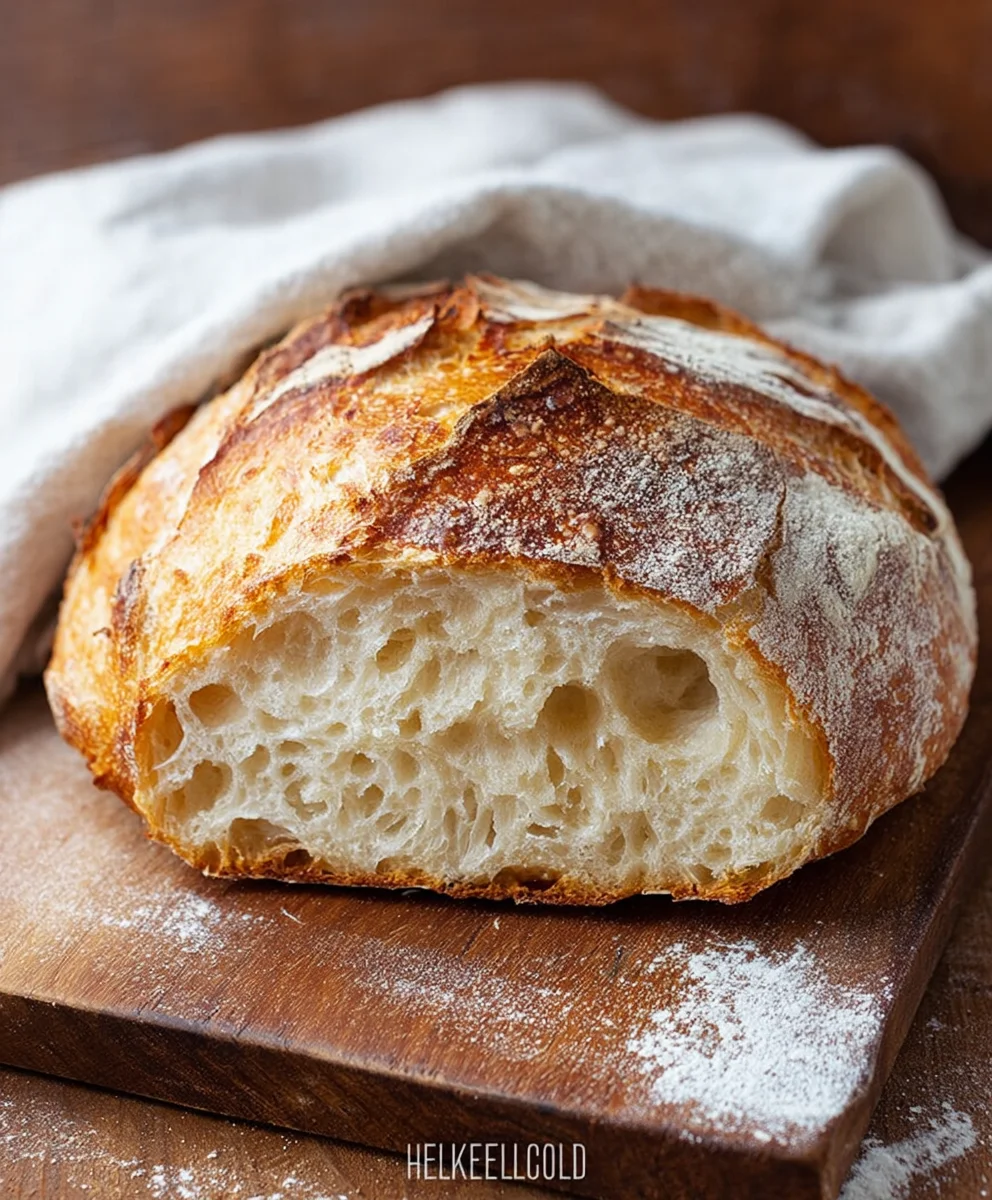
Easy Rustic Bread Recipe – Crusty & Delicious
A simple and satisfying recipe for homemade rustic bread with a wonderfully crusty exterior and a soft, delicious interior. Perfect for beginners!
Ingredients
-
3 cups warm water
-
2 ¼ teaspoons active dry yeast
-
1 tablespoon granulated sugar
-
6 cups all-purpose flour, plus more for dusting
-
3 teaspoons salt
Instructions
-
Step 1
In a large mixing bowl, combine warm water (105-115°F). Sprinkle yeast over the water and let sit for 5-10 minutes until foamy. Stir in sugar and let sit for another minute. -
Step 2
Gradually add flour and salt to the wet ingredients, stirring with a wooden spoon or spatula until a shaggy dough forms. Once all flour is added, turn out onto a lightly floured surface. -
Step 3
Knead the dough for 8-10 minutes until smooth, elastic, and springs back slowly when poked. It should be supple and not excessively sticky. -
Step 4
Place kneaded dough in a lightly greased bowl, turning to coat. Cover tightly and let rise in a warm, draft-free place for 1 to 1.5 hours, or until doubled in size. -
Step 5
Gently punch down the risen dough. Shape into a round or oval boule on a lightly floured surface. Place on a parchment-lined baking sheet. -
Step 6
Cover shaped dough loosely and let rise for a second, shorter rise (30-45 minutes) until noticeably puffier. -
Step 7
Preheat oven to 425°F (220°C). For steam, place a shallow metal pan on the bottom rack and carefully pour about 1 cup of hot water into it just before placing the bread in the oven. -
Step 8
Score the top of the loaf if desired. Bake for 30-40 minutes, until deep golden brown and internal temperature is 200-210°F (93-99°C). Tent with foil if browning too quickly. -
Step 9
Remove from oven and transfer to a wire rack to cool completely before slicing and serving.
Important Information
Nutrition Facts (Per Serving)
It is important to consider this information as approximate and not to use it as definitive health advice.
Allergy Information
Please check ingredients for potential allergens and consult a health professional if in doubt.



Leave a Comment