

Chia seed pudding recipe is one of those magical dishes that sounds almost too good to be true, yet delivers every single time. Have you ever craved a dessert that’s both incredibly satisfying and remarkably good for you? That’s precisely where this delightful concoction shines. It’s become a breakfast and snack staple for so many of us because it’s unbelievably simple to prepare, requiring minimal effort for maximum reward. What truly makes this chia seed pudding recipe so special is its versatility; it’s a blank canvas beggin extractg for your creativity, ready to be transformed with your favorite fruits, spices, and sweeteners. We love it because it’s packed with fiber, omega-3s, and protein, keeping us feeling full and energized without the dreaded sugar crash. Get ready to discover your new go-to healthy treat!

The Ultimate Creamy Chia Seed Pudding Recipe
Welcome to the world of effortless, healthy indulgence! If you’re looking for a breakfast that’s as satisfying as it is nutritious, or a guilt-free dessert that’s incredibly simple to make, then chia seed pudding is your answer. This recipe is a game-changer – it’s incredibly versatile, requiring minimal effort, and the result is a wonderfully creamy, nutrient-dense treat that will keep you full and energized. Forget complicated baking or lengthy cooking times; this pudding is all about simple assembly and a little patience. I love making a big batch on a Sunday so I have a ready-to-go breakfast all week long. It’s also fantastic as a light dessert after dinner. Let’s dive into what you’ll need and how to create this deliciousness.
Ingredients:
Instructions:
Crafting this chia seed pudding is incredibly straightforward. The magic happens as the chia seeds absorb the liquid, transforming into a delightful gel-like consistency that’s surprisingly similar to traditional pudding. The key is to give them ample time to hydrate, so a little planning ahead is all that’s required.
Step 1: Combine the Wet Ingredients and Sweetener
In a bowl or a jar, begin extract by pouring in your chosen milk. This is your base, and the type of milk you use will subtly influence the flavor and creaminess. For a richer pudding, a full-fat coconut milk or oat milk works wonders. If you prefer something lighter, almond milk or skim milk are excellent choices. Next, add your sweetener. I’ve specified maple syrup here because I adore its natural, slightly caramel notes, but feel free to experiment with agave nectar, honey (if not vegan), or even a sugar-free alternative like erythritol or stevia if you’re watching your sugar intake. Adjust the sweetness to your personal preference; you can always add a little more later if needed. Finally, stir in the vanilla extract. This little addition is crucial for enhancing the overall flavor profile, adding a warm, aromatic depth that complements the earthiness of the chia seeds beautifully. Whisk these ingredients together thoroughly to ensure the sweetener is fully dissolved and everything is well incorporated.
Step 2: Introduce the Chia Seeds
Now comes the star of the show: the chia seeds. Gently sprinkle the 3 tablespoons of chia seeds into the liquid mixture. It’s important to add them slowly while whisking continuously. This step is vital to prevent the chia seeds from clumping together at the bottom of your bowl or jar. Clumps are the enemy of smooth chia pudding, so a good whisking at this stage will save you from any lumpy disappointments later on. Aim for an even distribution of seeds throughout the liquid. You’ll notice that the mixture will start to thicken very slightly almost immediately as the seeds begin extract to absorb some of the moisture.
Step 3: The Crucial First Stir
This is arguably the most important step for achieving that signature smooth, pudding-like texture. After you’ve added the chia seeds and given them a initial mix, let the mixture sit undisturbed for about 5 to 10 minutes. During this time, the chia seeds will start to swell and absorb the liquid. After this initial resting period, you’ll see that the mixture has become noticeably thicker, and some of the seeds might have started to gel. Now, it’s time for another vigorous stir. This second stir is critical to break up any clumps that may have formed as the seeds began to hydrate and to ensure all the seeds are evenly suspended in the thickening liquid. You can use a whisk or a fork for this. Scrape the sides and bottom of your bowl or jar to make sure no seeds are sticking and are fully incorporated.
Step 4: The Overnight (or Minimum 4-Hour) Chill
Once you’ve completed the second stir, cover your bowl or jar tightly. You can use plastic wrap, a lid, or even a beeswax wrap. Then, it’s time for the pudding to do its magic in the refrigerator. For the best results and optimal thickening, I highly recommend chilling it overnight. This allows the chia seeds ample time to fully absorb the liquid, swell up, and create that wonderfully thick, gelatinous texture we’re aiming for. If you’re short on time, a minimum of 4 hours in the refrigerator will suffice, but the longer it chills, the creamier and more pudding-like it will become. The cold temperature also helps to solidify the pudding and makes it perfectly chilled for serving.
Step 5: Serve and Enjoy!
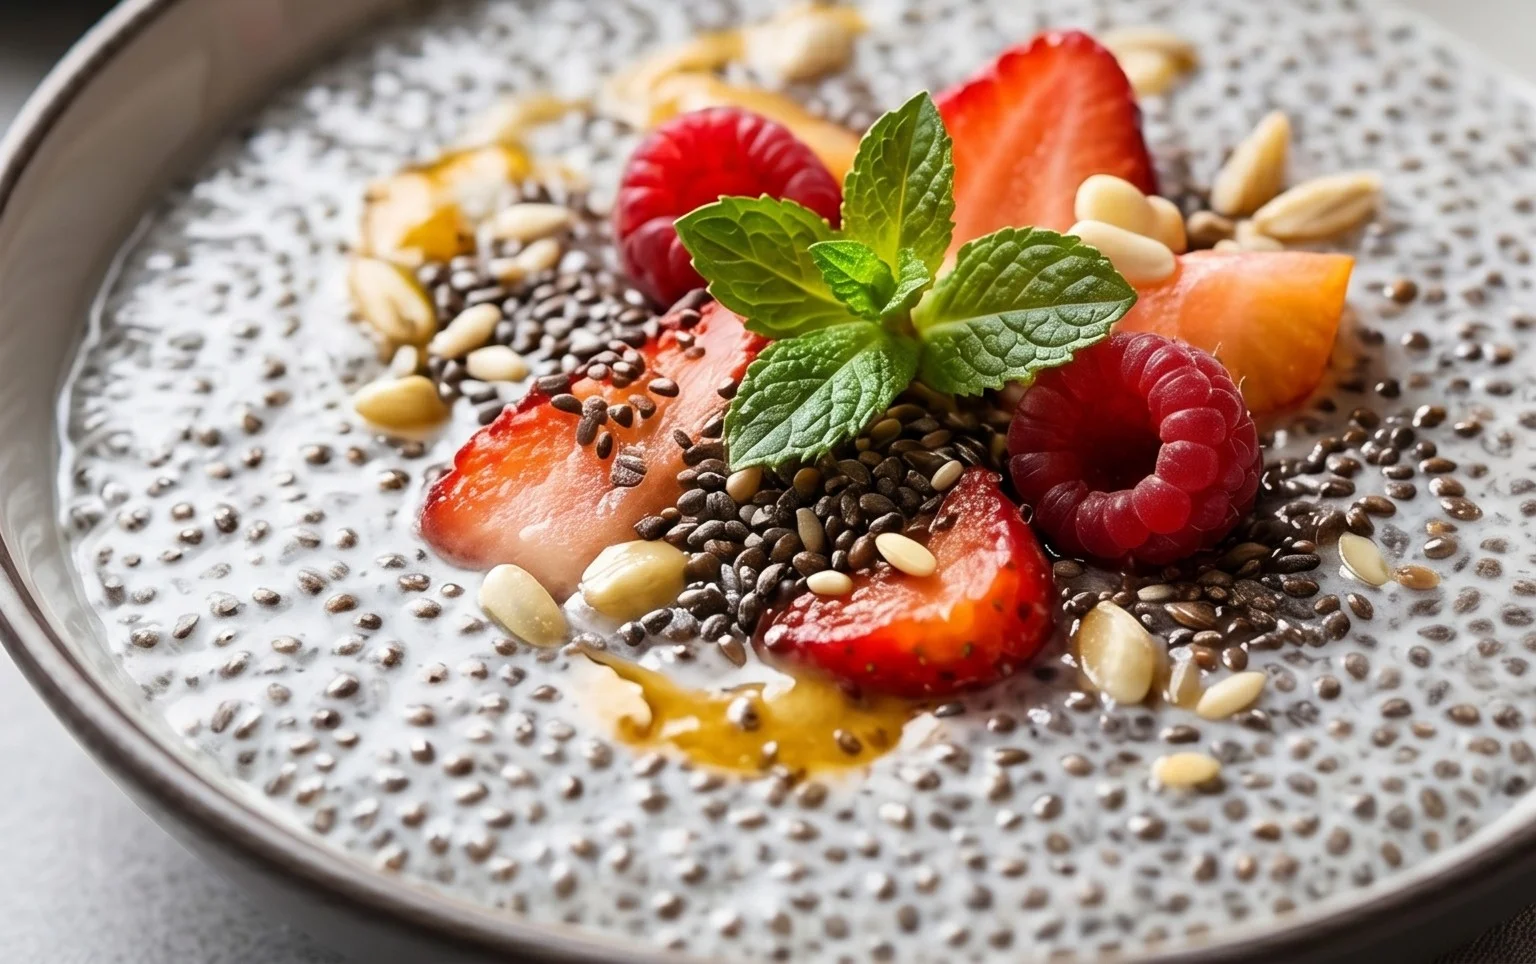
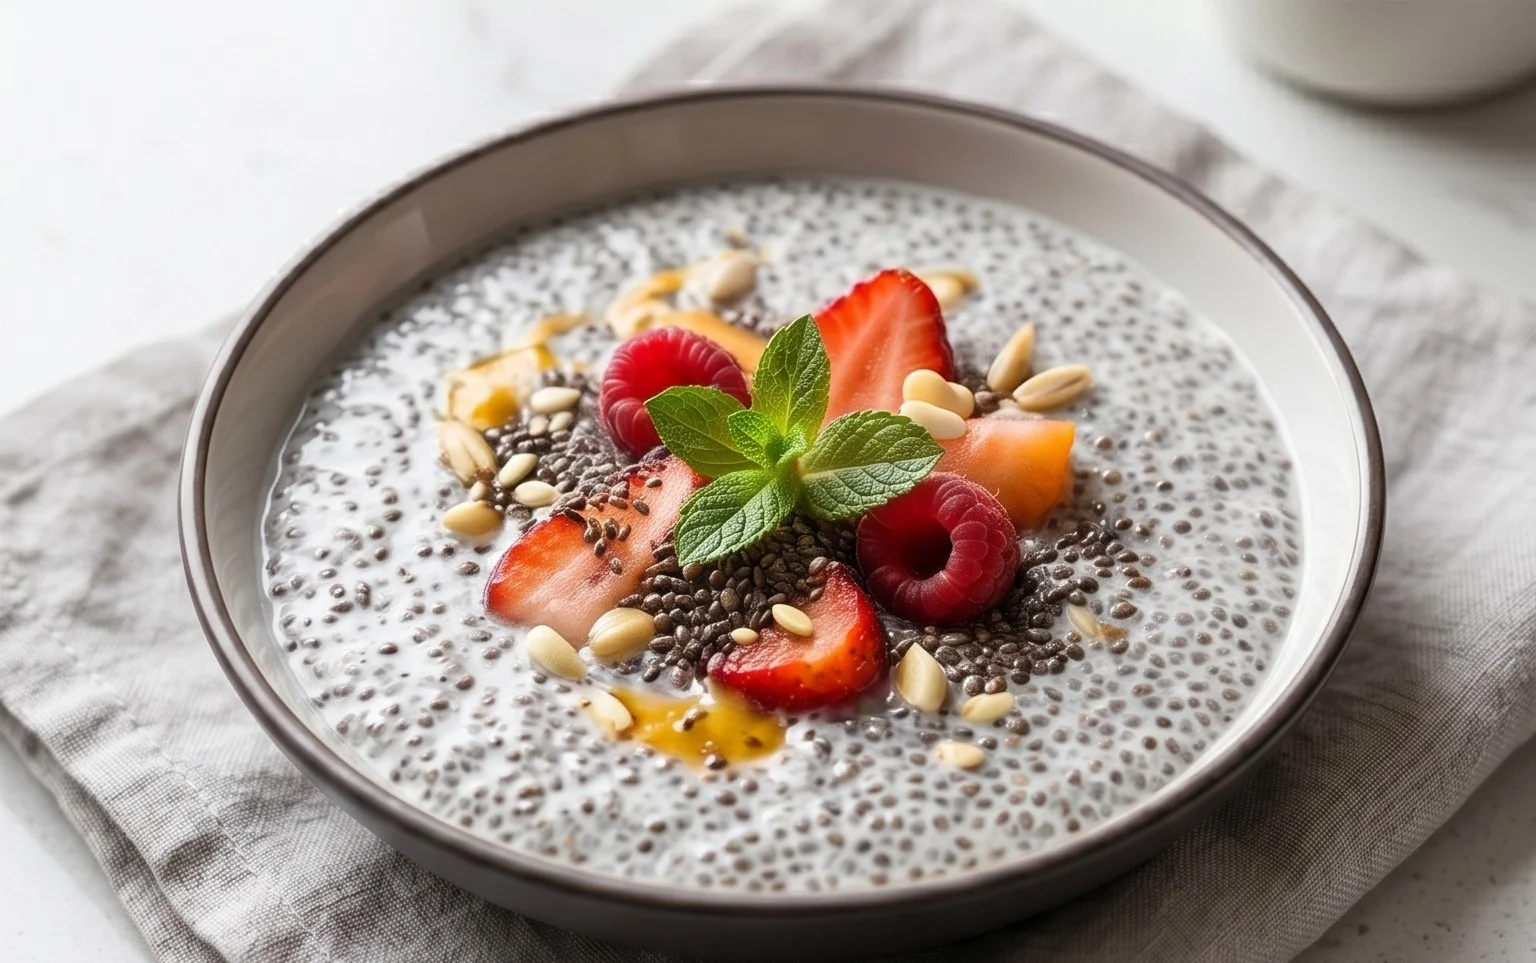
After its chilling period, your chia seed pudding is ready to be enjoyed! Give it one final stir before serving. It should have a thick, spoonable consistency. If it’s still a little thinner than you prefer, you can add a few more chia seeds and let it chill for another hour or two. Conversely, if it’s too thick, you can stir in a splash more milk until you reach your desired consistency. Now comes the fun part: customization! You can enjoy your chia seed pudding just as it is, or get creative with toppings. Fresh berries, sliced banana, a sprinkle of granola for crunch, a drizzle of nut butter, shredded coconut, or even a few chocolate chips are all fantastic options. I love layering mine with fresh mango and a sprinkle of toasted coconut for a tropical twist. This recipe is a blank canvas for your culinary imagin extractation, making every serving a delightful and unique experience.
Conclusion:
And there you have it – a wonderfully simple yet incredibly versatile chia seed pudding recipe that’s perfect for anyone looking for a healthy and satisfying treat. This recipe truly shines because of its minimal effort required for maximum nutritional payoff. Packed with fiber, omega-3 fatty acids, and protein, chia pudding is a fantastic breakfast, snack, or even a light dessert. Its naturally creamy texture and ability to absorb flavors make it a dream base for all sorts of delicious toppings.
I love serving mine chilled in a glass jar topped with fresh berries, a sprinkle of granola for crunch, or a drizzle of honey for a touch of sweetness. For variations, don’t be afraid to experiment! Try adding cocoa powder for a chocolatey twist, a pinch of cinnamon for warmth, or even some mashed banana for natural sweetness and creaminess. You can also use different plant-based milks like almond, cashew, or oat milk to achieve slightly different flavor profiles and textures. I truly encourage you to give this recipe a try; it’s a game-changer for healthy eating!
Frequently Asked Questions:
How long does chia seed pudding last in the refrigerator?
Chia seed pudding is best enjoyed within 3-4 days of making it. The chia seeds will continue to absorb liquid and thicken over time, so the texture might change slightly the longer it sits.
Can I make chia seed pudding without a sweetener?
Absolutely! The sweetness of your chia seed pudding will depend on your base liquid and any toppings you add. If you prefer it less sweet or naturally sweet, try using unsweetened plant-based milk and relying on fresh fruit or a tiny drizzle of maple syrup for flavor.
Why is my chia seed pudding not thickening?
If your pudding isn’t thickening, it’s usually due to not enough chia seeds, too much liquid, or not letting it sit long enough. Ensure you’re using the correct ratio of seeds to liquid and give it at least 2-3 hours, or preferably overnight, in the refrigerator to allow the seeds to fully gel.
Chia Seed Pudding Recipe
A simple and healthy chia seed pudding, easily customizable with your favorite milk and sweetener.
Ingredients
-
3 tablespoons chia seeds
-
1 tablespoon maple syrup
-
1 teaspoon vanilla
-
3/4 cup milk of choice
-
Pinch of salt
Instructions
-
Step 1
In a bowl or jar, combine the chia seeds, maple syrup, vanilla, and milk of choice. -
Step 2
Add a pinch of salt to enhance the flavors. -
Step 3
Whisk or stir vigorously until well combined and no clumps of chia seeds remain. -
Step 4
Let the mixture sit for 5-10 minutes, then stir again to ensure even distribution of seeds. -
Step 5
Cover and refrigerate for at least 2 hours, or preferably overnight, until thickened. -
Step 6
Serve chilled, with optional toppings like fresh fruit or nuts.
Important Information
Nutrition Facts (Per Serving)
It is important to consider this information as approximate and not to use it as definitive health advice.
Allergy Information
Please check ingredients for potential allergens and consult a health professional if in doubt.


Leave a Comment