

Banana Oat Breakfast Bars are the ultimate solution for those hectic mornings when time is as scarce as sleep. Who doesn’t crave a delicious, wholesome start to their day without the need for a full sit-down meal? These delightful bars are more than just a quick grab-and-go; they’re a symphony of textures and flavors that will have you looking forward to waking up. The natural sweetness of ripe bananas perfectly complements the hearty chegrape juicess of rolled oats, creating a satisfying bite that fuels your body and delights your taste buds. What truly makes these Banana Oat Breakfast Bars special is their incredible versatility. Whether you’re a busy student, a parent juggling school runs, or simply someone who appreciates a nutritious and delicious snack, these bars fit seamlessly into your lifestyle. They’re packed with goodness, providing sustained energy to tackle whatever the day throws your way.

Ingredients:
- 3 very ripe bananas
- 1/4 cup smooth natural peanut butter
- 1 teaspoon vanilla extract
- 1 1/4 cups quick cooking oats
- 1/4 teaspoon salt
- 1/2 teaspoon baking powder
- 1/2 cup chocolate chips
Preparation Phase
Step 1: Preheat Oven and Prepare Baking Dish
First things first, let’s get our oven ready. Preheat your oven to 350 degrees Fahrenheit (175 degrees Celsius). This ensures that our bars will bake evenly and develop a lovely golden-brown color. While the oven is heating up, you’ll need to prepare an 8×8 inch baking dish. I find that lining the dish with parchment paper makes for incredibly easy removal of the bars later on. Simply cut a piece of parchment paper large enough to overhang the sides of the dish, creating “handles.” This will allow you to lift the entire baked slab of bars right out once they’re done, making slicing much simpler and less messy. If you don’t have parchment paper, you can lightly grease the baking dish with butter or cooking spray, but parchment paper is definitely the superior option for this recipe.
Step 2: Mash the Bananas and Combine Wet Ingredients
Now it’s time to work with our star ingredient: the bananas! Make sure they are super ripe; this is key for sweetness and moisture. You’ll want to mash them thoroughly in a large mixing bowl until they are as smooth as possible. A few small lumps are okay, but aim for a relatively smooth consistency. You can use a fork or a potato masher for this. Once your bananas are mashed, add the 1/4 cup of smooth natural peanut butter to the bowl. Natural peanut butter is preferred as it typically contains fewer added sugars and oils, allowing the banana’s natural sweetness to shine. Next, stir in the 1 teaspoon of vanilla extract. Vanilla extract adds a wonderful depth of flavor that complements both the banana and peanut butter beautifully. Mix all these wet ingredients together until they are well combined and you have a creamy, slightly lumpy mixture. This forms the base of our delicious breakfast bars.
Combining and Baking Phase
Step 3: Incorporate Dry Ingredients
With our wet ingredients nicely blended, it’s time to introduce the dry components. To the banana and peanut butter mixture, add the 1 1/4 cups of quick cooking oats. Quick oats are perfect here because they absorb moisture quickly and help the bars bind together without becoming overly chewy. Next, sprinkle in the 1/4 teaspoon of salt. Salt is crucial for balancing the sweetness and enhancing all the other flavors in the recipe. Finally, add the 1/2 teaspoon of baking powder. Baking powder is the leavening agent that will give our bars a little lift, making them softer and less dense. Gently fold all of these dry ingredients into the wet mixture. Be careful not to overmix at this stage. You just want to ensure that everything is incorporated until no dry streaks of oats or flour remain. A gentle folding motion will help maintain the texture of the oats.
Step 4: Fold in the Chocolate Chips and Transfer to Baking Dish
This is where we add that delightful burst of flavor and texture! Add the 1/2 cup of chocolate chips to the batter. You can use milk, dark, or semi-sweet chocolate chips, depending on your preference. For a more refined flavor, mini chocolate chips can also work well and distribute more evenly. Gently fold the chocolate chips into the batter, distributing them as evenly as possible. Again, avoid overmixing. Once the chocolate chips are incorporated, carefully pour the batter into your prepared 8×8 inch baking dish. Use a spatula or the back of a spoon to spread the batter evenly into the corners of the dish. Ensure the top is relatively flat for even baking. Press down gently to compact the mixture slightly, which will help the bars hold their shape better once baked.
Step 5: Bake and Cool the Bars
Now it’s time to bake these delicious Banana Oat Breakfast Bars! Place the baking dish in your preheated oven. Bake for approximately 25-30 minutes. The exact baking time can vary depending on your oven, so keep an eye on them. You’ll know they are ready when the edges are golden brown and the center is set and springs back slightly when lightly touched. Avoid overbaking, as this can make them dry. Once baked, carefully remove the dish from the oven and place it on a wire rack to cool completely. This cooling process is very important. Allowing the bars to cool fully in the pan will help them firm up properly. If you try to cut them while they are still warm, they will likely crum extractble. Patience here will be rewarded with perfectly sliced bars.
Step 6: Slice and Enjoy
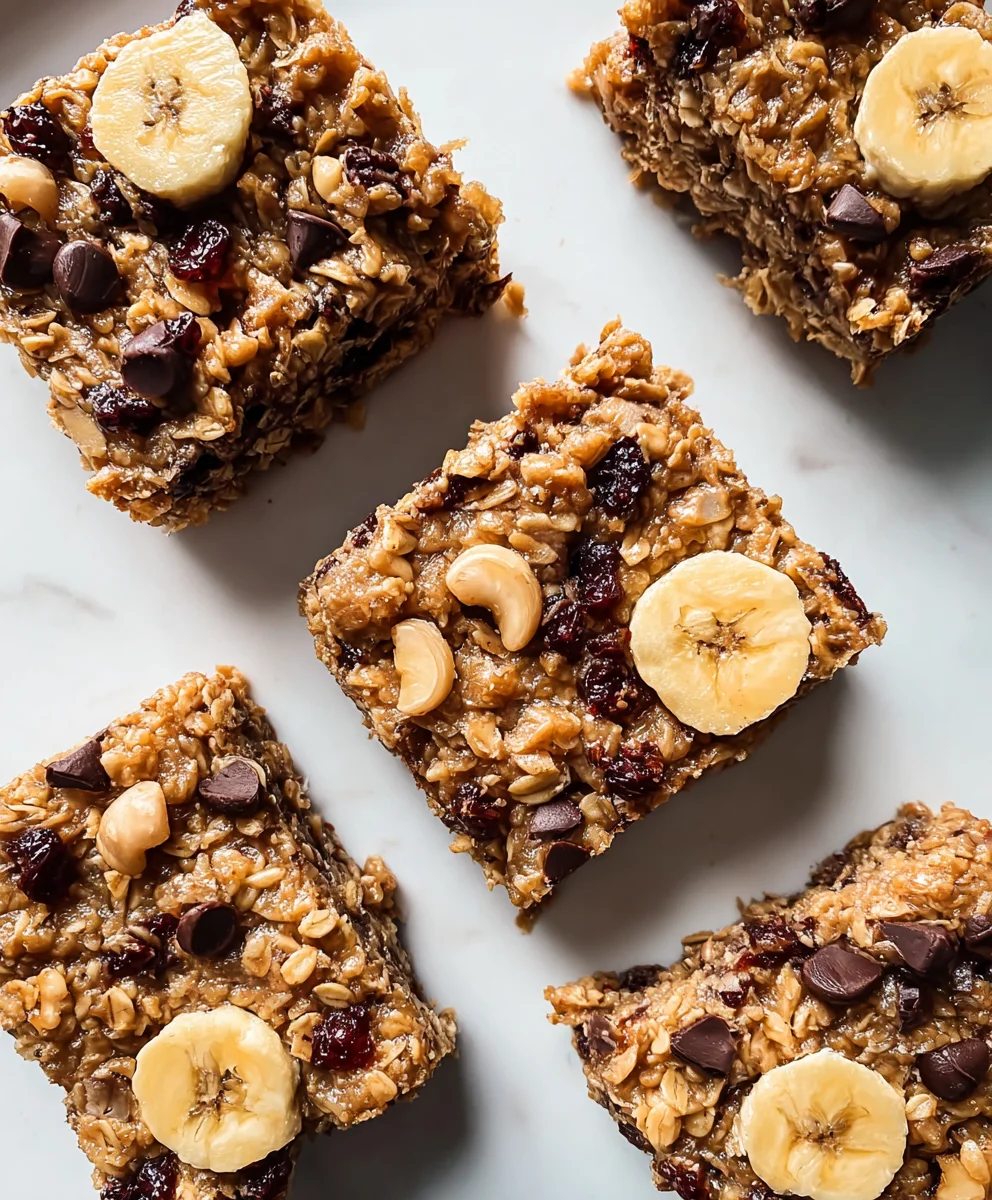
After the bars have cooled completely in the baking dish (this can take an hour or two), it’s time to slice them! Using the parchment paper handles, carefully lift the entire slab of bars out of the dish and place it on a cutting board. Use a sharp knife to cut them into your desired bar size. I usually cut mine into about 9-12 bars, but you can make them larger or smaller depending on your needs. These Banana Oat Breakfast Bars are fantastic on their own, but you can also serve them with a dollop of yogurt, a drizzle of honey, or even a smear of extra peanut butter. Store any leftovers in an airtight container at room temperature for up to 3 days, or in the refrigerator for up to a week. They also freeze beautifully if you want to make a larger batch!
Conclusion:
We hope you absolutely loved creating and devouring these delicious Banana Oat Breakfast Bars! These bars are a fantastic way to start your day with a healthy and satisfying meal that’s packed with fiber and natural sweetness from the bananas. They are incredibly versatile and can be enjoyed on the go, making them a perfect solution for busy mornings. Remember, the key to these bars is their simplicity, allowing you to whip them up in no time for a nutritious treat.
For serving, these Banana Oat Breakfast Bars are wonderful on their own. However, you can also enjoy them warmed up slightly with a drizzle of honey or a dollop of Greek yogurt for an extra touch of indulgence. They are also a great accompaniment to a cup of your favorite tea or coffee.
Don’t be afraid to get creative with variations! Feel free to add a handful of chocolate chips for a sweeter treat, some chopped nuts like walnuts or pecans for added crunch, or even a sprinkle of cinnamon for a warm, spicy note. You can also experiment with different dried fruits like raisins or cranberries.
We encourage you to make these Banana Oat Breakfast Bars a regular part of your breakfast routine. They are a testament to how simple, wholesome ingredients can create something truly special. Happy baking!
Frequently Asked Questions:
Q: Can I make these Banana Oat Breakfast Bars ahead of time?
A: Absolutely! These bars are perfect for meal prepping. You can store them in an airtight container at room temperature for up to 3 days, or in the refrigerator for up to a week. They also freeze beautifully for longer storage.
Q: My bars are a bit crum extractbly, what did I do wrong?
rum extract>A: Crumbly bars can sometimes happen if the mixture is too dry or not pressed firmly enough into the pan. Ensure your bananas are well-mashed and consider adding a tablespoon or two more of milk or a binder like an egg if you suspect the mixture is too dry. Pressing the mixture down very firmly into the baking pan is crucial for holding them together.
Q: Can I substitute the oats in this recipe?
A: While rolled oats are ideal for texture and binding, you could experiment with other gluten-free grains like quinoa flakes or even use a mix of oats and almond flour. However, note that this might affect the final texture and consistency of the bars.
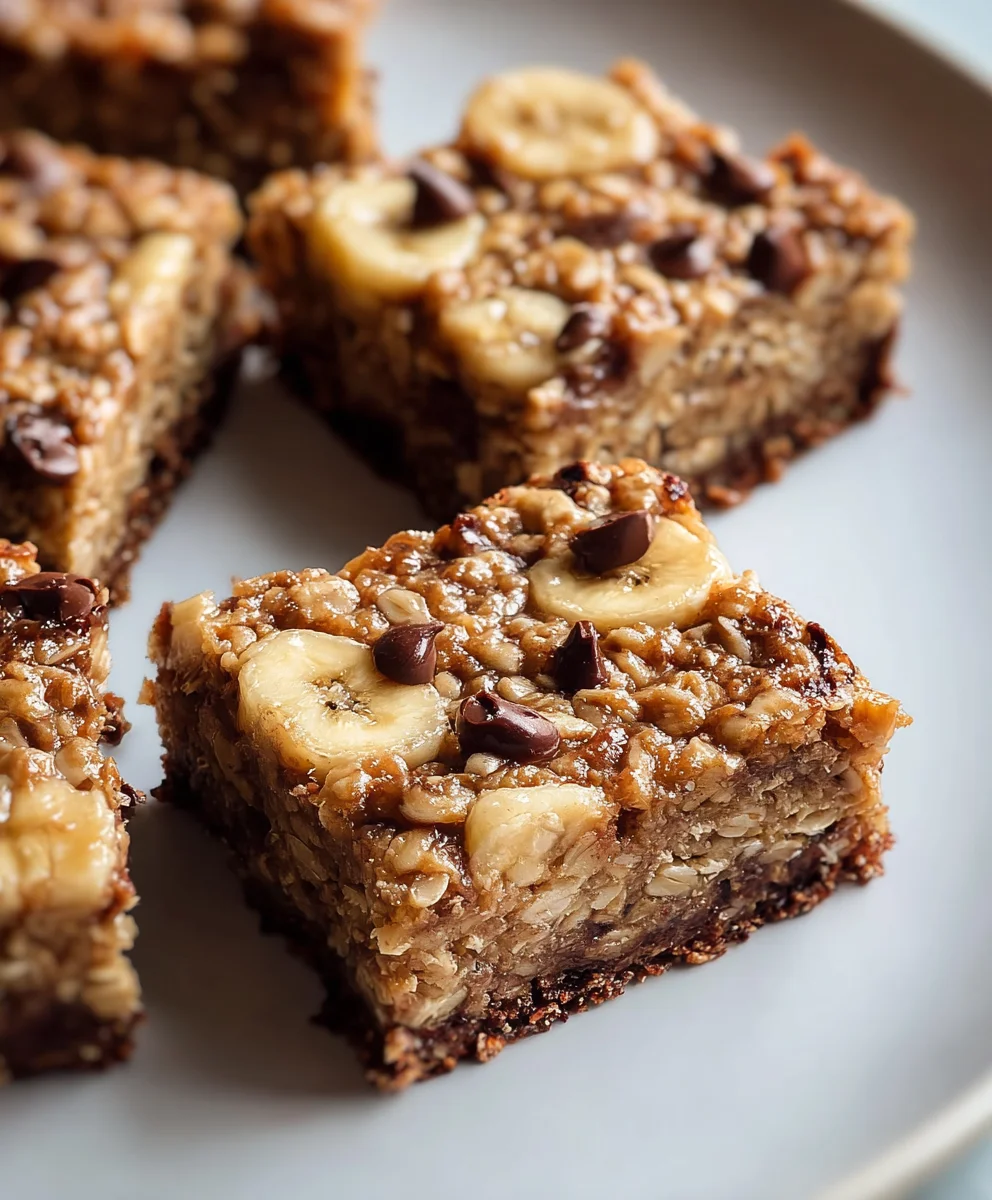
Easy Banana Oat Breakfast Bars
Simple and healthy breakfast bars made with ripe bananas, oats, and chocolate chips. Perfect for a quick and nutritious snack or breakfast on the go.
Ingredients
-
3 very ripe bananas
-
1/4 cup smooth natural peanut butter
-
1 teaspoon vanilla extract
-
1 1/4 cups quick cooking oats
-
1/4 teaspoon salt
-
1/2 teaspoon baking powder
-
1/2 cup chocolate chips
Instructions
-
Step 1
Preheat your oven to 350°F (175°C) and line an 8×8 inch baking dish with parchment paper, ensuring it overhangs for easy removal. -
Step 2
Mash the ripe bananas in a large bowl until smooth. Stir in the peanut butter and vanilla extract until well combined. -
Step 3
Add the quick cooking oats, salt, and baking powder to the wet ingredients. Gently fold until just combined, being careful not to overmix. -
Step 4
Fold in the chocolate chips. Pour the batter into the prepared baking dish and spread evenly, pressing down slightly. -
Step 5
Bake for 25-30 minutes, or until the edges are golden brown and the center is set. Allow to cool completely in the dish before slicing. -
Step 6
Lift the bars out of the dish using the parchment paper and slice into desired portions. Enjoy immediately or store for later.
Important Information
Nutrition Facts (Per Serving)
It is important to consider this information as approximate and not to use it as definitive health advice.
Allergy Information
Please check ingredients for potential allergens and consult a health professional if in doubt.


Leave a Comment