

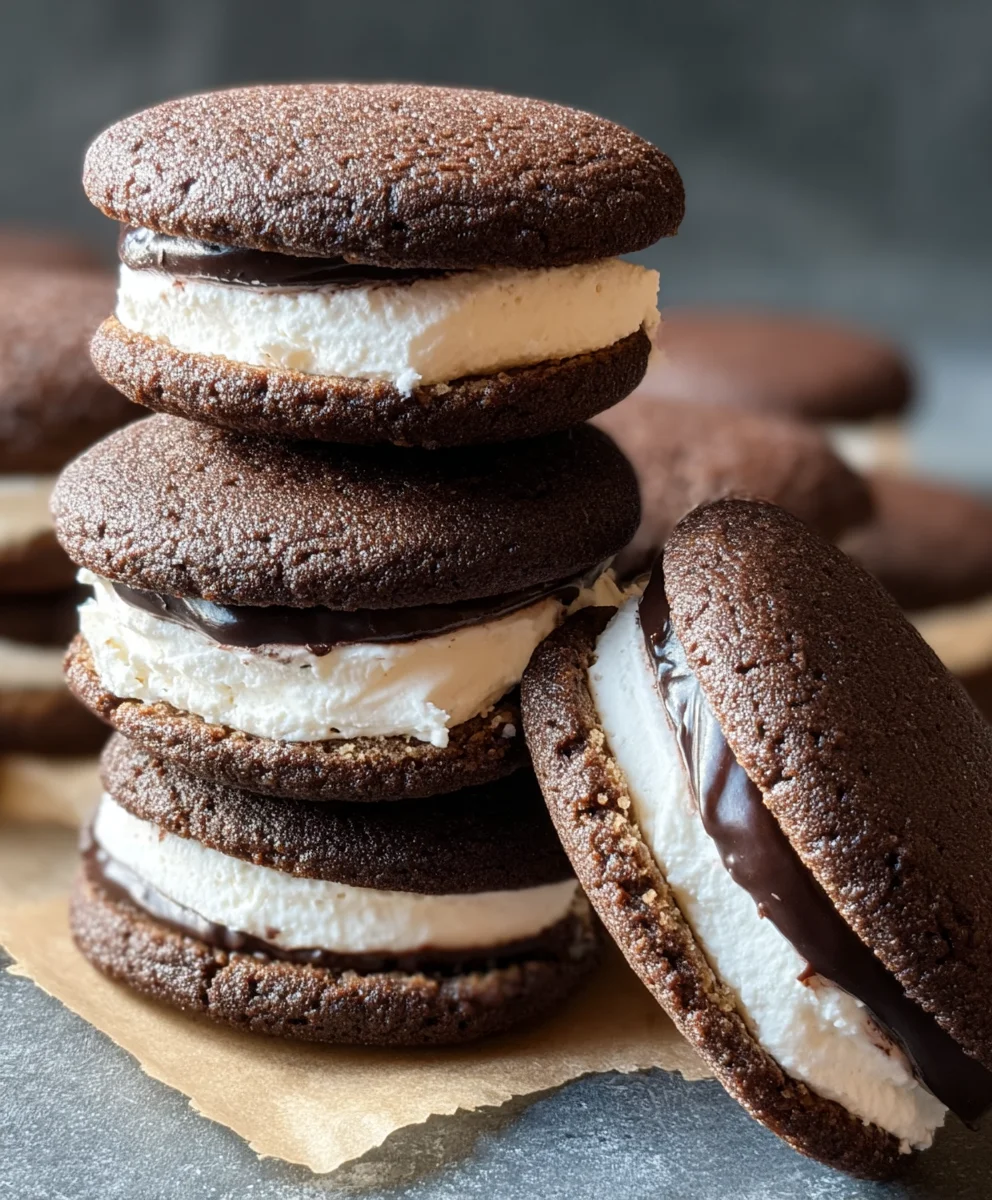
Date-Sweetened Cookie Sandwiches are more than just a delightful treat; they are a testament to the power of simple, wholesome ingredients coming together to create something truly magical. We all crave that perfect balance of sweet and satisfying, and these aren’t your average cookies. Forget refined sugars and complicated steps – these little marvels achieve their irresistible sweetness naturally, thanks to the caramel-like richness of dates. That’s precisely why they’ve captured so many hearts (and taste buds!). They offer that comforting nostalgia of a classic cookie sandwich, but with a healthier, more mindful twist that feels utterly guilt-free. What truly sets these Date-Sweetened Cookie Sandwiches apart is their incredible versatility and the delightful texture contrast between the soft, chewy cookie and the creamy filling. Get ready to discover your new go-to indulgence!

Ingredients:
- 1 cup almond flour
- 1/3 cup flax meal
- 1/3 cup runny almond butter
- 1 cup Medjool dates, pitted
- 1/3 cup cocoa powder
- 1/3 cup dairy-free milk
- 1 teaspoon vanilla extract
- 1/3 cup raw cashews, soaked 2 hours in hot water
- 1/3 cup coconut cream
- 1-2 tablespoons maple syrup (optional)
- 1/2 cup vegan cream cheese
Cookie Dough
Preparing the Base
- Start by preheating your oven to 325°F (160°C). This gentle temperature is key for ensuring your cookies bake through without burning, especially with almond flour which can brown quickly. Line a baking sheet with parchment paper to prevent sticking and make cleanup a breeze. In a medium bowl, combine the 1 cup of almond flour and 1/3 cup of flax meal. Whisk them together thoroughly to ensure the flax meal is evenly distributed throughout the almond flour. This combination will form the structure of our date-sweetened cookies, providing a good balance of texture and healthy fats.
- In a separate bowl, or the bowl of a stand mixer fitted with the paddle attachment, cream together the 1/3 cup of runny almond butter and the 1 cup of pitted Medjool dates. If your dates aren’t particularly soft, you can soak them in warm water for about 10 minutes before pitting to make them easier to mash. You want to achieve a smooth, paste-like consistency. This date paste will act as the natural sweetener for our cookies, contributing a rich, caramel-like flavor and moisture.
- Now, it’s time to bring everything together. Gradually add the dry ingredients (the almond flour and flax meal mixture) to the wet ingredients (the almond butter and date paste). Mix on low speed until just combined. Be careful not to overmix, as this can lead to tougher cookies. The dough should be thick and slightly sticky. If it seems too dry, you can add another tablespoon of dairy-free milk, but do so sparingly.
- Scoop out tablespoon-sized portions of the cookie dough and roll them into small balls. Place these balls onto the prepared baking sheet, leaving about 2 inches between each cookie to allow for slight spreading. Using the palm of your hand or the bottom of a glass, gently flatten each ball into a cookie shape. Aim for a uniform thickness so that they bake evenly. Bake for 12-15 minutes, or until the edges are lightly golden and the centers appear set. They might still look a little soft in the middle, but they will firm up as they cool. Let them cool on the baking sheet for 5 minutes before transferring them to a wire rack to cool completely. This step is crucial for achieving the perfect cookie texture.
Creamy Filling
Creating the Luscious Center
- While the cookies are cooling, let’s prepare the luscious filling that will elevate these into true cookie sandwiches. First, drain the 1/3 cup of raw cashews that have been soaked in hot water for at least 2 hours. Discard the soaking water. Place the drained cashews into a high-powered blender or food processor. Add the 1/3 cup of coconut cream, 1 teaspoon of vanilla extract, and 1/2 cup of vegan cream cheese. If you prefer a slightly sweeter filling, you can add 1-2 tablespoons of maple syrup at this stage.
- Blend all the filling ingredients on high speed until the mixture is incredibly smooth and creamy. You want a velvety consistency with no grainy cashew pieces. This might take a few minutes, and you may need to scrape down the sides of the blender a few times to ensure everything is incorporated. Taste the filling and adjust sweetness or vanilla as needed. If the filling is too thick, you can add a tiny splash more dairy-free milk, but be very judicious. Once smooth, transfer the filling to a bowl and refrigerate for at least 30 minutes to allow it to firm up slightly. This will make it easier to spread between the cookies.
Assembly
Bringin extractg It All Together
- Once your cookies are completely cool and your filling has chilled and firmed up, it’s time for the best part: assembly! Carefully take one cooled cookie and spread a generous tablespoon of the chilled filling onto the flat side. Don’t be shy with the filling; this is what makes them decadent cookie sandwiches.
- Gently place another cooled cookie on top of the filling, flat side down, and press lightly to create a sandwich. The filling will spread slightly, creating a beautiful seal. Repeat this process with the remaining cookies and filling until all your date-sweetened cookie sandwiches are assembled.
- For the best experience, I recommend refrigerating the assembled cookie sandwiches for at least another 15-30 minutes before serving. This allows the flavors to meld and the filling to set up perfectly. You can store any leftovers in an airtight container in the refrigerator for up to 3-4 days. Enjoy these delightful treats that are naturally sweetened and utterly satisfying!
Conclusion:
There you have it – your guide to creating delicious and wholesome Date-Sweetened Cookie Sandwiches! We’ve walked through each step, ensuring you have all the knowledge to bake these delightful treats. The natural sweetness from the dates provides a wonderful depth of flavor, making these cookies a guilt-free pleasure. I truly hope you enjoy making and sharing these Date-Sweetened Cookie Sandwiches with your loved ones. Don’t be afraid to experiment; the beauty of baking is in its adaptability!
For serving, these Date-Sweetened Cookie Sandwiches are perfect on their own as a satisfying snack or dessert. They pair wonderfully with a glass of milk, a hot cup of tea, or even a shot of espresso. Consider a simple dusting of cinnamon or a drizzle of melted dark chocolate for an extra touch of elegance. Get creative with your fillings too – a dollop of dairy-free cream cheese frosting or a swirl of almond butter would be divine.
Frequently Asked Questions about Date-Sweetened Cookie Sandwiches:
Can I substitute the dates with another sweetener?
While dates are integral to the unique flavor and texture of these Date-Sweetened Cookie Sandwiches, you could experiment with other natural sweeteners like maple syrup or honey in a similar quantity. However, be aware that this may alter the final consistency and sweetness profile. You might need to adjust the other liquid ingredients slightly if you find the dough too wet or dry.
What other fillings work well for these Date-Sweetened Cookie Sandwiches?
Beyond the classic cookie-and-filling combination, consider a rich chocolate ganache, a tangy berry jam, a luscious lemon curd, or even a spiced apple butter. For a savory twist, you could try a cream cheese and herb blend. The possibilities are truly endless for your Date-Sweetened Cookie Sandwiches!
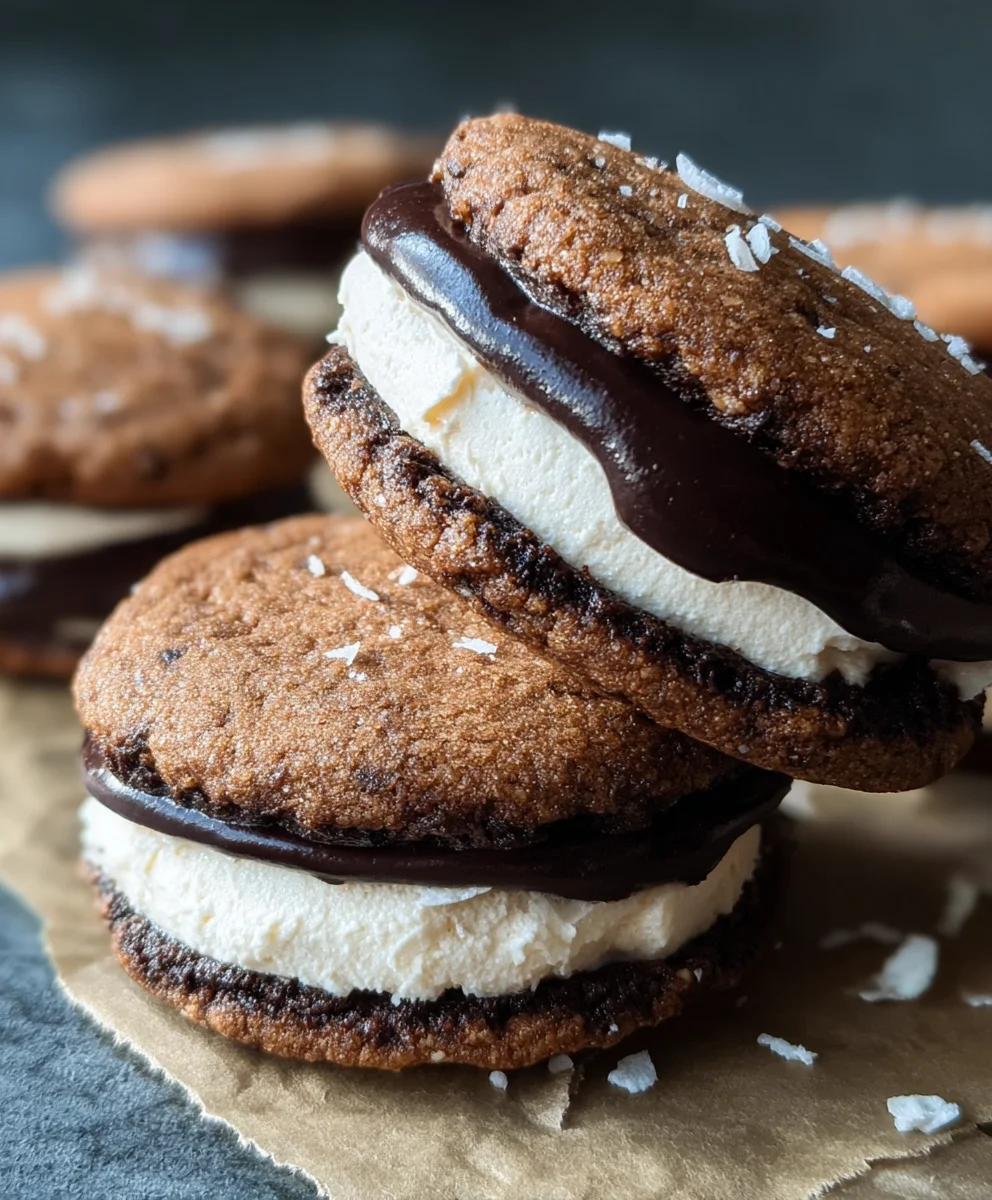
Date-Sweetened Cookie Sandwiches
Naturally sweet and satisfying cookie sandwiches made with wholesome ingredients. The cookies are tender and lightly golden, filled with a creamy, smooth cashew and vegan cream cheese frosting.
Ingredients
-
1 cup almond flour
-
1/3 cup flax meal
-
1/3 cup runny almond butter
-
1 cup Medjool dates, pitted
-
1/3 cup cocoa powder
-
1/3 cup dairy-free milk
-
1 teaspoon vanilla extract
-
1/3 cup raw cashews, soaked 2 hours in hot water
-
1/3 cup coconut cream
-
1-2 tablespoons maple syrup (optional)
-
1/2 cup vegan cream cheese
Instructions
-
Step 1
Preheat oven to 325°F (160°C). Line a baking sheet with parchment paper. In a medium bowl, combine almond flour and flax meal. Whisk thoroughly. -
Step 2
In a separate bowl, cream together almond butter and pitted Medjool dates until smooth and paste-like. This mixture serves as the natural sweetener. -
Step 3
Gradually add the dry ingredients to the wet ingredients. Mix until just combined to form a thick, slightly sticky dough. Add more dairy-free milk sparingly if too dry. -
Step 4
Scoop tablespoon-sized portions of dough, roll into balls, and flatten on the prepared baking sheet. Bake for 12-15 minutes until edges are lightly golden and centers appear set. Cool on the sheet for 5 minutes, then transfer to a wire rack to cool completely. -
Step 5
While cookies cool, drain soaked cashews. Combine drained cashews, coconut cream, vanilla extract, vegan cream cheese, and optional maple syrup in a high-powered blender or food processor. -
Step 6
Blend on high speed until incredibly smooth and creamy. Scrape down sides as needed. Taste and adjust sweetness or vanilla. Refrigerate filling for at least 30 minutes to firm up. -
Step 7
Once cookies are cool and filling is chilled, spread a generous tablespoon of filling onto the flat side of one cookie. -
Step 8
Gently place another cookie on top, flat side down, pressing lightly to create a sandwich. Repeat with remaining cookies and filling. -
Step 9
Refrigerate assembled cookie sandwiches for at least 15-30 minutes before serving to allow flavors to meld and filling to set.
Important Information
Nutrition Facts (Per Serving)
It is important to consider this information as approximate and not to use it as definitive health advice.
Allergy Information
Please check ingredients for potential allergens and consult a health professional if in doubt.



Leave a Comment