
Crispy Chicken Taquitos are more than just a meal; they’re a fiesta in your mouth, a delightful crunch that promises pure satisfaction with every bite. If you’ve ever craved that perfect balance of tender, seasoned chicken wrapped in a delightfully golden, fried tortilla, then you’re in the right place. People adore these little rolled wonders for so many reasons. They’re incredibly versatile, making them perfect for a quick weeknight dinner, an impressive appetizer for guests, or even a fun party snack. The magic of Crispy Chicken Taquitos lies in their simplicity and the irresistible textural contrast – the slight give of the warm tortilla giving way to the satisfying crunch, all while encasing a flavorful, juicy filling. What truly sets them apart is the sheer joy they bring; they’re universally loved for being both comforting and exciting, a taste of sunshine that’s always a crowd-pleaser. Get ready to elevate your snack game and create your own legendary batch!

Ingredients:
- 2 cups cooked shredded chicken (rotisserie chicken works great for convenience)
- 4 oz cream cheese, softened
- ½ cup shredded cheddar or Mexican blend cheese
- ¼ cup salsa (mild or spicy, your preference)
- ½ tsp garlic powder
- ½ tsp chili powder
- ½ tsp cumin
- Salt and black pepper to taste
- 8 small flour or corn tortillas
- Cooking spray or oil (for brushing)
- Optional toppings: Chopped cilantro, sour cream, guacamole, extra shredded cheese
Preparing the Filling
Step 1: Combine the Creamy Base
The foundation of our delicious Crispy Chicken Taquitos is a rich and flavorful filling. In a medium-sized mixing bowl, add the softened cream cheese. Ensure your cream cheese is at room temperature; this is crucial for achieving a smooth, lump-free mixture. If you’ve forgotten to take it out in advance, you can soften it quickly by placing it in a microwave-safe dish and heating it on low power in 10-second intervals, being careful not to melt it completely. To this, add the shredded cheddar or Mexican blend cheese. The combination of cream cheese and shredded cheese will create a wonderfully gooey and binding element for our taquitos.
Step 2: Infuse with Flavor and Texture
Next, introduce the shredded cooked chicken to the bowl. For the best results, make sure the chicken is finely shredded. If you’re using a rotisserie chicken, it’s already perfectly prepared. If you’re cooking chicken from scratch, be sure to shred it once it has cooled slightly. Now, it’s time to amp up the flavor! Add the ¼ cup of salsa. The salsa not only adds moisture and a delightful tang but also brings a hint of its own flavor profile, whether you choose mild or spicy. Following that, incorporate the garlic powder, chili powder, and cumin. These spices are essential for building that authentic taquito taste. Stir everything together thoroughly. Make sure all the ingredients are well combined and the chicken is evenly distributed throughout the cheesy mixture.
Step 3: Season and Taste
Before we start rolling our taquitos, it’s important to season the filling to perfection. Add salt and black pepper to taste. Start with a small pinch of each and stir well, then taste a small amount of the filling. Adjust the seasoning as needed. Remember that the cheese and salsa may already contribute some saltiness, so it’s best to season gradually. Once you’re happy with the flavor, set the filling aside.
Assembling and Cooking the Taquitos
Step 4: Warming and Filling the Tortillas
This step is key to preventing your tortillas from cracking when you roll them. You have a couple of options here. You can gently warm the tortillas in a dry skillet over medium-low heat for about 15-20 seconds per side, just until they become pliable. Alternatively, you can stack them on a plate, cover them with a damp paper towel, and microwave them for 30-60 seconds until they are warm and flexible. Once warmed, lay a tortilla flat. Spoon about 2-3 tablespoons of the chicken filling onto the center of the tortilla, towards one edge. Be careful not to overfill, as this can make rolling difficult and the taquitos might burst open during cooking.
Step 5: Rolling and Securing the Taquitos
With the filling in place, it’s time to roll! Tightly roll each tortilla from the side with the filling towards the opposite edge, tucking in the filling as you go. The goal is to create a compact cylinder. Once rolled, you can secure the taquitos in a few ways. You can brush a tiny bit of water along the edge of the tortilla to help seal it, or if you’re planning to bake them, you can place them seam-side down in your baking dish. If you are frying, you might want to secure them with a toothpick for extra security, but be sure to remove the toothpicks before serving. Arrange the rolled taquitos seam-side down on a plate or baking sheet.
Crisping Up Your Taquitos
Step 6: Baking for Golden Perfection
Preheat your oven to 400°F (200°C). Arrange the rolled taquitos in a single layer on a baking sheet lined with parchment paper or a silicone baking mat. This prevents sticking and makes for easier cleanup. Lightly brush or spray the tops and sides of each taquito with cooking spray or oil. This is essential for achieving that desirable crispy texture. Bake for 18-22 minutes, or until the tortillas are golden brown and wonderfully crisp. You may want to flip them halfway through the baking time to ensure even crisping. Keep an eye on them, as cooking times can vary depending on your oven.
Step 7: Alternative Frying Method for Extra Crunch
For those who prefer an even crispier result, frying is an excellent option. Heat about ½ inch of cooking oil (vegetable, canola, or peanut oil work well) in a large skillet or Dutch oven over medium-high heat to around 350°F (175°C). Carefully place a few taquitos into the hot oil, ensuring not to overcrowd the pan. Fry for 2-4 minutes per side, or until they are deeply golden brown and crunchy. Use tongs to carefully turn them and remove them from the oil. Place the fried taquitos on a wire rack set over a baking sheet to drain any excess oil. This helps maintain their crispiness.
Serving Your Crispy Chicken Taquitos
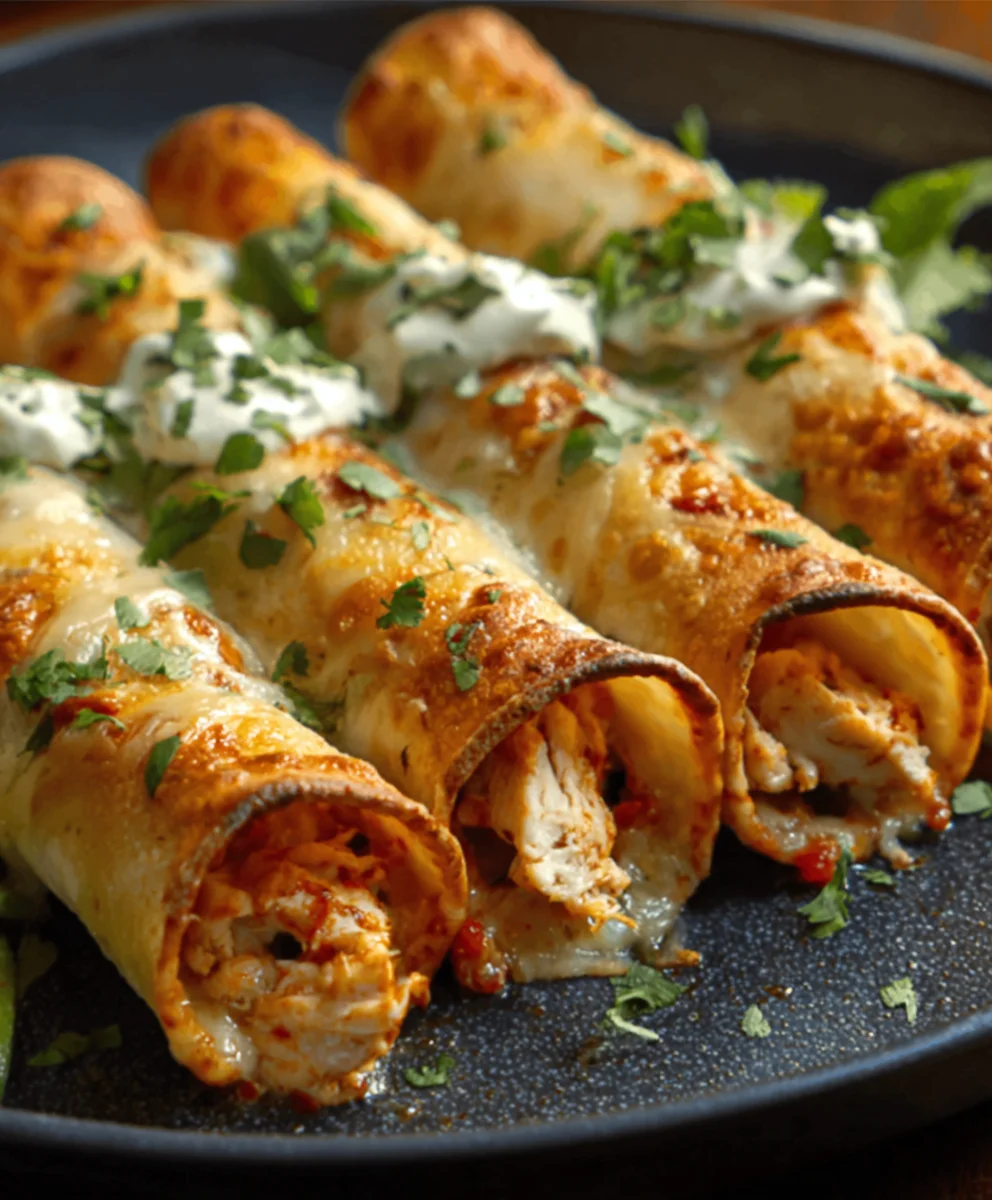
Once your Crispy Chicken Taquitos are baked or fried to perfection, they are ready to be served. Arrange them on a platter. Garnish generously with your favorite toppings. Chopped fresh cilantro adds a burst of freshness, a dollop of cool sour cream provides a creamy counterpoint, and creamy guacamole is always a delicious addition. A sprinkle of extra shredded cheese is never a bad idea! Serve immediately while they are hot and wonderfully crunchy. These taquitos are perfect as an appetizer, a light meal, or part of a larger Mexican-inspired spread. Enjoy the satisfying crunch and savory filling!
Conclusion:
And there you have it – your guide to mastering the art of the Crispy Chicken Taquitos! We’ve walked through each step, from preparing the flavorful chicken filling to achieving that perfect, golden crunch. These taquitos are incredibly versatile, making them a fantastic appetizer for gatherings, a satisfying lunch, or even a fun dinner option. Don’t hesitate to get creative with your toppings! Imagin extracte a dollop of sour cream, a sprinkle of fresh cilantro, or a drizzle of your favorite salsa. For a different flavor profile, consider shredding some seasoned ground beef or even a mix of black beans and corn as your filling. The possibilities are endless, and the reward is a dish that’s both delicious and delightfully shareable. So, gather your ingredients, put on some music, and enjoy the process of creating these delightful Crispy Chicken Taquitos. I’m confident you’ll be making them again and again!
Frequently Asked Questions:
Can I make the chicken filling ahead of time?
Absolutely! The chicken filling for your Crispy Chicken Taquitos can be prepared up to two days in advance and stored in an airtight container in the refrigerator. This makes assembly even quicker when you’re ready to roll and fry.
How can I make these taquitos healthier?
To make your Crispy Chicken Taquitos a bit healthier, you can opt for baking them instead of frying. Place them seam-side down on a baking sheet and bake at 400°F (200°C) for 15-20 minutes, flipping halfway through, until golden brown and crispy. You can also use reduced-fat cheese and load up on fresh, healthy toppings like avocado and salsa.
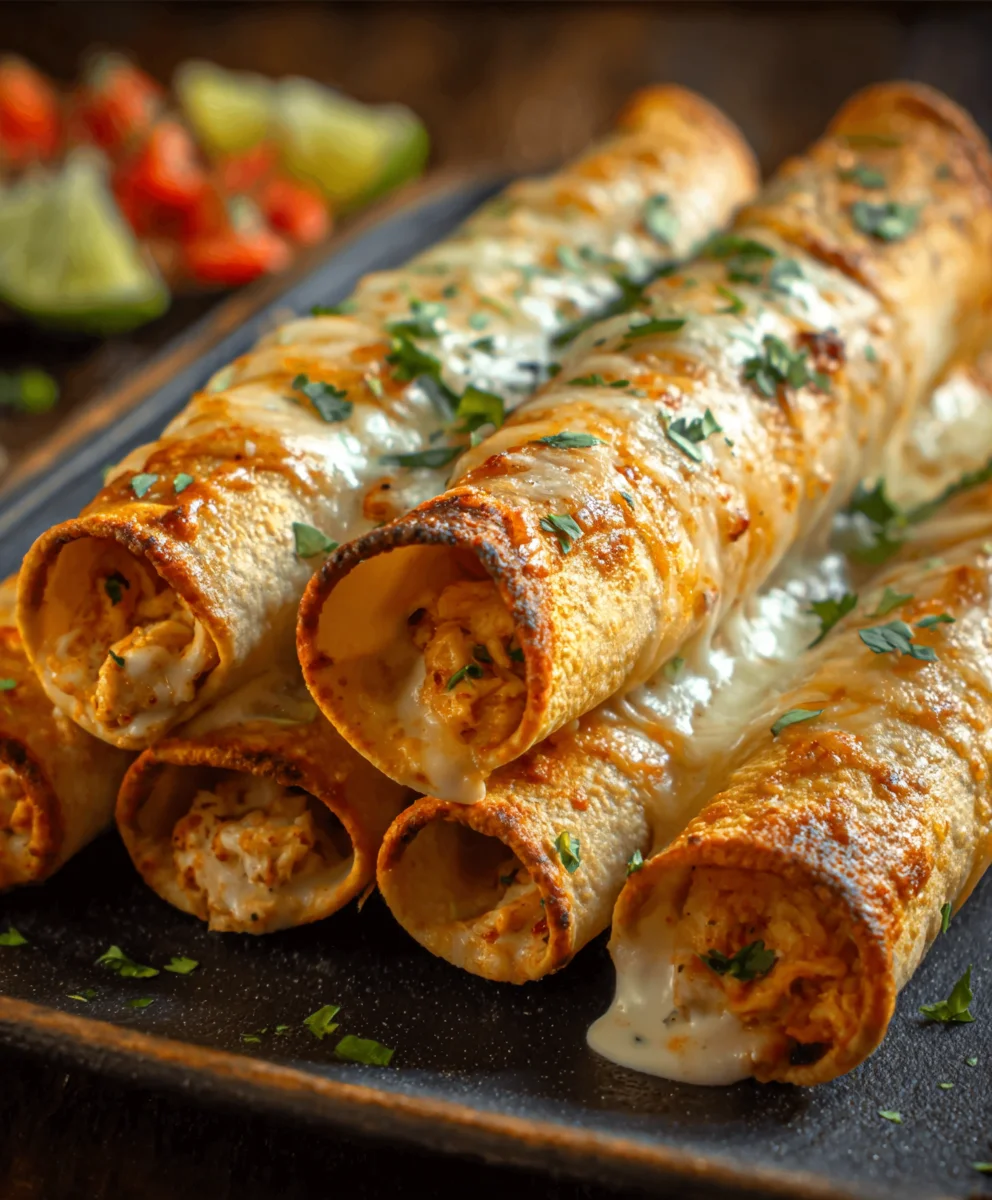
Crispy Chicken Taquitos Recipe- Easy & Delicious
Easy and delicious crispy chicken taquitos perfect as an appetizer or a light meal.
Ingredients
-
2 cups cooked shredded chicken
-
4 oz cream cheese, softened
-
1/2 cup shredded cheddar or Mexican blend cheese
-
1/4 cup salsa (mild or spicy)
-
1/2 tsp garlic powder
-
1/2 tsp chili powder
-
1/2 tsp cumin
-
Salt and black pepper to taste
-
8 small flour or corn tortillas
-
Cooking spray or oil (for brushing)
-
Chopped cilantro (optional topping)
-
Sour cream (optional topping)
-
Guacamole (optional topping)
-
Extra shredded cheese (optional topping)
Instructions
-
Step 1
In a medium bowl, combine softened cream cheese and shredded cheddar or Mexican blend cheese until smooth. Stir in the cooked shredded chicken, salsa, garlic powder, chili powder, and cumin. Season with salt and black pepper to taste. Mix well until all ingredients are thoroughly combined. -
Step 2
Warm tortillas one at a time in a dry skillet over medium-low heat for 15-20 seconds per side, or microwave them covered with a damp paper towel for 30-60 seconds until pliable. Spoon 2-3 tablespoons of filling onto the center of each tortilla, towards one edge. -
Step 3
Roll each tortilla tightly from the filling side to the opposite edge, tucking in the filling. You can secure the seam with a tiny bit of water or by placing them seam-side down. -
Step 4
Preheat oven to 400°F (200°C). Arrange taquitos seam-side down in a single layer on a parchment-lined baking sheet. Lightly brush or spray the tops and sides with cooking spray or oil. -
Step 5
Bake for 18-22 minutes, or until golden brown and crisp. Flip halfway through for even crisping. Alternatively, fry taquitos in ½ inch of oil at 350°F (175°C) for 2-4 minutes per side until golden brown and crunchy. -
Step 6
Serve immediately with optional toppings such as chopped cilantro, sour cream, guacamole, and extra shredded cheese.
Important Information
Nutrition Facts (Per Serving)
It is important to consider this information as approximate and not to use it as definitive health advice.
Allergy Information
Please check ingredients for potential allergens and consult a health professional if in doubt.



Leave a Comment