

Cheesy Pocket Tacos are about to become your new favorite weeknight dinner, and for good reason! Imagin extracte the satisfying crunch of a perfectly fried taco shell, yielding to a warm, gooey interior bursting with savory goodness. It’s that delightful combination of textures and flavors that makes these little parcels of joy so utterly irresistible. People adore Cheesy Pocket Tacos because they’re incredibly versatile – you can customize the filling to suit any craving or dietary need, from spicy ground beef to vibrant black beans and corn. What truly sets these apart is the ingenious “pocket” design, which ingeniously traps all that delicious filling, preventing messy spills and ensuring every single bite is packed with flavor. Get ready to impress yourself and your loved ones with this fun, flavorful, and incredibly satisfying twist on a classic favorite.

Ingredients:
- 1 lb ground beef
- 1 packet taco seasoning (approximately 1 ounce)
- 1 cup shredded cheddar cheese
- 1 cup shredded mozzarella cheese
- 1/2 cup sour cream
- 1/2 cup salsa
- 1 cup diced tomatoes
- 1/2 cup sliced black olives (optional, but highly recommended for an extra layer of flavor and texture)
- 1/2 cup finely chopped green onions
- 1 package refrigerated biscuit dough (8 count)
- Vegetable oil for frying (enough to fill your pan about 1-2 inches deep)
Preparing the Savory Filling
Step 1: Brown the Ground Beef
Start by placing the ground beef in a large skillet over medium-high heat. Break up the meat with a spoon or spatula as it cooks. You want to brown it thoroughly, ensuring there are no pink bits left. This process usually takes about 7-10 minutes. Once the beef is fully cooked, drain off any excess grease from the skillet. This is an important step to prevent your Cheesy Pocket Tacos from becoming too oily.
Step 2: Season the Beef
Add the entire packet of taco seasoning to the browned ground beef in the skillet. Stir it in well to ensure every piece of beef is coated with the flavorful seasoning. Cook for another minute or two, stirring constantly. This allows the seasonings to bloom and release their aromatic qualities, infusing the beef with that classic taco taste.
Step 3: Combine with Toppings
Now it’s time to add the fresh ingredients to the seasoned beef. Stir in the diced tomatoes, chopped green onions, and the optional sliced black olives. Mix everything together until it’s well combined. This mixture forms the heart of our Cheesy Pocket Tacos, offering a delightful blend of savory, fresh, and slightly briny flavors.
Assembling the Pocket Tacos
Step 4: Prepare the Biscuit Dough
Open the package of refrigerated biscuit dough. You’ll notice the biscuits are already formed. Gently separate each biscuit. Using your fingers or a rolling pin, flatten each biscuit into a circle, about 4-5 inches in diameter. You want them thin enough to seal properly but not so thin that they tear easily. This creates the perfect pocket for our filling.
Step 5: Stuff and Seal the Pockets
Spoon about 2-3 tablespoons of the seasoned beef and vegetable mixture onto one half of each flattened biscuit circle. Be careful not to overfill, as this can make sealing difficult and may cause the pockets to burst during frying. Sprinkle a generous amount of both shredded cheddar and mozzarella cheese over the filling. Now, carefully fold the other half of the biscuit dough over the filling, creating a semi-circle. Press the edges firmly together with your fingers or the tines of a fork to seal the pocket completely. This sealing is crucial to keep all the delicious filling inside.
Frying to Golden Perfection
Step 6: Heat the Oil
Pour vegetable oil into a deep skillet or Dutch oven to a depth of about 1-2 inches. Heat the oil over medium-high heat until it reaches approximately 350°F (175°C). You can test if the oil is hot enough by dropping a tiny piece of biscuit dough into it; if it sizzles immediately and floats to the surface, the oil is ready. It’s important to maintain this temperature for even cooking.
Step 7: Fry the Pocket Tacos
Carefully place 2-3 stuffed pocket tacos into the hot oil at a time, being careful not to overcrowd the pan. Overcrowding will lower the oil temperature and result in greasy, unevenly cooked tacos. Fry for 2-3 minutes on each side, or until they are a beautiful golden brown and puffed up. Use a slotted spoon or tongs to gently turn them over.
Step 8: Drain and Serve
Once golden brown and cooked through, carefully remove the Cheesy Pocket Tacos from the hot oil and place them on a wire rack set over a baking sheet or on a plate lined with paper towels. This allows excess oil to drain away, ensuring a crispy, not greasy, exterior.
Adding the Finishing Touches
Step 9: Serve with Condiments
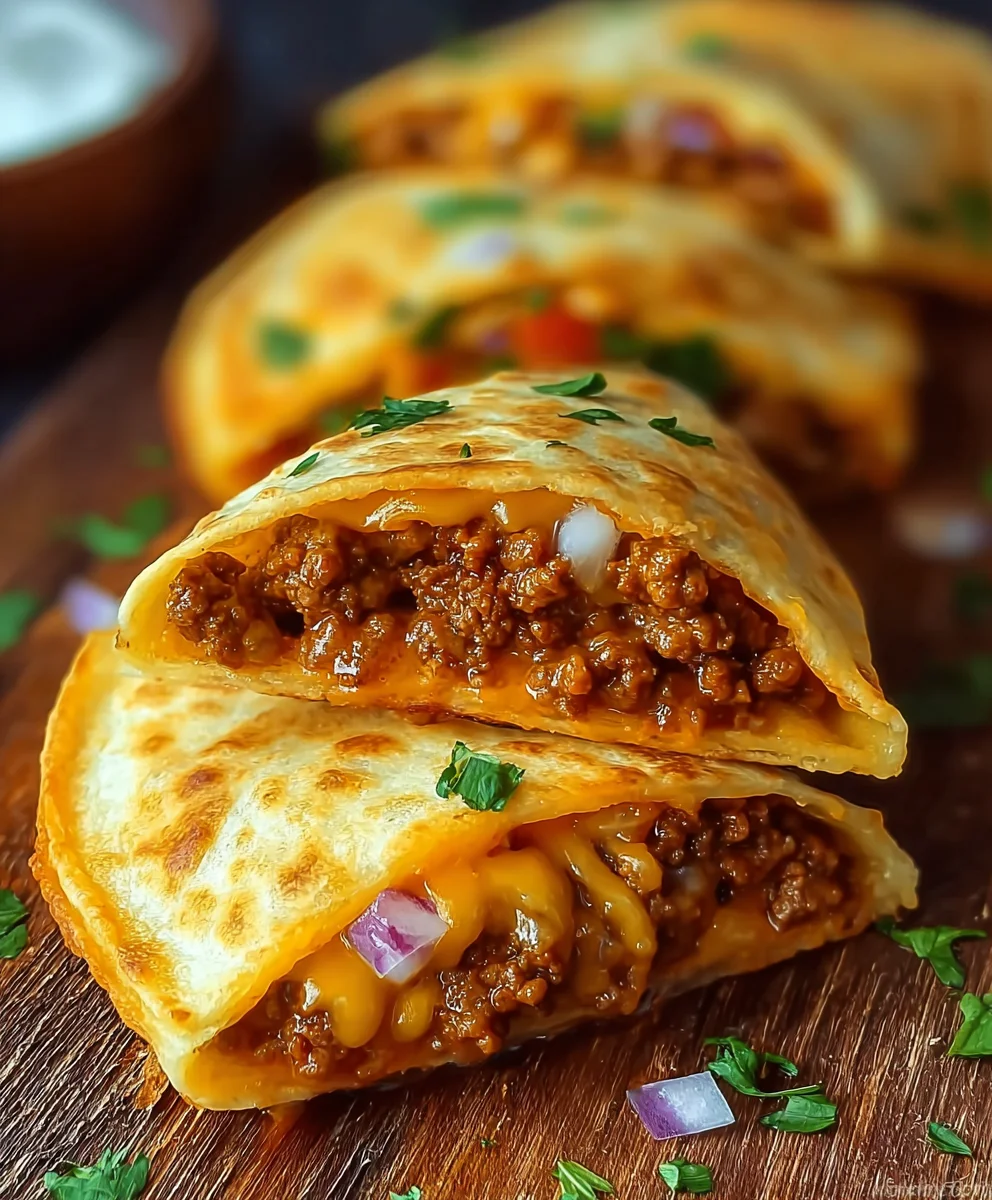
While the pocket tacos are still warm, prepare your serving plates. Cut the pocket tacos in half if desired, or serve them whole. For the ultimate Cheesy Pocket Taco experience, serve them immediately with a dollop of cool, creamy sour cream and your favorite salsa on the side for dipping. The contrast between the hot, cheesy filling and the cool, tangy accompaniments is truly delightful. Enjoy the explosion of flavors and textures!
Conclusion:
There you have it! Your guide to creating delicious Cheesy Pocket Tacos is complete. We’ve explored how to craft these delightful handheld meals, from preparing the perfectly seasoned filling to achieving that wonderfully melty cheese enclosure. These Cheesy Pocket Tacos are a fantastic weeknight dinner option because they’re quick, customizable, and universally loved. They’re perfect for busy families, casual gatherings, or even a fun lunch. For serving, consider a side of fresh salsa, a dollop of sour cream, or a crisp green salad to complement the richness of the tacos.
Don’t be afraid to get creative with your fillings! You can easily swap out the ground beef for shredded chicken, seasoned black beans for a vegetarian option, or even incorporate a medley of roasted vegetables. The possibilities are endless, making Cheesy Pocket Tacos a recipe you’ll return to again and again. We hope you enjoy making and savoring these wonderfully cheesy delights!
Frequently Asked Questions about Cheesy Pocket Tacos:
Can I make Cheesy Pocket Tacos ahead of time?
You can prepare the filling for your Cheesy Pocket Tacos a day in advance and store it in the refrigerator. For best results, assemble and cook the tacos just before serving to ensure the cheese is perfectly melted and the pocket is warm and crispy.
What’s the best way to reheat Cheesy Pocket Tacos?
If you have leftovers, the best way to reheat Cheesy Pocket Tacos is in a preheated oven or toaster oven at around 350°F (175°C) for about 5-10 minutes, or until heated through and the cheese is melty again. Microwaving can make the pocket soggy, so oven reheating is preferred for optimal texture.
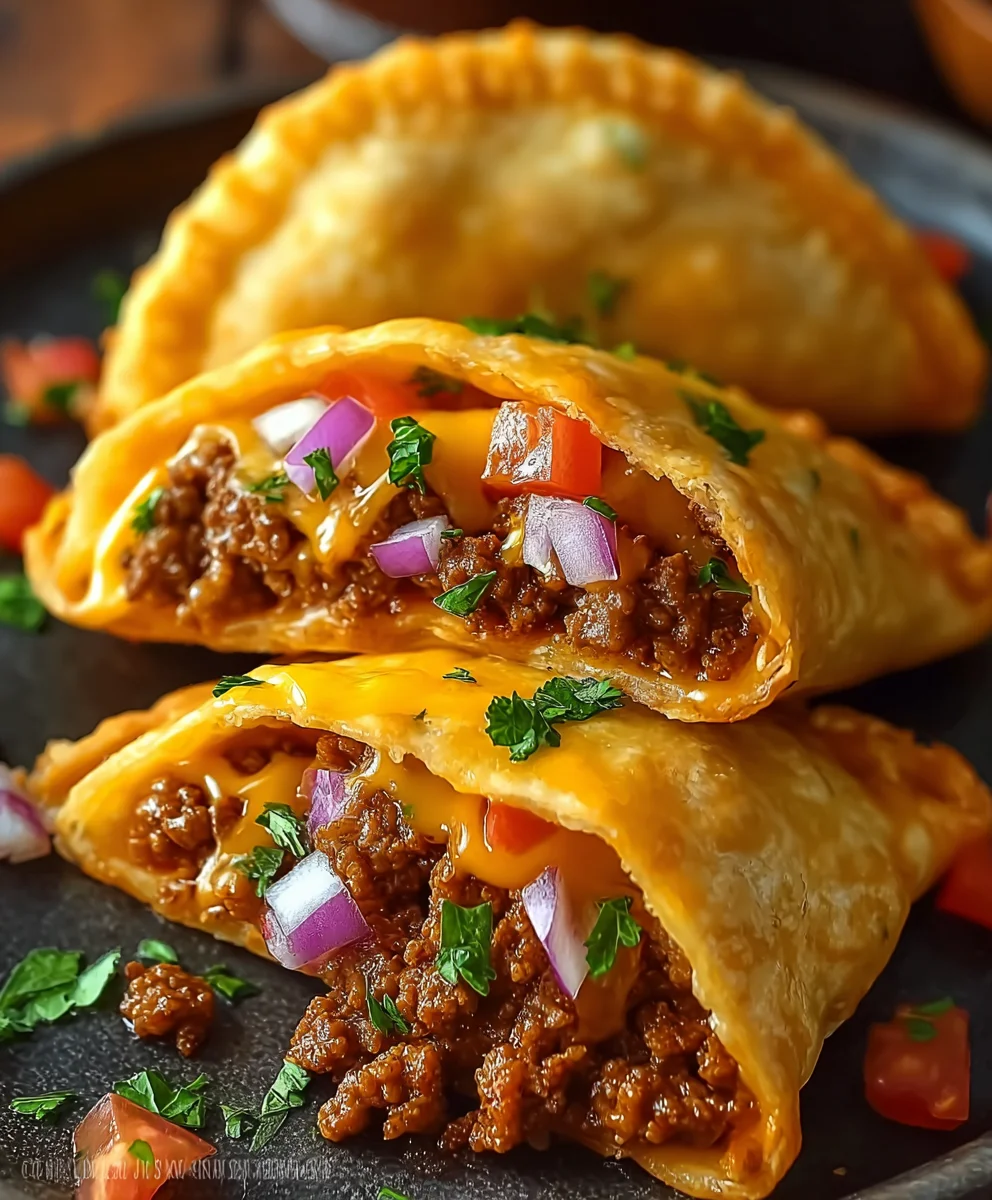
Cheesy Beef Pocket Tacos-Quick & Easy Recipe
Quick and easy Cheesy Beef Pocket Tacos featuring a savory beef filling, melted cheese, and a crispy fried shell made from biscuit dough.
Ingredients
-
1 lb ground beef
-
1 packet taco seasoning (approximately 1 ounce)
-
1 cup shredded cheddar cheese
-
1 cup shredded mozzarella cheese
-
1 cup diced tomatoes
-
1/2 cup finely chopped green onions
-
1 package refrigerated biscuit dough (8 count)
-
Vegetable oil for frying
Instructions
-
Step 1
Brown the ground beef in a large skillet over medium-high heat until no pink bits remain. Drain off excess grease. -
Step 2
Add the taco seasoning to the browned beef and stir well. Cook for another minute or two, stirring constantly. -
Step 3
Stir in the diced tomatoes, chopped green onions, and optional black olives. Mix until well combined. -
Step 4
Flatten each biscuit dough round into a 4-5 inch circle. Spoon 2-3 tablespoons of the beef mixture onto one half of each circle. Sprinkle with cheddar and mozzarella cheese. Fold the other half over to create a semi-circle and press edges to seal. -
Step 5
Heat vegetable oil in a deep skillet or Dutch oven to about 350°F (175°C). -
Step 6
Carefully place 2-3 pocket tacos into the hot oil and fry for 2-3 minutes per side, until golden brown and puffed up. Do not overcrowd the pan. -
Step 7
Remove pocket tacos from oil and drain on a wire rack or paper towels. -
Step 8
Serve warm with sour cream and salsa on the side.
Important Information
Nutrition Facts (Per Serving)
It is important to consider this information as approximate and not to use it as definitive health advice.
Allergy Information
Please check ingredients for potential allergens and consult a health professional if in doubt.


Leave a Comment